
This post may contain affiliate links. If you buy through them, we may earn a small commission at no extra cost to you.
Hammock camping for beginners nearly always fails for the same reason, and it is not the hammock. It is cold. A hammock puts you in open air with nothing underneath, so the sleeping bag that keeps you warm on the ground compresses flat against your back and stops working. Solve that one problem and hammock camping is more comfortable than a tent on almost any wooded site.
The nine steps below cover the hang, the insulation and the small adjustments that separate a good night from a cold, banana-shaped one. Most of them cost nothing.
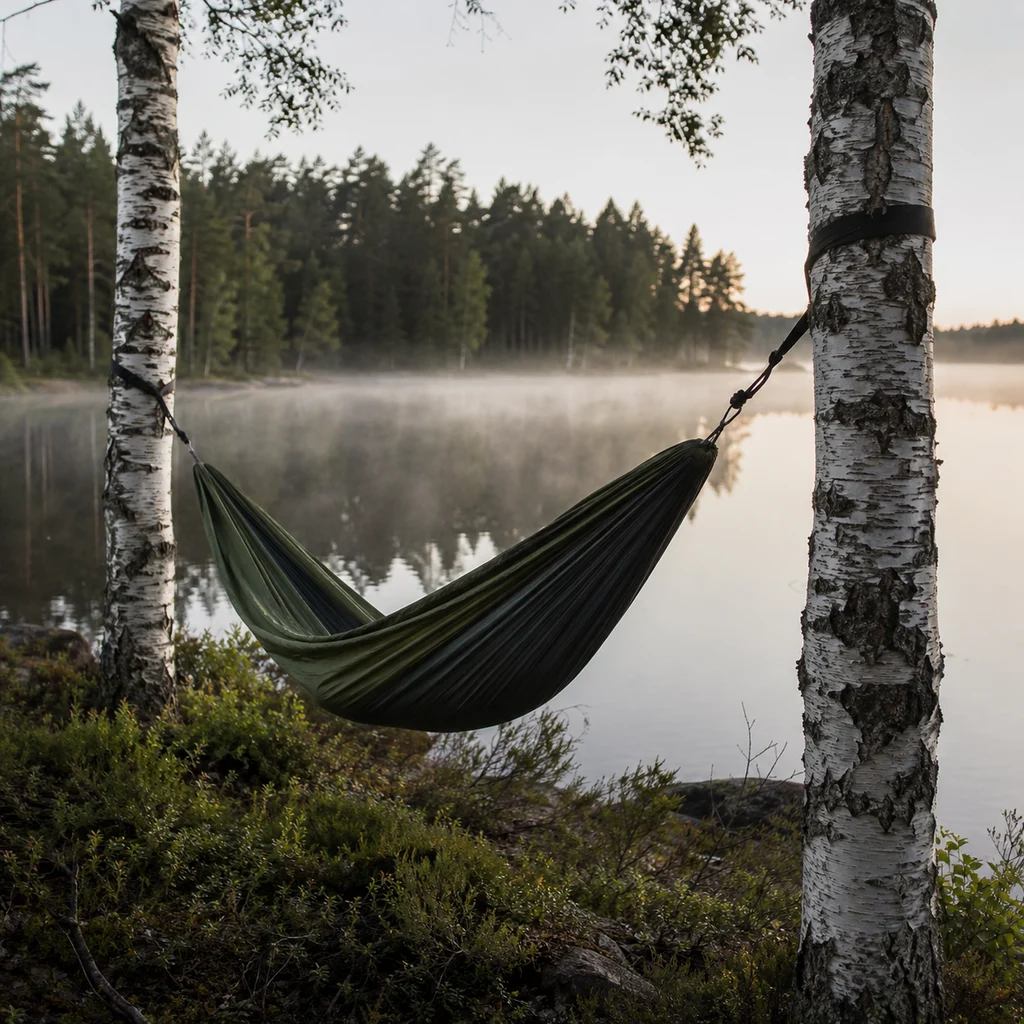
Table of Contents
Why People Try a Hammock and Then Give Up
Two reasons, in this order. The first is cold back, which catches out almost everyone on their first attempt. Insulation works by trapping air, and your body weight squashes the underside of a sleeping bag until there is no air left to trap. On the ground a sleeping pad handles that. In a hammock, nothing does unless you add it.
The second is the hang itself. Pulled tight and level, a hammock folds you into a banana and squeezes your shoulders. Hung with a deep sag and lain in diagonally, the same hammock lets you sleep almost flat. That is a technique change, not a gear change, and it is the single biggest comfort improvement available.
Get both right and the advantages are real: no rocks, no roots, no hunting for level ground, and a setup that packs smaller than most tents. If you are still deciding between the two, our guide to backpacking for beginners covers the ground-based version of the same trip, and our guide for beginner hikers covers getting to the site in the first place.
Hammock Camping for Beginners: The 9 Steps
1. Hang It With a Deep Sag, Not Tight
The common instinct is to pull a hammock drum tight. That is wrong in every way that matters: it squeezes your shoulders, forces your body into a curve and puts enormous force on the straps and trees. Aim instead for suspension straps at roughly thirty degrees from horizontal, which produces a noticeable, comfortable sag.
A useful rule is that the fabric should look like a smile rather than a washing line. You will feel the difference within a minute of lying down.
2. Lie Diagonally
This is the step most people never hear. Lying straight down the centre line of a hammock is what creates the banana shape. Shift your body ten to twenty degrees off the centre line, head towards one edge and feet towards the other, and the fabric flattens out underneath you.
Combined with a proper sag, a diagonal lie gets most people close to flat on their back or side. It is the whole reason experienced hammock campers sleep better than they do on the ground.
3. Solve the Cold Back Before Anything Else
Below roughly seventy degrees Fahrenheit you need insulation underneath you, and a sleeping bag alone will not provide it. There are two ways to do it. An underquilt hangs outside the hammock and stays uncompressed, which is warmer and more comfortable. A sleeping pad goes inside, which is cheaper and doubles as ground insulation but slides around.
Start with a pad if you already own one. Our round up of sleeping pads explains R values, and in a hammock you want the same warmth rating you would use on the ground, or slightly more, because you have moving air on all sides.
4. Get the Height and Spacing Right
Trees roughly twelve to fifteen feet apart are ideal. Much closer and you cannot get enough sag; much further and the straps run out. Hang the hammock so the lowest point sits about chair height, around eighteen inches off the ground, which makes getting in and out easy and means a failure drops you a few inches rather than several feet.
Check what is above you before you commit. Dead branches are the genuine hazard in a wooded campsite, and they are easy to miss in fading light, which is one more reason to arrive early; our night hiking guide covers the walk-in you are trying to avoid.
5. Use Proper Tree Straps
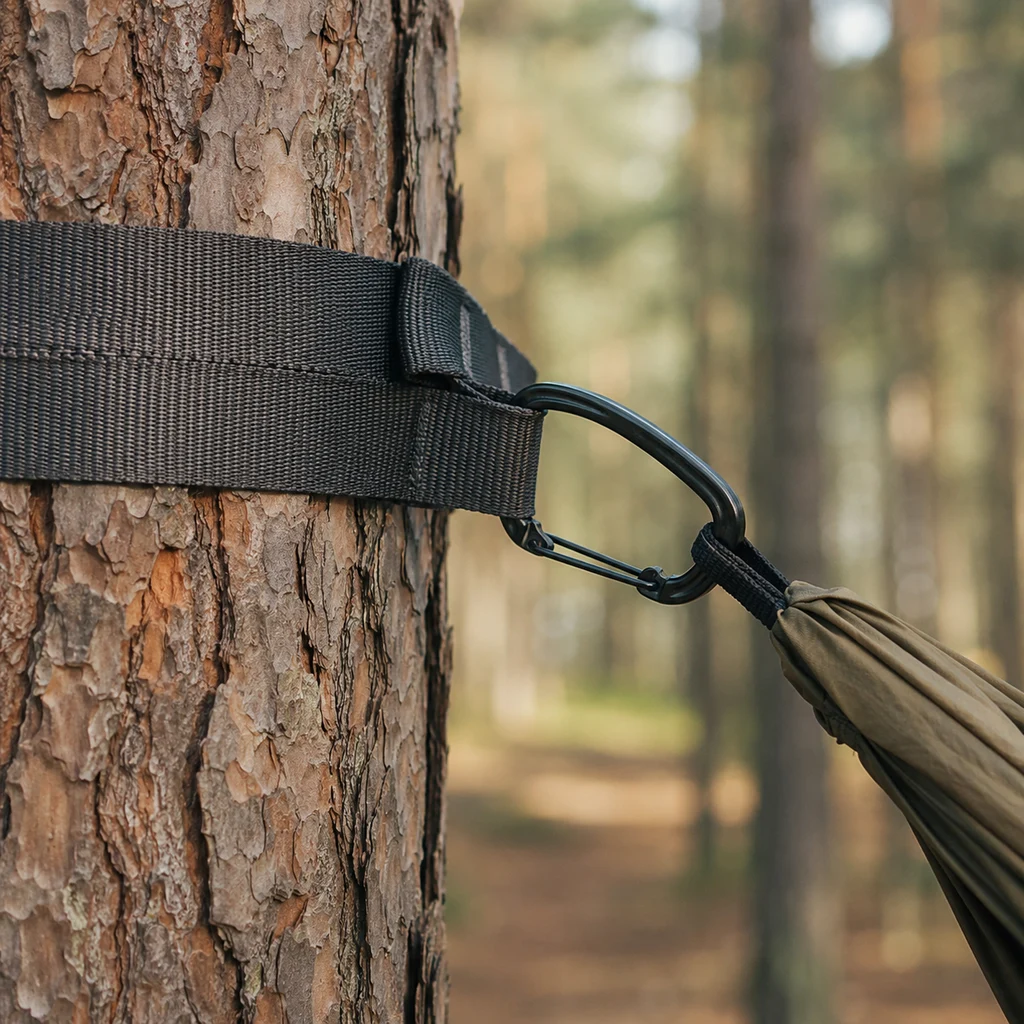
Rope cuts into bark and kills trees, and most sites that ban hammocks do so because of rope damage. Wide webbing straps spread the load and are required in many parks. They are also far easier to use, because the loops let you adjust height without knots.
A set like the Foxelli XL hammock straps gives twenty feet of combined length with forty adjustment loops, which covers awkward tree spacing that shorter straps cannot. Many hammocks include basic straps; the longer ones are the first upgrade worth making.
6. Pitch a Tarp Even When It Looks Clear
A hammock has no built-in shelter, so a tarp is not optional in anything but settled summer weather. Pitch it in a simple A-frame over the ridgeline, low and tight if wind is expected, higher and wider if you just want rain cover and a view.
Overnight condensation and dew will soak an unprotected hammock even on a clear night. Our notes on camping in the rain apply directly, and checking the forecast properly is worth the two minutes; see predicting trail weather.
7. Add a Bug Net in Season
You are suspended in open air, which is convenient for every biting insect in the area. Some hammocks have an integrated net; otherwise a separate net slides over the whole hammock on the ridgeline.
If you camp anywhere with mosquitoes, buy the version with the net built in. Retrofitting is possible but always fiddlier than getting it right at purchase.
8. Keep Your Gear Off the Ground
The one genuine downside of hammocks is that you have no vestibule and no floor. A small gear sling or a dry bag clipped to the suspension keeps things off wet ground and away from animals. Boots go under the hammock, ideally inside a bag, because they will be soaked with dew by morning otherwise.
A head torch clipped to the ridgeline is the standard trick for light, and our round up of the best headlamps covers what to look for. Once you are settled in and it is clear, our guide to stargazing for beginners is a good use of the hammock, since you are already lying on your back looking up.
9. Practise in the Garden First
Hang it at home, get in, adjust the sag, sleep a night if you can. Everything about a hammock is quicker to learn when a warm bed is thirty feet away, and the adjustments that feel fiddly on the first attempt become automatic by the third.
That practice run is also where you find out whether your insulation plan actually works, which is much better learned in the garden than at two in the morning on a ridge.
What You Actually Need
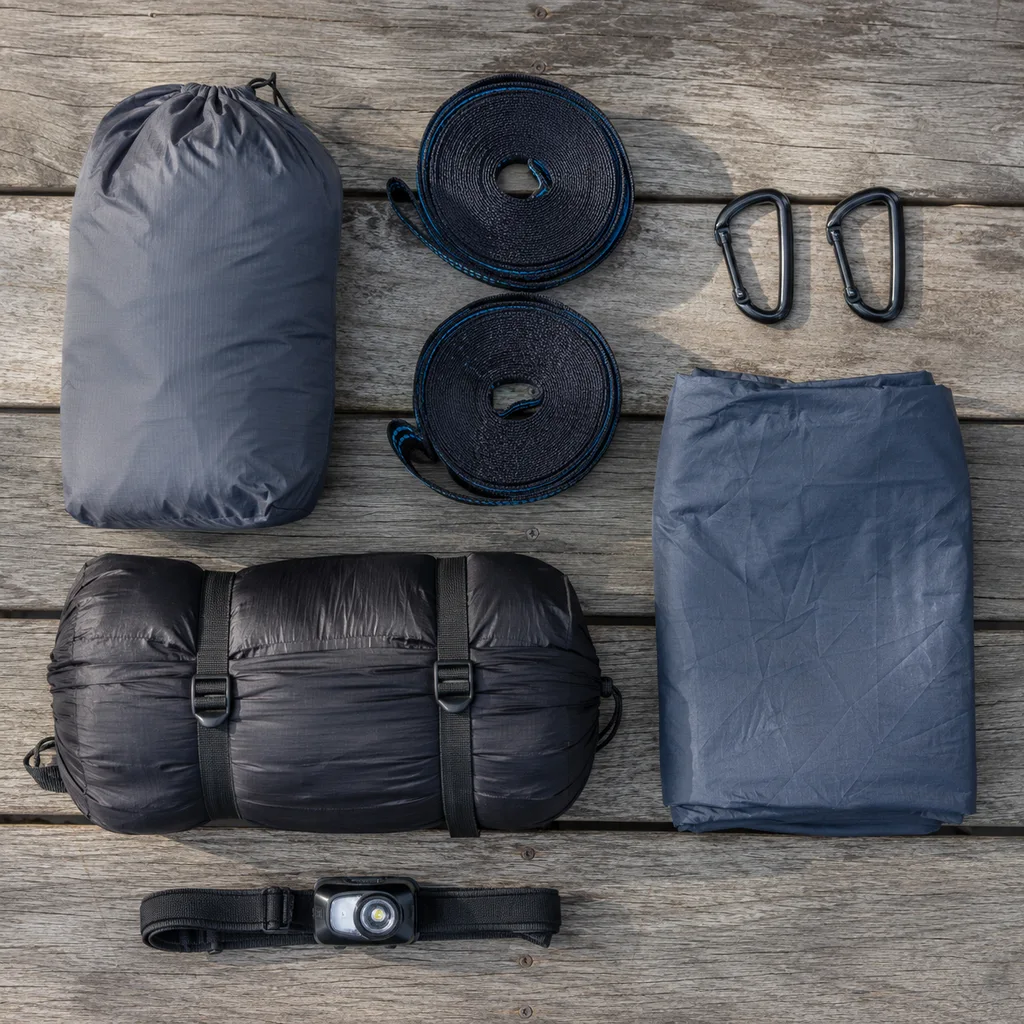
Four things for a summer night, five once it turns cold.
The Hammock and Suspension
A parachute nylon hammock and a set of webbing straps. Doubles are wider and more comfortable to lie diagonally in even for one person, which is why most solo campers still buy a double. Singles are lighter if weight is your priority.
The ENO DoubleNest is the usual reference point at nineteen ounces with a four hundred pound capacity, and our comparison of the best camping hammocks covers six options including all-in-one models with the net and tarp included. On a tighter budget the Wise Owl Outfitters hammock bundles straps and carabiners in the same sack and weighs sixteen ounces.
Insulation
- An underquilt for real cold, hung outside so nothing compresses it
- Or a sleeping pad inside, cheaper and dual purpose but prone to sliding
- A top quilt or sleeping bag as normal, which only handles the top half
- A hat, because your head is in moving air all night
Treat the underside as a separate problem from the top. That single mental shift is what makes hammock camping work.
Shelter and Extras
A tarp with a ridgeline, a bug net in season, a small gear sling, and a dry bag for anything that must stay dry. Nothing here is heavy, and the whole system usually packs smaller than an equivalent tent setup. The packing principles in our guide to ultralight packing apply, and the layering advice in what to wear on the trail matters more than usual because you cannot generate heat lying still. Nylon and webbing both last far longer if dried before storage, as our guide to storing outdoor gear explains.
Common Beginner Mistakes
- Hanging it tight and level, which produces the banana and sore shoulders
- Lying straight down the middle instead of diagonally
- Bringing only a sleeping bag and discovering cold back at two in the morning
- Using rope instead of webbing straps, which damages bark and is banned in many parks
- Hanging too high, so getting in is awkward and a failure actually hurts
- Skipping the tarp on a clear night and waking up soaked in dew
- Never checking overhead for dead branches
The quiet one is buying a hammock, trying it once in cold weather without insulation, and concluding hammocks are uncomfortable. They are not; that night was an insulation problem wearing a hammock costume.
Is It Warmer or Colder Than a Tent?
Colder, all else being equal, and that is worth stating plainly. A tent traps a pocket of still air and puts a floor between you and the ground. A hammock has moving air on every side, so any breeze strips heat from underneath you continuously.
With an underquilt, a hammock is comfortable well below freezing and many people prefer it, because there is no cold spot where a pad ends and no condensation dripping off a tent wall. Without one, sixty degrees Fahrenheit can feel unpleasant. The gear is the whole difference.
Autumn is a good season to start, because the bugs have gone and the nights are cool enough to teach you about insulation without being dangerous. Our guide to fall hiking covers the seasonal conditions, and dispersed camping covers finding wooded sites away from campgrounds.
Frequently Asked Questions
Is hammock camping comfortable for side sleepers?
Yes, with a deep sag and a diagonal lie. Side sleeping in a hammock works well once the fabric is flat under you, and many side sleepers find it better than a pad because there is no pressure point at the hip. A tight, level hang makes it impossible, which is why so many people conclude otherwise.
Do I need an underquilt or will a sleeping pad do?
A pad works and is the cheaper starting point, particularly one you already own. It slides around and leaves cold edges at the shoulders. An underquilt is warmer, more comfortable and stays put, and most people who keep hammock camping buy one within a season.
How far apart should the trees be?
Twelve to fifteen feet is ideal for most hammocks. Ten to twenty is workable with long straps. Closer than ten and you cannot achieve enough sag; further than twenty and you need a much longer suspension than most kits include.
Is hammock camping allowed in national parks?
Often yes, but rules vary by park and sometimes by campground, and the usual condition is wide webbing straps rather than rope. Check the specific park before you go, because a few prohibit hanging anything from trees entirely. The National Park Service camping pages are the place to check.
What if there are no trees?
Then a hammock does not work, which is its real limitation. Above the treeline, in the desert or on open moorland you need a tent. Hammock camping for beginners is best learned in woodland, and many people carry a tarp and stakes as a backup so an unexpectedly bare site is not a wasted trip.
Hang it in the garden this week, get the sag and the diagonal right, and sort the underside before you sort anything else. Everything else about hammock camping is easier than a tent.
Discover more from Maive Verse
Subscribe to get the latest posts sent to your email.