

This post may contain affiliate links. If you buy through them, we may earn a small commission at no extra cost to you.
Knowing how to plan a backpacking trip is what separates a great weekend in the mountains from a long, hungry slog to the wrong campsite. The good news is that planning follows the same steps every time. Once you have done it a couple of times, you can turn a vague idea into a solid itinerary in an evening.
This guide walks through each step in order: choosing a destination and distance, checking permits and rules, mapping the route, planning water and campsites, food, gear, physical preparation, and leaving a trip plan with someone at home. If you have never been, start with our backpacking for beginners guide, then come back here to plan your first trip.
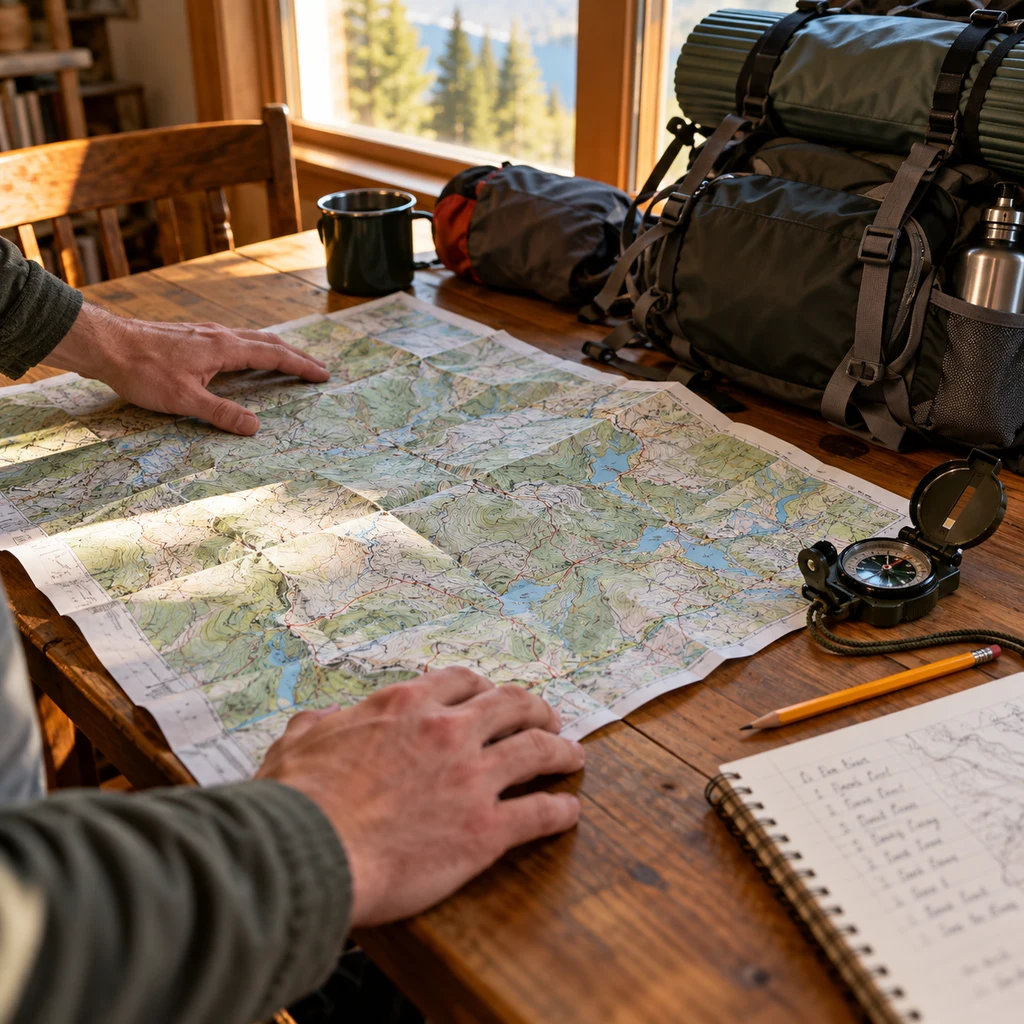
Table of Contents
Step 1: Choose a Destination and Distance
Start With One or Two Nights
For a first trip, one night is plenty. It lets you test your gear and your legs without much risk. Once that goes well, two or three nights opens up more remote places.
Set a Realistic Daily Mileage
Beginners usually do best with 5 to 8 miles a day, depending on terrain. Elevation matters as much as distance: a common rule, known as Naismith’s rule, adds about an hour for every 2,000 feet of climbing. Leave time for breaks, photos and setting up camp before dark.
Match the Trip to the Season
Late fall days are short and nights are cold, while high mountain routes can hold snow into July. Pick a destination that suits the season, and read our cold weather backpacking guide if you are heading out in late fall or winter.
Step 2: Check Permits and Regulations
Wilderness and Backcountry Permits
Many national parks and popular wilderness areas require overnight permits, and some have quotas that fill months ahead. Check the managing agency’s website and Recreation.gov, where many permits are booked. The National Park Service backcountry camping page links to park specific rules.
Fire, Food Storage and Camping Rules
Check whether campfires are allowed, whether bear canisters are required, and where camping is permitted. Some areas require designated sites, while national forests often allow dispersed camping. A canister like the BearVault BV500 meets the rules in most places that require one; see our best bear canisters list.
Step 3: Map Your Route
Use a Topographic Map
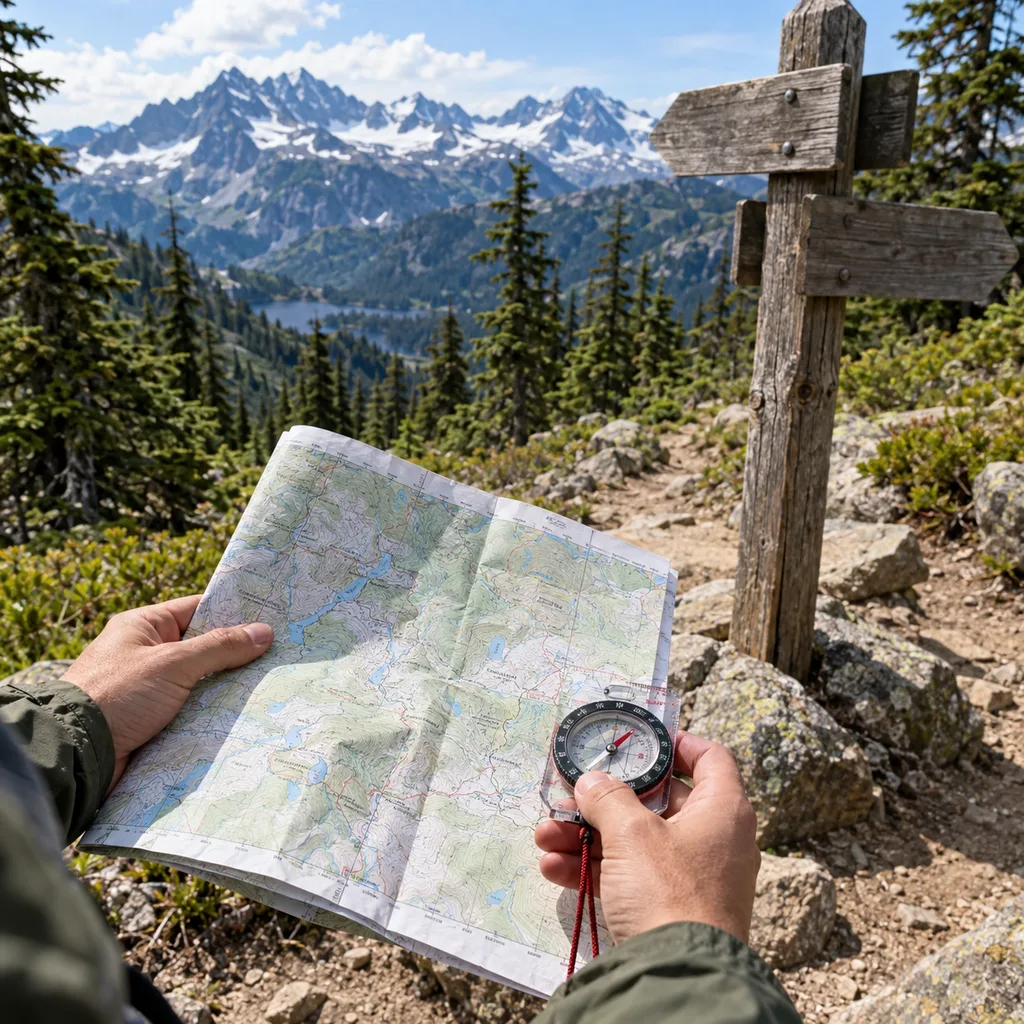
A topographic map shows climbs, descents, water and terrain. Use a paper map as your primary reference and a phone app as a backup, and download maps for offline use before you lose signal.
Loop, Out and Back, or Point to Point
A loop shows you more scenery, an out and back is simpler and easier to cut short, and a point to point route needs a car shuttle. For a first trip, an out and back is the most forgiving.
Plan Bailout Options
Note where the route crosses roads or other trails so you can leave early if the weather turns or someone gets hurt. Knowing your exits makes decisions on the trail much easier.
Estimate Your Hiking Time
Once the route is drawn, add up the miles and the climbing for each day and estimate how long it will take. Most beginners with a full pack walk about 2 miles an hour on flat trail, slower on rough ground. Add your climbing time, an hour or so for lunch and breaks, and you have a realistic day. If the total runs past mid afternoon in late fall, shorten the day so you reach camp with plenty of light.
Step 4: How to Plan a Backpacking Trip Around Water and Campsites
Find Reliable Water Sources
Water shapes every itinerary. Mark streams, lakes and springs on your map, and check recent trip reports, because seasonal sources dry up in late summer and fall. Carry enough to reach the next reliable source plus a margin. Our guide on how to purify water while backpacking explains your treatment options, and the Sawyer Squeeze is our top pick in the best backpacking water filters list.
Choose Campsites in Advance
Look for established sites near water but at least 200 feet from it, on durable ground, and sheltered from wind. Have a backup site in mind in case your first choice is taken.
| Day | Distance | Elevation Gain | Notes |
|---|---|---|---|
| Day 1 | 5 miles | 1,000 feet | Late start, camp near a lake |
| Day 2 | 7 miles | 1,500 feet | Day hike to a viewpoint, same or next camp |
| Day 3 | 5 miles | Mostly downhill | Out by early afternoon |
Step 5: Plan Your Food
How Much Food to Bring
Most backpackers need about 1.5 to 2.5 pounds of food per person per day, which works out to 2,500 to 4,500 calories depending on size and effort. Calorie dense foods like nuts, nut butters, cheese, tortillas and dried meals keep weight down.
Make a Simple Meal Plan
Write down every meal and snack for each day, then pack by day. Keep dinners simple, like the ideas in our one pot camp meals guide, and add protein snacks from our high protein snack guide.
Pack and Store Food Properly
Repackage food into zip bags to cut bulk and trash, and label each bag by day. At camp, store food, trash and anything scented, like toothpaste and sunscreen, in a canister, a hang or a locker as the local rules require. Cook and eat at least 200 feet from your tent in bear country.
Step 6: Build Your Gear List
The Big Three
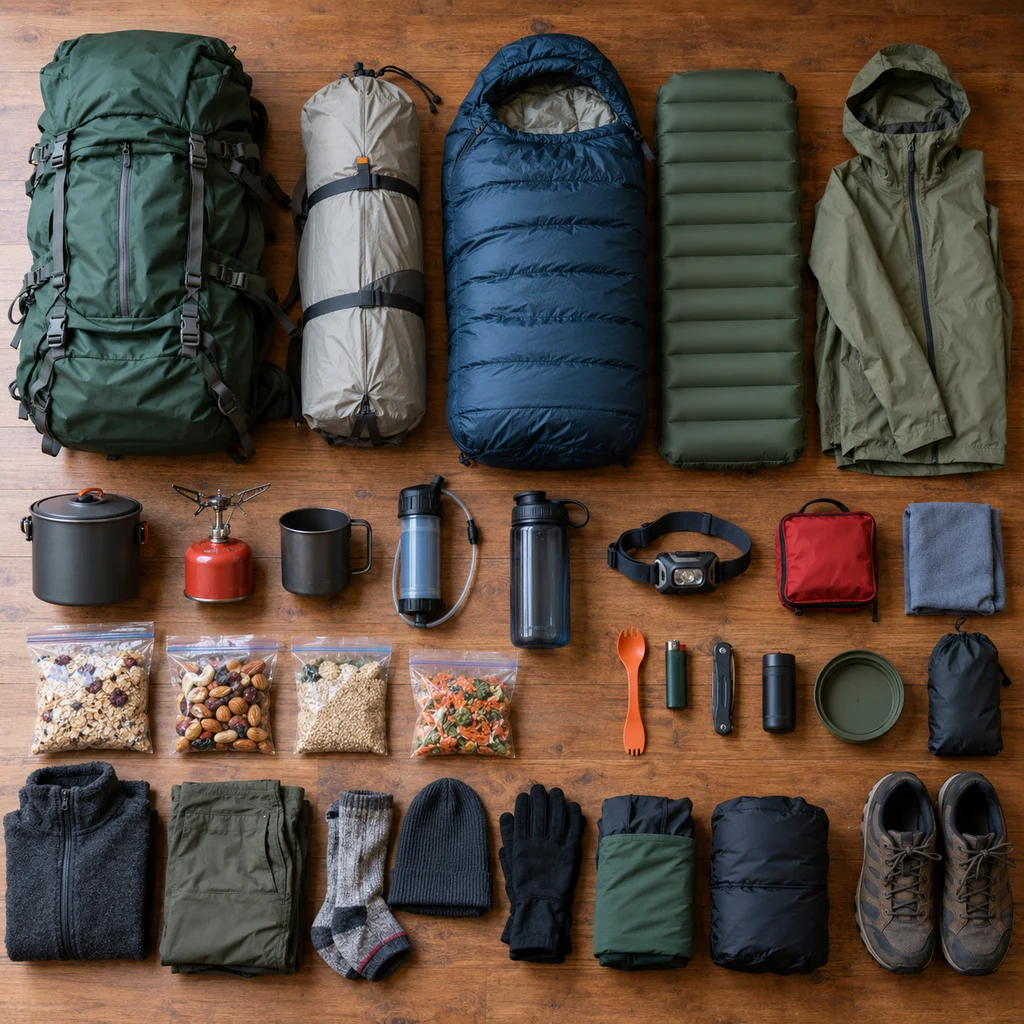
Your pack, shelter and sleep system make up most of your weight. A pack like the Osprey Atmos AG 65 carries a full load comfortably, and a tent like the Big Agnes Copper Spur HV UL keeps weight low. Compare options in our best backpacking backpacks, best backpacking tents and best backpacking sleeping bags lists.
The Ten Essentials
Always carry the Ten Essentials: navigation, light, sun protection, first aid, a knife, fire starting, shelter, extra food, extra water and extra clothes. Our guide to how to layer for hiking helps you pick the right clothing.
Pack It Right
Heavy items go close to your back and in the middle of the pack, with things you need during the day near the top. Our step by step guide on how to pack a backpacking pack covers it in detail.
Step 7: Prepare Your Body and Test Your Gear
Train With a Loaded Pack
Day hikes with a loaded pack are the best training. Build up to carrying your full weight for half your planned daily distance, including some climbing. Make sure your boots are broken in; our guide on how to choose hiking boots can help, and trekking poles take strain off your knees on descents.
Test Everything at Home
Set up your tent, light your stove and sleep in your bag in the backyard before the trip. It is much easier to find a missing pole or a broken lighter at home than at camp.
Step 8: Final Checks Before You Go
Check the Forecast
Check the mountain forecast, not the nearest town’s, a few days ahead and again the morning you leave. Our guide on predicting trail weather explains which apps to trust.
Arrange Transportation and Parking
Check how you will reach the trailhead and where you can park overnight. Some trailheads need a parking pass, some roads close seasonally, and some have rough dirt roads that a low car cannot handle. For a point to point route, set up your shuttle before you go.
Leave a Trip Plan
Leave your route, campsites, car description and return time with someone at home, and tell them when to call for help if you have not checked in. For remote trips, our guide to satellite messengers explains how to stay in touch without cell service.
Leave No Trace
Pack out everything you bring in, camp on durable surfaces and respect wildlife. Review our Leave No Trace camping rules before you go.
Frequently Asked Questions
How far should a beginner backpack in a day?
About 5 to 8 miles on moderate terrain, less with a lot of climbing. It is better to arrive at camp early than to rush.
How far in advance should I plan?
For popular parks with permit quotas, start planning several months ahead. For quieter national forest trips, a week or two is often enough.
How much food do I need per day?
Plan on about 1.5 to 2.5 pounds per person per day, focused on calorie dense foods.
Is it safe to backpack alone as a beginner?
It is safer to go with an experienced friend or group for your first trips. If you do go solo, choose a popular trail, leave a detailed plan and carry a way to call for help.
That is the whole process from start to finish: pick a realistic destination, sort out permits, map your route around water and campsites, plan your food and gear, test everything at home and leave a plan with someone. Start small, learn from each trip, and before long you will be planning longer adventures with confidence.
Discover more from Maive Verse
Subscribe to get the latest posts sent to your email.