
This post may contain affiliate links. If you buy through them, we may earn a small commission at no extra cost to you.
How to layer for hiking comes down to one idea that most people get backwards: layers are not about adding warmth, they are about shedding it. You will be too hot within ten minutes of setting off and too cold within five of stopping, and a layering system exists to let you manage that gap without changing clothes.
The seven rules below cover what each layer actually does, when to take things off, and the one fabric that ruins the whole system. None of it requires expensive kit, and the most important rule costs nothing at all.
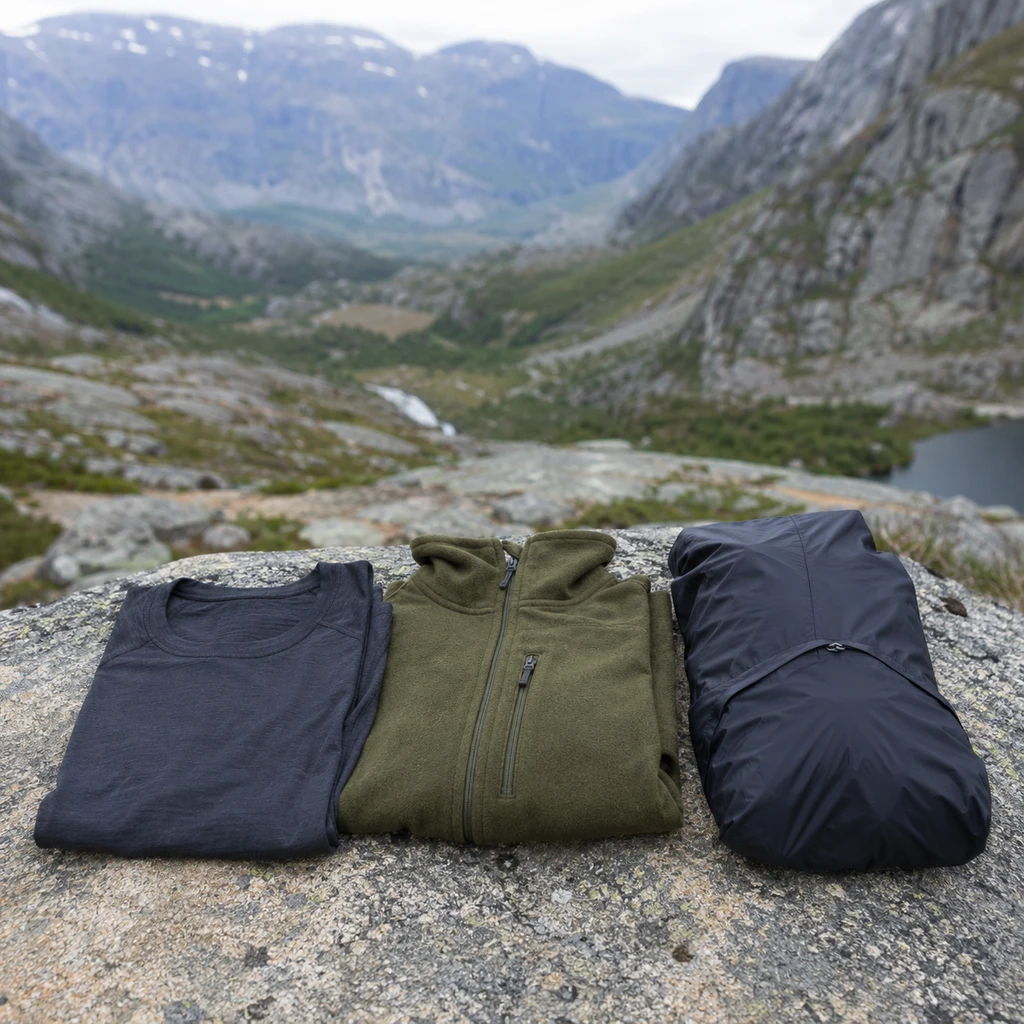
Table of Contents
Why Layering Works
Air is the insulator, not fabric. Layers work by trapping still air between them, which is why three thin layers are warmer than one thick one of the same total weight. It is also why compressing a layer, sitting on it, or soaking it, destroys most of its value.
The second mechanism is moisture. You generate a surprising amount of sweat walking uphill, and wet fabric conducts heat away from you roughly twenty five times faster than dry fabric does. A layering system that moves moisture outward keeps you warm. One that holds it against your skin makes you cold the moment you stop.
That is the whole theory. Everything below is the practical version of those two facts. If you are new to the walking itself, our guide for beginner hikers covers the rest of the kit, and our guide to what to wear on the trail covers the garments themselves.
How to Layer for Hiking: The 7 Rules
1. Start Cold
If you are comfortable standing at the trailhead, you are overdressed. Within ten minutes of walking, particularly uphill, you will be sweating, and sweat in your base layer is the thing you spend the rest of the day paying for.
The old guidance is to be slightly chilly for the first five minutes. It feels wrong and it is correct. Strip a layer before you start rather than a mile in when the damage is done.
2. Three Layers, Three Jobs
A base layer sits against the skin and moves sweat away from it. A mid layer traps air and holds warmth. An outer shell blocks wind and rain. Each does one job, and problems almost always come from asking one layer to do two.
A heavy fleece under a waterproof is not a substitute for a proper base layer, because nothing is moving moisture off your skin. A thick jumper is not a shell, because wind goes straight through it. The same one-job-per-item thinking runs through our guide to ultralight packing.
3. Never Wear Cotton
This is the one rule with no exceptions worth the name. Cotton absorbs up to twenty seven times its weight in water, loses essentially all insulating value when wet, and takes hours to dry. A cotton t-shirt as a base layer is the single most common reason people get cold on a hike.
Merino wool or a synthetic such as polyester does the opposite: both wick moisture outward and keep insulating even when damp. Merino resists odour better; synthetics dry faster and cost less. Either is fine. Cotton is not. A midweight merino top like the MERIWOOL 250g crew works as a base layer or a light mid layer, which is useful on a shoulder-season kit list.
4. Adjust Early and Often
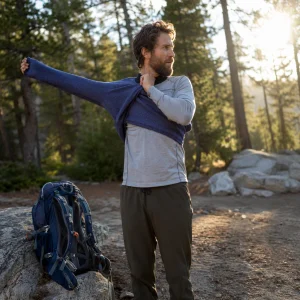
The layering system only works if you actually use it. Take a layer off at the bottom of a climb, not halfway up. Put the shell on before the rain properly starts, not after your mid layer is wet. Stop for thirty seconds to do it rather than pressing on.
Most people under-adjust because stopping feels like losing time. Two thirty second stops cost a minute and save you an afternoon of being alternately soaked and freezing. Knowing what is coming helps you time it, which is what our notes on predicting trail weather are for.
5. Put a Layer On the Moment You Stop
You stop generating heat immediately, and the sweat in your clothing starts cooling you fast. This is when people get genuinely cold, and in bad conditions it is where hypothermia starts. The habit worth building is to reach for your insulating layer as you take the pack off, before you sit down, before lunch.
This matters more in autumn and winter than the temperature suggests, because the air is cool enough to strip heat quickly but not cold enough to feel dangerous. It matters even more once the light goes, as our night hiking guide explains.
6. Protect the Extremities Separately
A hat, gloves and decent socks change comfort out of all proportion to their weight. You lose real heat through an uncovered head, and cold hands make everything from zips to snacks difficult. All three pack down to almost nothing, and they matter just as much on a multi-day trip, as our guide to backpacking for beginners sets out.
Socks deserve particular attention because they are the layer people most often get wrong, again by wearing cotton. Wool or synthetic, and a spare dry pair in the pack. Our guide to choosing hiking boots covers how sock thickness interacts with fit.
7. Keep the Shell Accessible
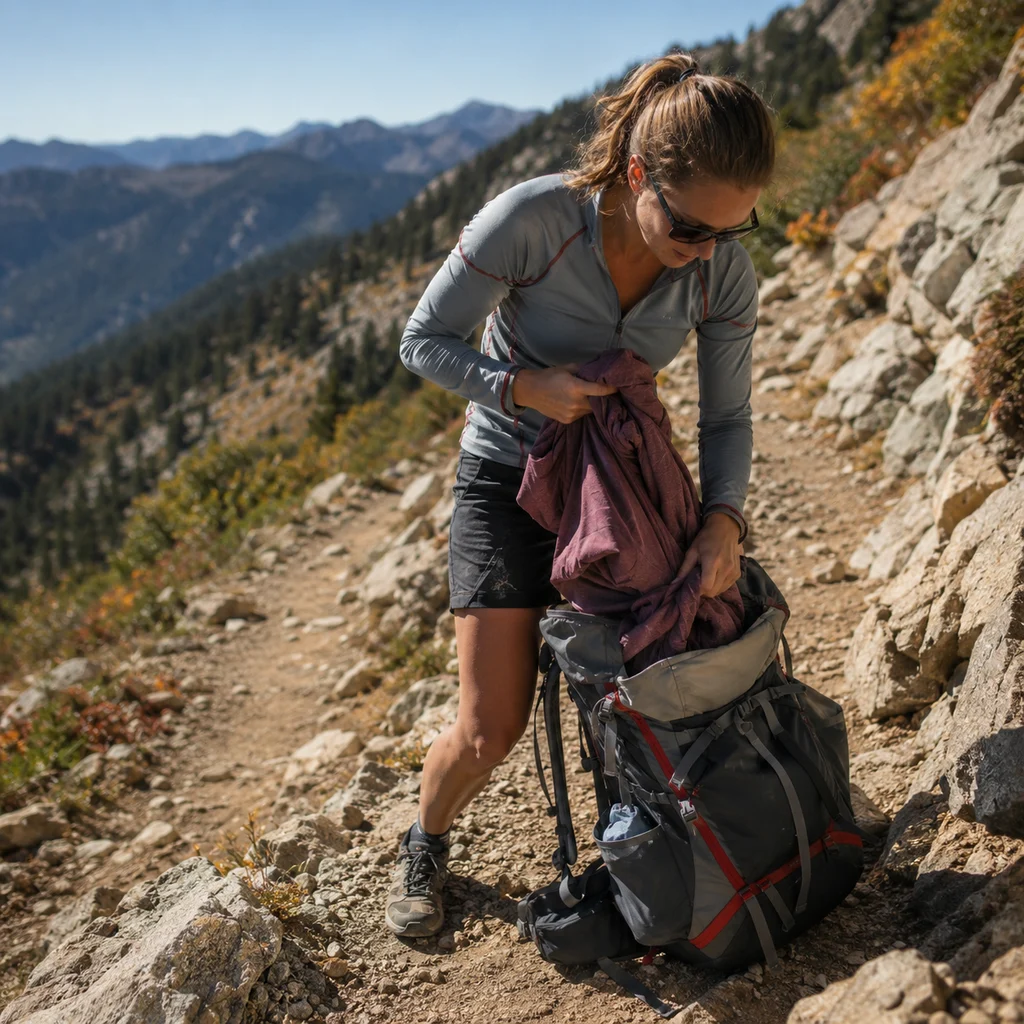
A waterproof buried at the bottom of the pack does not get used until you are already wet. It lives at the top, or in a lid pocket, where you can get at it in fifteen seconds without unpacking anything.
The same applies to the insulating layer. If the system requires effort to adjust, you will not adjust it, and an unadjusted system is just clothes. Our notes on daypack organisation cover packing so the things you need most are the easiest to reach.
What Each Layer Should Be
Specifics, without spending more than you need to.
The Base Layer
Merino wool or synthetic, close fitting but not tight, long or short sleeved depending on the season. Close fit matters because the fabric has to touch your skin to wick from it. A loose base layer is just a thin shirt.
One is enough to start. Buy a second before you buy anything else, because a dry base layer to change into at camp is the best comfort per gram in the whole kit.
The Mid Layer
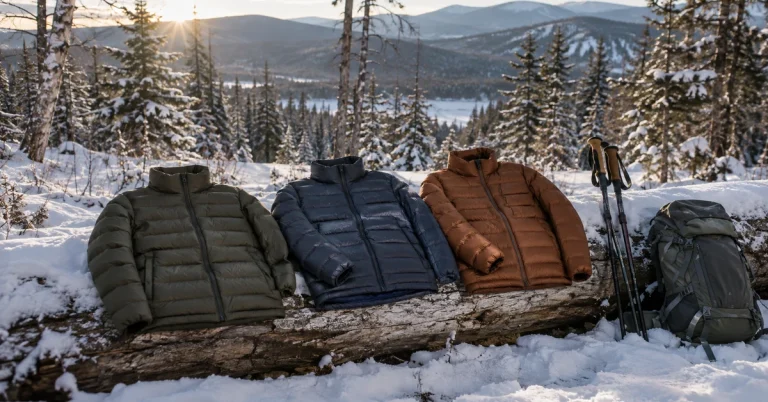
A fleece is the reliable default: warm, cheap, keeps working when damp and dries quickly. A light synthetic insulated jacket is warmer for the weight and packs smaller, but is less breathable when you are working hard.
Down is exceptional for standing still and poor while moving, because it does not breathe well and collapses when wet. Carry down for camp, not for climbing. A plain fleece such as the Columbia Steens Mountain is the unglamorous right answer for most hiking, and it is the single most reviewed fleece on Amazon for a reason.
The Shell
- Waterproof and breathable, with taped seams; a shower-resistant jacket is not a shell
- Pit zips if you can get them, because they dump heat without removing the jacket
- A hood that adjusts and actually stays up in wind
- Packable enough that carrying it on a dry day is not a decision
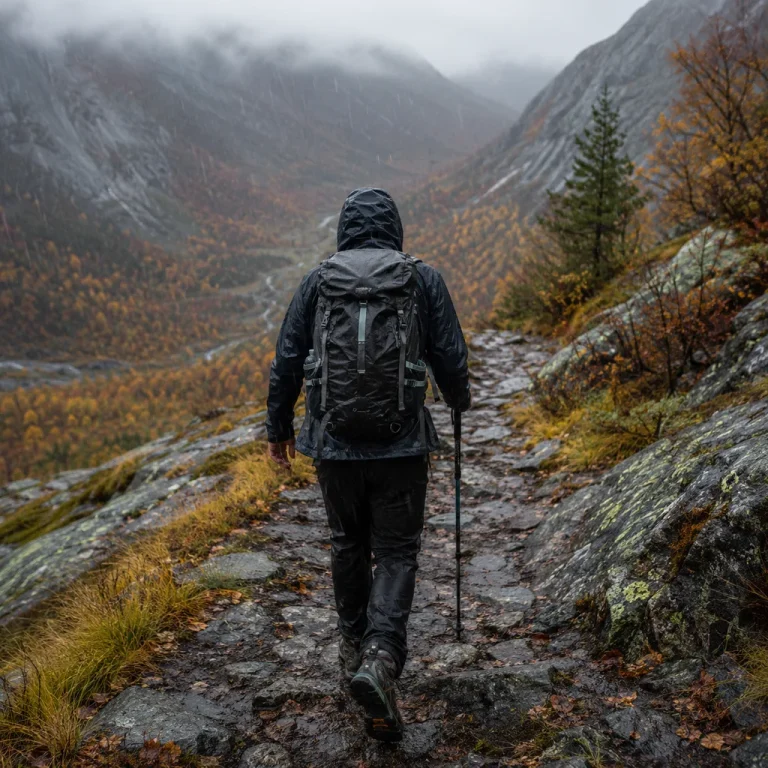
A jacket like the Marmot PreCip Eco covers all four, and our comparison of the best rain jackets for hiking looks at six options by conditions and budget. For sustained wet weather the advice in camping in the rain applies to the walking as well.
Layering by Season
Summer is often two layers: a base layer and a shell in the pack for wind and showers. The mid layer only comes out at height or after dark. Our hot weather hiking tips cover the other direction, where the problem is shedding heat rather than keeping it.
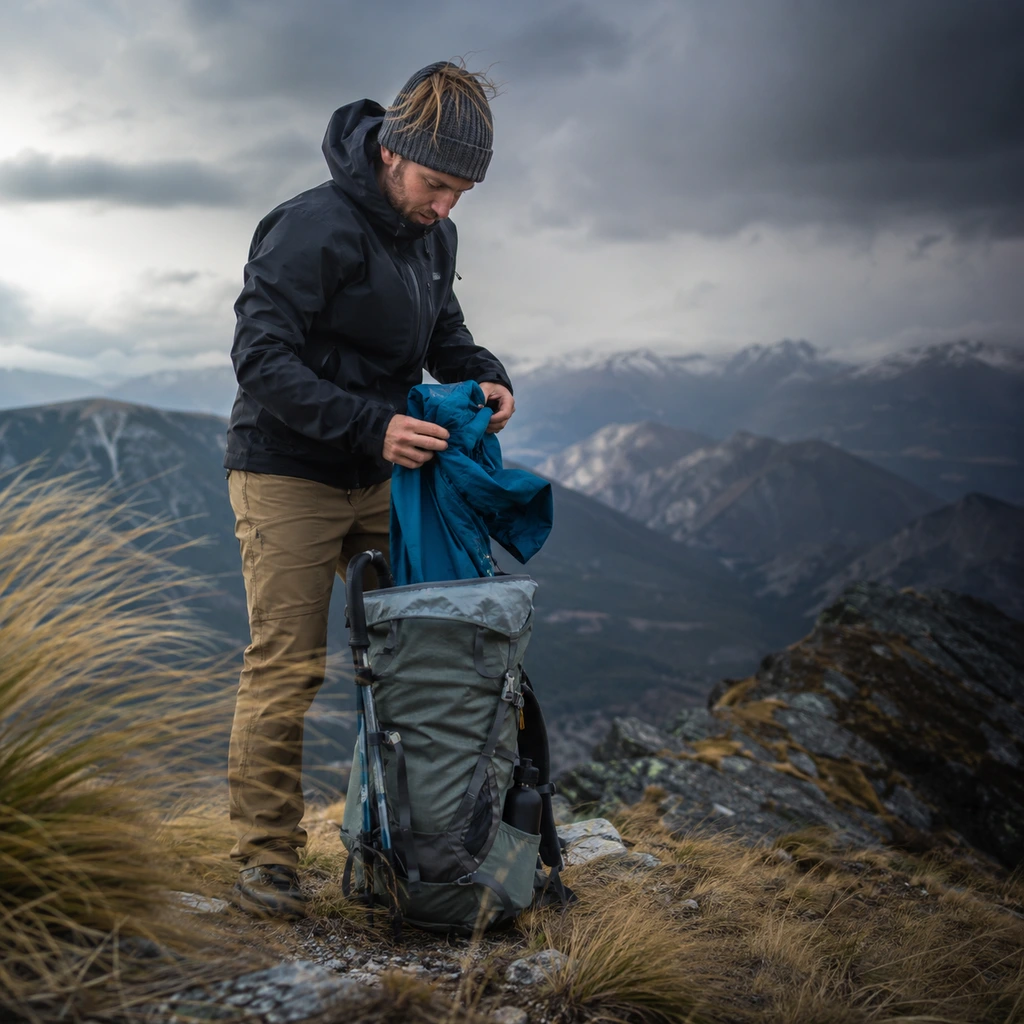
Autumn is where a proper system earns its keep, because the temperature swing between a sunny climb and a windy summit is at its widest. Expect to adjust three or four times in a day, and see our guide to fall hiking for the seasonal conditions.
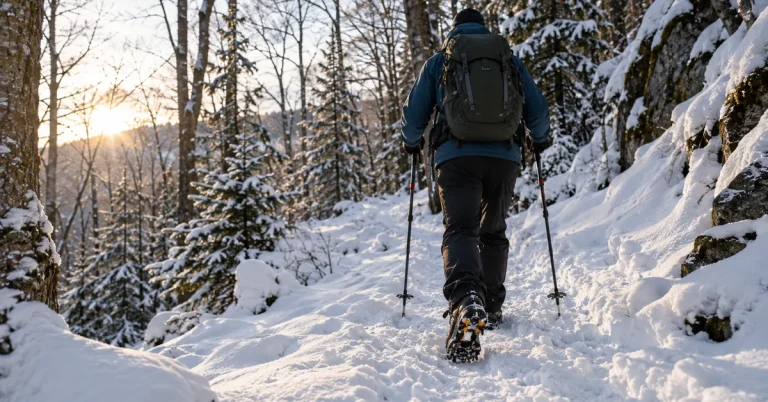
Winter adds a second mid layer rather than a thicker one, plus proper gloves and a hat you can pull over your ears. The principle does not change; the number of options does. The same system works standing still at night, which our guide to stargazing for beginners has strong opinions about.
Common Layering Mistakes
- Wearing a cotton t-shirt as a base layer, which undoes everything above it
- Setting off warm and comfortable, then sweating through the first climb
- Waiting until it is properly raining to put the shell on
- Sitting down for lunch before adding an insulating layer
- Buying one very thick jacket instead of two thinner layers
- Burying the waterproof at the bottom of the pack
- Wearing a shell all day with no ventilation, so you get wet from the inside
The subtle one is treating the system as fixed. Layering is something you do during the walk, not a decision you make in the car park. Trail running compresses the same problem into less time, as our guide to trail running for beginners covers.
Frequently Asked Questions
What are the three layers for hiking?
A base layer that moves sweat off your skin, a mid layer that traps warm air, and a waterproof windproof shell. Each has one job. Knowing how to layer for hiking is mostly about not asking any one of them to do another layer’s work.
Is merino or synthetic better for a base layer?
Both work well. Merino resists odour over multiple days and feels warmer when damp, which suits multi-day trips. Synthetics dry faster, cost less and are more durable, which suits regular day hikes. Neither is a mistake; cotton is.
Can I wear a fleece as my outer layer?
On a still dry day, yes. Fleece has almost no wind resistance, so a light breeze cuts straight through it and you lose the trapped air that keeps you warm. Carry a shell even if you expect not to need it; that is largely what it is for.
How many layers do I need in autumn?
Three is usually right: base, fleece, shell, with a hat and gloves in the pack. The point is not the number but the ability to move between one, two and three during the day as the ground tilts and the wind picks up.
Should I take my jacket off when walking uphill?
Almost always, yes, and before the climb rather than during it. Climbing generates a lot of heat, and staying zipped in means sweating through your base layer. Open the pit zips first if you have them, then remove the layer entirely.
Start slightly cold, keep the shell where you can reach it, and never wear cotton. Those three habits fix most of what goes wrong, and the rest you will work out on the hill. When it does turn properly wet, our round up of the best rain jackets for hiking is the next thing to read.
Discover more from Maive Verse
Subscribe to get the latest posts sent to your email.