
This post may contain affiliate links. If you buy through them, we may earn a small commission at no extra cost to you.
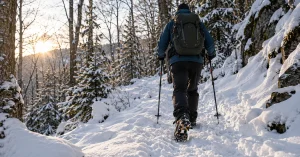
Hiking in snow and ice is mostly a traction problem wearing a clothing problem’s coat. The cold is manageable and the views are the best of the year, but the trail you walked in October has a polished ice runnel down the middle of it by December, and boots that grip perfectly well on rock do essentially nothing on that. Traction is what you buy first.
What follows is how winter actually changes a day hike: the traction, the layers, the daylight and the margin. It is a different sport from the same walk in summer, and the people who get caught out are usually the ones who did not notice that. If you are new to this, start here.
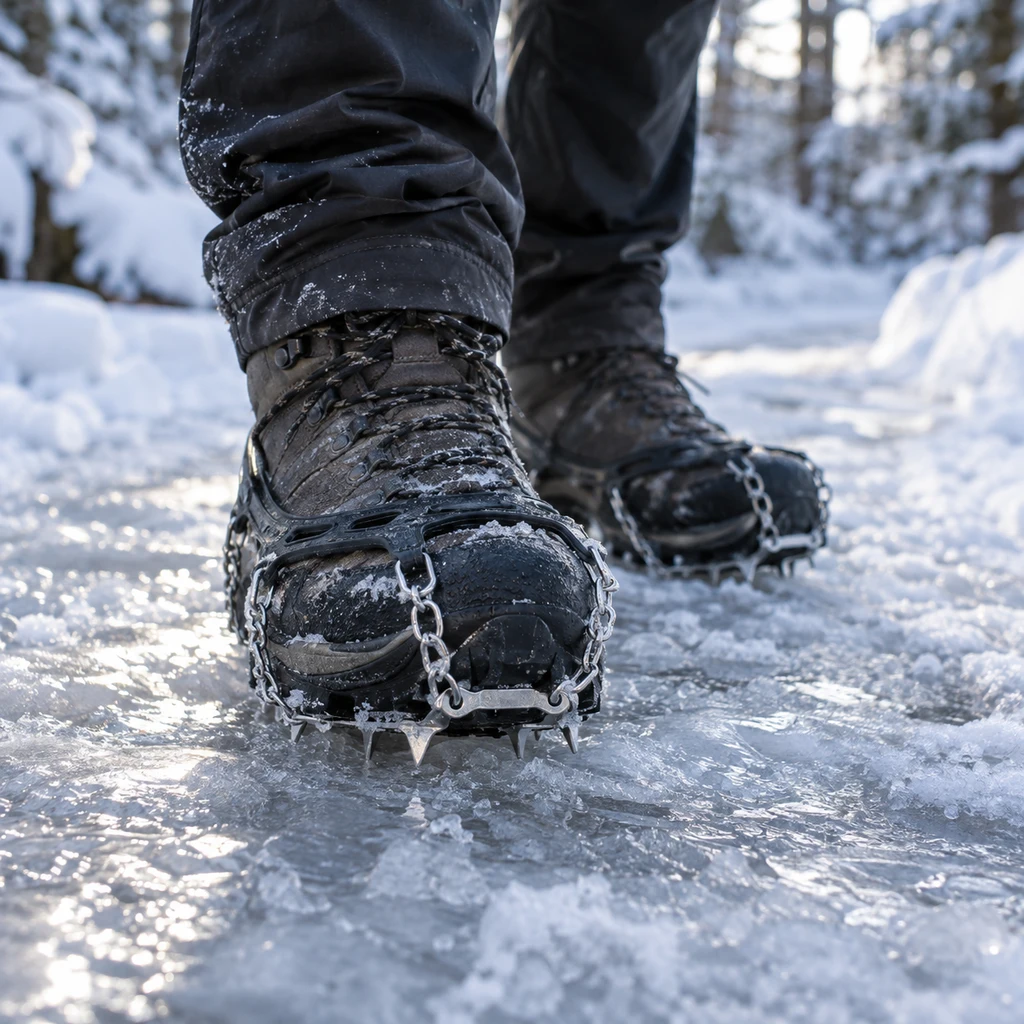
Table of Contents
The Three Things Winter Changes
The Surface
Fresh snow is the easy case. The hard case is what happens after a thaw and a refreeze, when packed snow turns to polished ice on exactly the steep sections where a slip matters. Boot rubber does almost nothing on that, and no amount of care substitutes for metal points.
The Clock
You lose hours of daylight and gain hours of walking, because everything is slower in snow. A route that took four hours in September takes six in January, and darkness arrives at four. Carrying a headtorch is not optional in winter, see our night hiking guide.
The Margin
A twisted ankle in summer is a slow limp back to the car. The same injury in winter, in wet clothing, two hours from the trailhead with the light going, is a genuine emergency. Everything you carry is insurance against being stationary and cold rather than against the walking itself.
Traction: What to Put on Your Boots
Microspikes for Ice
Chains with short steel spikes that stretch over a boot, and the right answer for icy trails, packed snow and frozen mud. Kahtoola MICROspikes are the category defining version, and they turn a trail that felt dangerous into one that feels normal. They go on in thirty seconds and live in the pack the rest of the time.
Traction Devices for Mixed Ground
Coil or bead systems like the Yaktrax Diamond Grip grip across a full foot and handle mixed terrain, packed snow and the icy car park at the end better than aggressive spikes do. They are less secure than microspikes on steep ice and more comfortable on everything else.
Crampons Are a Different Tool
Full crampons with long front points are mountaineering equipment. They need stiff boots, they need technique, and on a rolling trail they are worse than microspikes because the points catch. If a route genuinely needs crampons, it also needs an axe and the training to use both.
Snowshoes for Depth
Snowshoes solve a different problem: floating on soft deep snow rather than gripping hard snow. If you are sinking past your knees, no traction device helps and snowshoes do. Many winter days want both in the pack.
Layering for Standing Still, Not Walking
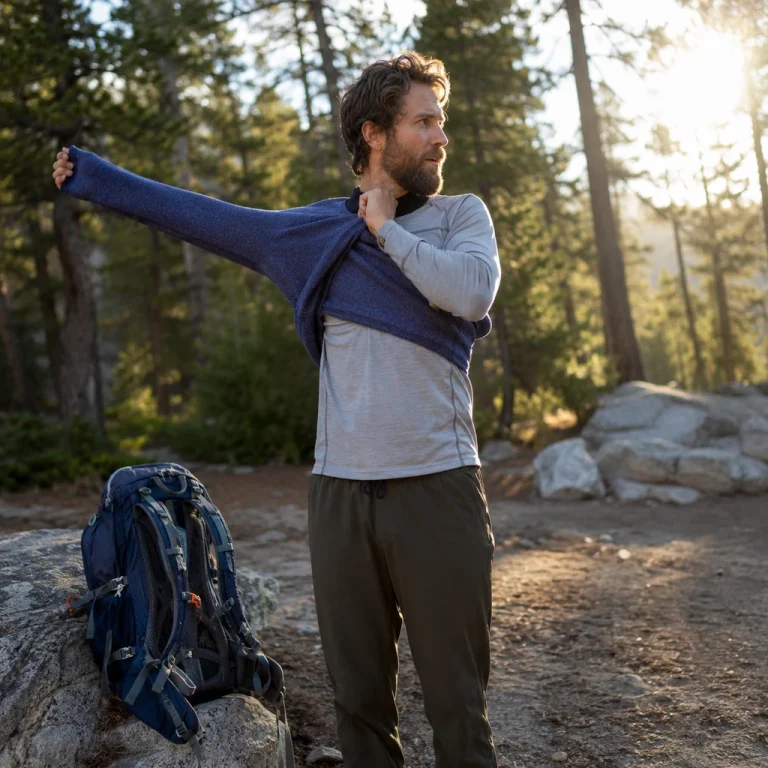
The winter layering mistake is dressing for how warm you are walking uphill. You will stop, and the sweat you generated on the climb is what makes you cold at the top. The rule is to start slightly cold and add a layer the moment you stop.
| Layer | Job | Avoid |
|---|---|---|
| Base | Move sweat off skin | Cotton, which holds it against you |
| Mid | Trap warm air while moving | Anything that compresses flat when wet |
| Insulated | Warmth when stationary | Leaving it packed until you are cold |
| Shell | Block wind and wet snow | Non breathable, which soaks you from inside |
| Extremities | Hat, gloves, gaiters | Bare ankles, which fill with snow |
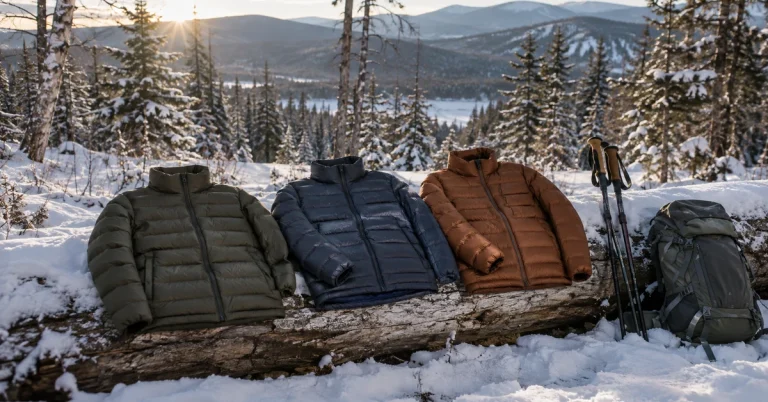
The insulated layer is the one people underuse. Down is warmer for its weight and useless once wet; synthetic insulation keeps some insulating value damp, which is why it suits wet snow conditions better. Our insulated jacket round up compares six, and our layering guide covers the system.
Gaiters such as the Unigear waterproof leg gaiters seal the gap between boot and trouser. Without them, snow packs into the top of your boot, melts, and you spend the afternoon with wet feet, which is the fastest route to cold injury on a long day.
What Goes in the Pack
Always
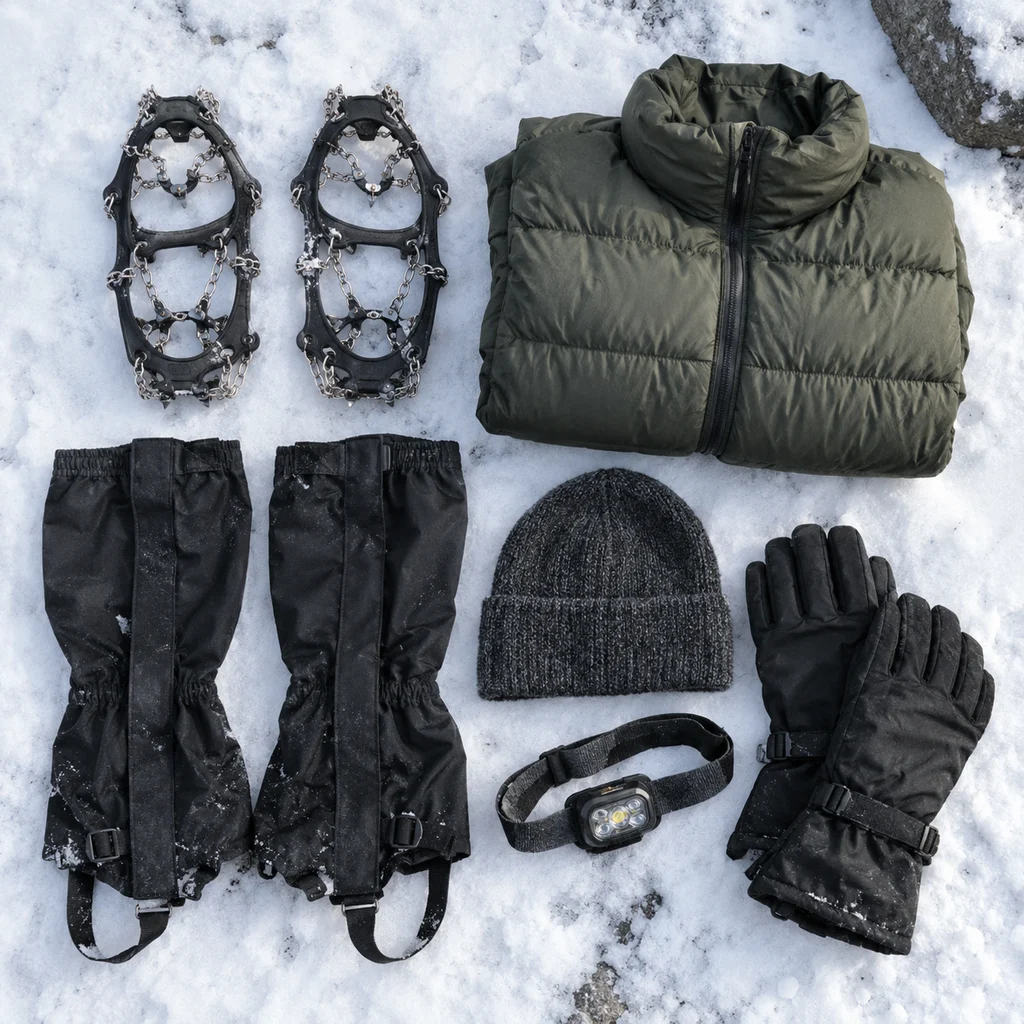
Traction device, insulated jacket, hat, spare gloves, headtorch with spare batteries, more food than you think, and a hot drink in a flask. Water freezes, so an insulated bottle carried upside down keeps the drinking end liquid longest, and hydration still matters when you do not feel thirsty.
Usually
Gaiters, trekking poles with snow baskets fitted, sunglasses because snow glare is brutal, and a foam sit pad so a rest stop does not mean sitting in snow. Poles do more for balance on ice than most people expect, see how to use them.
For Anything Serious
Map and compass that work without a battery, a bivvy bag or emergency shelter, and a means of calling for help. On steep snow above treeline, understand that avalanche terrain is a different discipline requiring training and equipment this article does not cover.
Walking Technique on Snow and Ice
Shorter Steps, Flatter Feet
Put the whole foot down rather than rolling heel to toe, and keep your steps short so your weight stays over your feet. Long strides are what put you on your back, because the foot lands ahead of your centre of gravity where it can slide out.
Kick Steps Uphill
On firm snow without traction fitted, kick the toe of the boot in to make a step, then weight it. On the way down, plant the heel hard and let it cut in. Both become unnecessary once you have spikes on, which is the point of carrying them.
Put Traction On Early
The moment you think about it is the moment to stop and fit it. Almost every winter fall happens to someone who was about to put spikes on at the next flat bit. It takes thirty seconds and it is the single most useful habit in this article.
Read the Aspect
North facing slopes hold ice long after south facing ones have cleared, and shaded gullies can be frozen when the rest of the trail is bare. Expect conditions to change by aspect rather than by altitude alone, which is why checking the forecast properly beats checking the temperature.
Common Mistakes
- No traction device, on the assumption that good boots are enough on ice.
- Waiting until after a slip to put spikes on.
- Dressing for walking uphill and then standing still at the summit.
- Cotton anywhere in the system, which holds sweat against the skin.
- No gaiters, so snow melts into the top of the boots.
- Underestimating how much earlier it gets dark, and carrying no headtorch.
- Treating a winter route like its summer self and planning the same pace.
- Leaving the insulated jacket packed until the cold has already set in.
Deciding Whether to Go
Check the overnight low as well as the daytime high, check wind chill rather than raw temperature, and check whether there has been a thaw and refreeze, because that is what makes ice rather than snow. Winter weather guidance is worth a read before the first cold trip of the season.
Then set a turnaround time and keep it. The most common winter incident is not a dramatic fall, it is a party that pressed on, ran out of daylight, and got cold. That is also the easiest one to avoid, and basic hiking safety covers the rest.
Frequently Asked Questions
Do I need microspikes for winter hiking?
On any trail that has packed snow or ice, yes. Boot rubber does not grip polished ice, and microspikes are inexpensive, light and fit in a pack pocket. They are the highest value winter purchase there is.
What is the difference between microspikes and crampons?
Microspikes have short points for trail walking and fit any boot. Crampons have long front points for climbing steep snow and ice, need stiff boots and technique, and are worse on rolling trails because the points catch.
What should I wear hiking in snow?
Synthetic or wool base, a mid layer, a shell, and an insulated jacket you put on every time you stop. Plus hat, gloves, and gaiters. Never cotton. See our outfit guide.
Are trekking poles useful in snow?
Very. They add two points of contact on ice, take load off knees on descents, and let you probe soft snow. Fit the wide snow baskets or the tips sink straight through.
How much colder should I plan for?
Plan for the wind chill at the highest point of the route, not the temperature at the trailhead. Exposed ridges are routinely ten to fifteen degrees colder in effect than the valley, and that is where you will be standing still.
Hiking in snow and ice comes down to traction on your boots, an insulated layer you actually put on, and a turnaround time you keep. Get those three right and winter is the best hiking season there is. Our insulated jacket round up covers the warm layer, the layering guide covers the system, and winter boots cover what the spikes go over.
Discover more from Maive Verse
Subscribe to get the latest posts sent to your email.