

This post may contain affiliate links. If you buy through them, we may earn a small commission at no extra cost to you.
Learning how to pack a backpacking pack properly is the cheapest upgrade you will ever make to a trip. The same gear, loaded two different ways, can feel like two different packs: one rides quietly against your back, the other pulls at your shoulders and swings on every step. The difference is almost entirely where the weight sits.
This guide walks through the zone system most experienced backpackers use, then covers waterproofing, fit and the mistakes that cost the most comfort. If you are still building a kit, start with our backpacking for beginners guide and come back when the gear is on the floor in front of you.
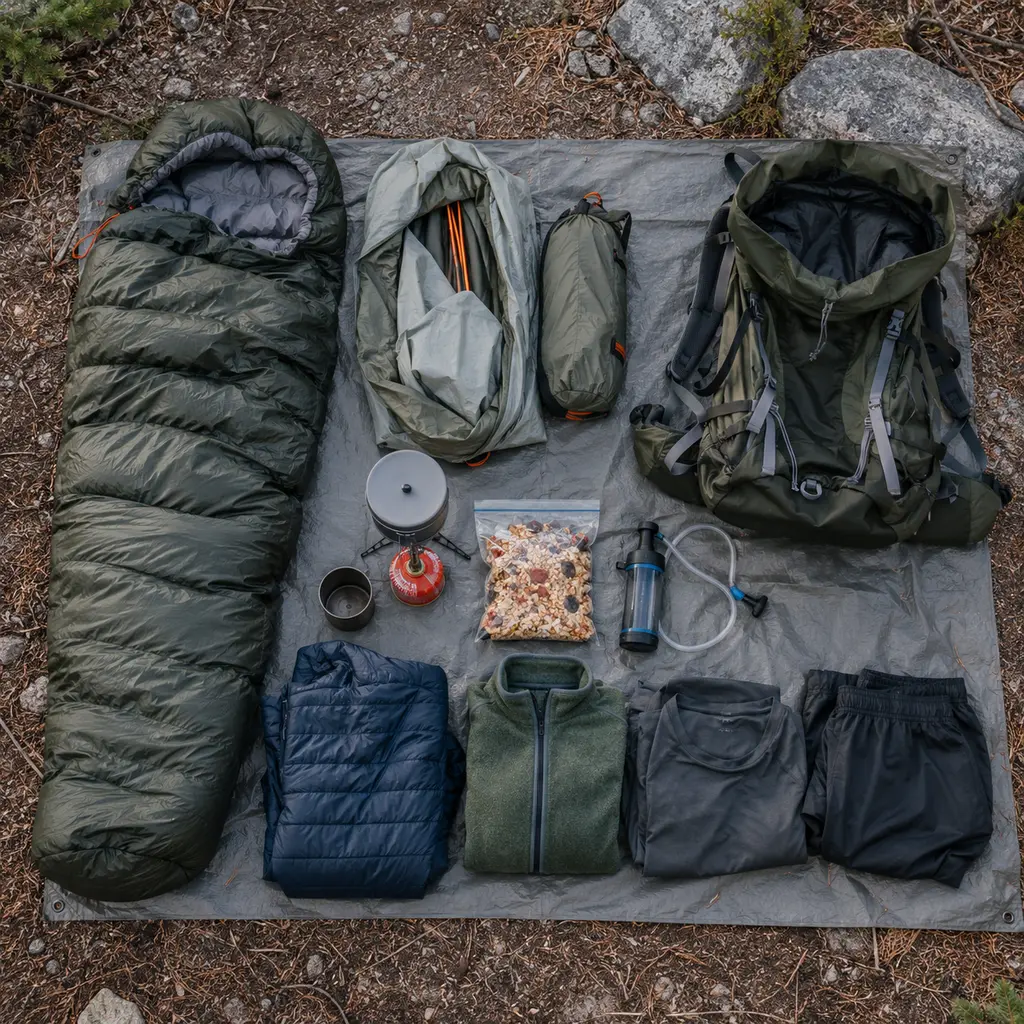
Table of Contents
Start With Everything Laid Out
Before any of the zone rules matter, you need to know exactly what you are carrying. Backpacking rewards a deliberate kit: every item should earn its place, and the layout step is where you decide.
Why the Floor Comes First
Pull every item out and spread it on the floor or a tent footprint before anything goes in the pack. Seeing the whole kit at once is the only reliable way to spot duplicates, forgotten essentials and things that should stay home. It also lets you sort by weight, which is what the zone system runs on.
Sort Into Heavy, Medium and Light
Make three piles. Heavy: food, water, stove fuel, cook kit and a bear canister if you carry one. Medium: tent body, rain shell, insulating layers. Light and bulky: sleeping bag, sleeping pad, camp clothes. Small items that you need during the day go in a fourth pile for pockets.
Weigh Your Base Weight
Base weight is everything except consumables: food, water and fuel. A kitchen scale and a spreadsheet take twenty minutes and usually reveal a pound or two you did not know you were carrying. Our ultralight packing hacks cover the easiest places to cut, and the wider ultralight backpacking approach is worth reading about even if you never go fully minimal.
How to Pack a Backpacking Pack: The Three Zones
Think of the main compartment as three stacked zones. The goal is to keep the heaviest load close to your spine and roughly between your shoulder blades, which puts your center of mass over your hips rather than behind them.
The Bottom Zone: Light and Bulky
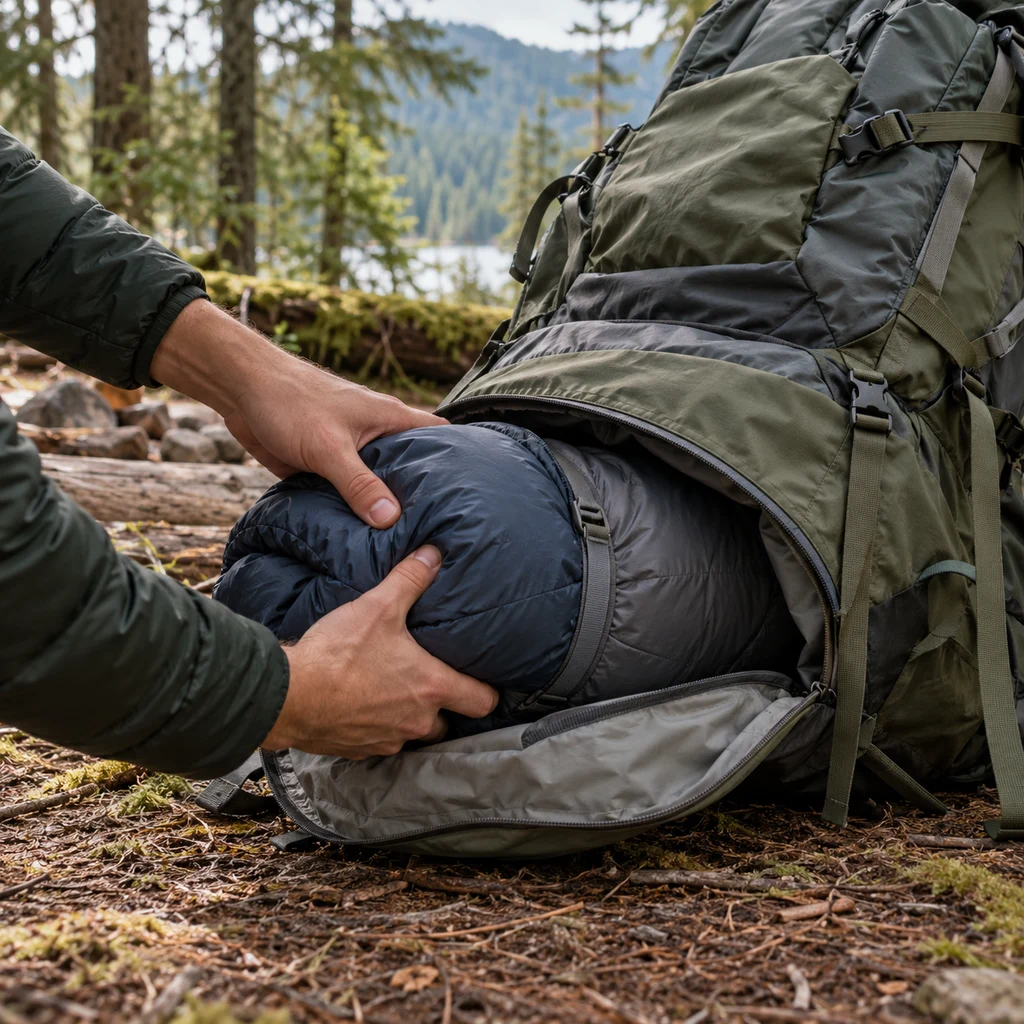
Your sleeping bag goes in first, usually in a waterproof stuff sack or straight into a pack liner. It fills the awkward rounded base of the pack, cushions everything above it, and you do not need it until camp. Camp clothes and a pillow can share this space.
The Core Zone: Heavy and Dense
The middle of the pack, tight against the back panel, is where the heaviest items belong: food bag, cook kit, fuel and water reservoir. Weight placed here transfers cleanly to the hip belt. Placed lower it sags; placed further from your back it pulls you backward with a lever arm, which is basic center of mass physics working against you.
The Top Zone: Things You Need on the Trail
The top of the main compartment holds what you might want before camp: an insulating jacket, rain shell, water filter, first aid kit and toilet kit. These should come out without unpacking anything else.
Fill the Gaps
Stuff soft items like a fleece or puffy around hard ones so nothing shifts. A pack that is packed full and evenly feels lighter than the same weight rattling around half empty.
Where Specific Gear Goes
Tent
Split the tent if you are traveling with a partner: one carries the body and fly, the other the poles and stakes. Poles can slide vertically down the side of the main compartment or under the side compression straps. Our picks for the best backpacking tents include packed sizes worth checking against your pack volume.
Food Bag and Bear Canister
Food is usually the single heaviest item, so it lives in the core zone. A bear canister fits best vertically in the middle of the pack or horizontally just above the sleeping bag, with soft items packed around it. Check local regulations, because many parks require one. Our guide to camping food storage covers the rules.
Water
A hydration reservoir sits in its sleeve against the back panel, which is exactly where heavy weight belongs. Bottles go in side pockets you can reach without taking the pack off. Our hydration guide explains how much to carry, and the best backpacking water filters keep refills light.
Stove and Fuel
Pack fuel canisters upright and below your food so a leak cannot reach it. The stove usually nests inside the cook pot, which then goes in the core zone.
Lid and Hip-Belt Pockets
The lid holds the small things you reach for several times a day: map, headlamp, sunscreen, bug spray, snacks. Hip-belt pockets are for what you want without stopping: phone, lip balm, a bar or two.
What Goes Outside the Pack
As little as possible. Trekking poles, a foam pad and a wet tent fly are reasonable to strap outside. Anything dangling swings, snags on branches and shifts your balance. Our guide on how to use trekking poles covers stowing them on the move.
Packing Checklist by Zone
Use this as a quick reference while loading. Adjust for your own kit, but keep the logic of heavy in the middle and close to your back.
| Zone | What Goes There | Why |
|---|---|---|
| Bottom | Sleeping bag, camp clothes, pillow | Bulky, light, not needed until camp |
| Core, against back | Food, cook kit, fuel, water reservoir | Heaviest items transfer weight to hips |
| Core, outer side | Tent body, layers to fill gaps | Medium weight, keeps load stable |
| Top | Rain shell, puffy, filter, first aid | Fast access during the day |
| Lid | Map, headlamp, sunscreen, snacks | Small items used often |
| Hip belt | Phone, lip balm, a snack | Reach without stopping |
| Side pockets | Water bottles, tent poles | Easy reach, long items |
| Outside straps | Foam pad, trekking poles, wet fly | Only what cannot go inside |
Keeping Gear Dry
Use a Pack Liner
Pack fabrics shed light rain, but seams and zippers leak in a long storm. A simple liner bag inside the main compartment keeps everything dry, and a trash compactor bag works almost as well as a purpose-made one. A pack cover helps but is not enough by itself in sustained rain.
Dry Bags for Critical Items
Your sleeping bag and insulating layers are the items that cannot get wet, because wet down loses most of its warmth. Give them their own waterproof sacks; a roll-top dry bag is the simplest option. Our cold weather backpacking guide explains why dry insulation matters more as temperatures drop.
Adjusting the Fit Once It Is Packed
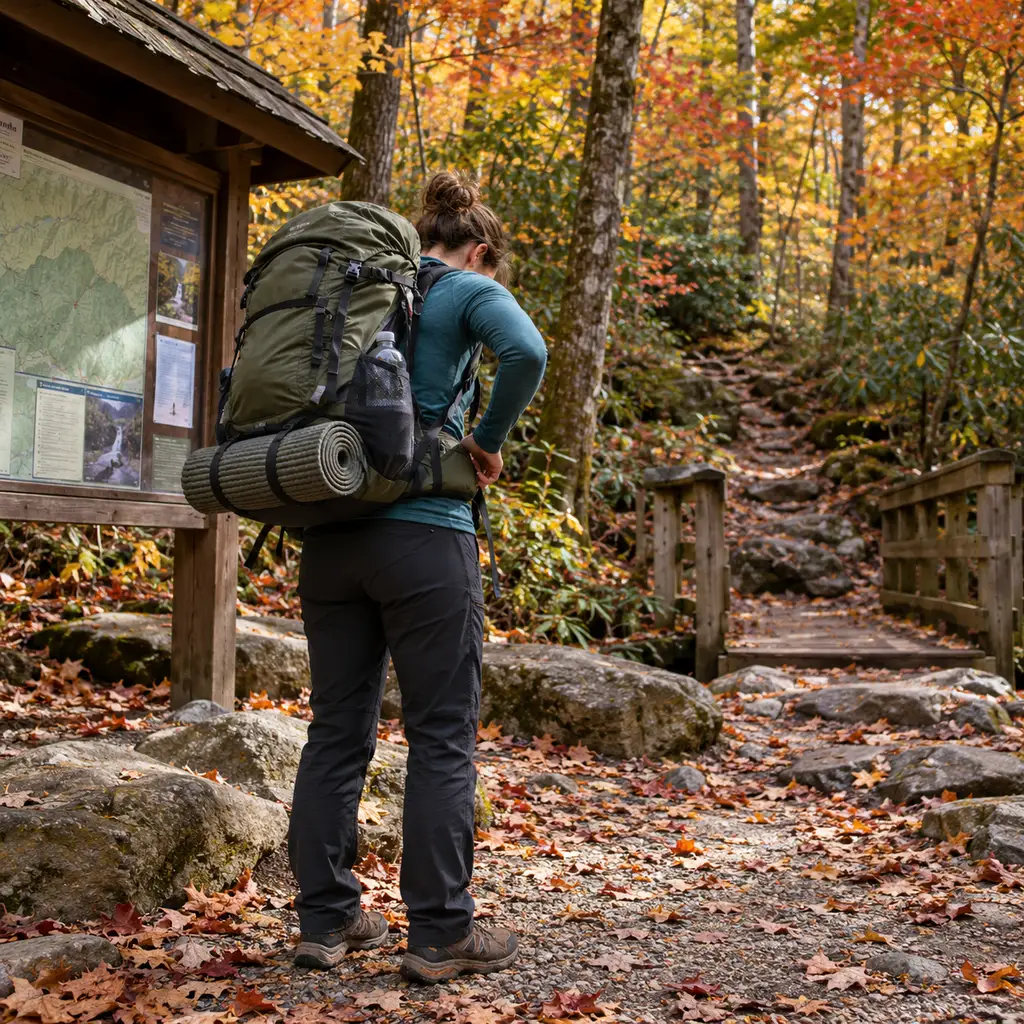
A well loaded pack still feels wrong if it is not adjusted. Loosen everything, put the pack on, then tighten in this order. Our round-up of the best backpacking backpacks covers sizing torso length before you get this far.
1. Hip Belt
Center the padded belt on your iliac crest, the top of your hip bones, and tighten it firmly. Most of the load should ride here, not on your shoulders.
2. Shoulder Straps
Pull them snug enough to hold the pack against your back, but not so tight that they take weight off the hip belt.
3. Load Lifters
The small straps from the top of the shoulder straps to the pack frame pull the load toward you. Around a 45 degree angle is the usual target.
4. Sternum Strap
Clip it about an inch below the collarbones and snug it lightly. It keeps the shoulder straps from sliding outward.
Repacking on the Trail
Your load gets lighter and changes shape every day as you eat. Each morning, move the remaining food back into the core zone against your back and fill the space it left with soft items, so the heavy part of the load never drifts low or outward.
A full reservoir adds several pounds in one go. Retighten the hip belt and load lifters after every refill, because the pack will settle differently than it did with the reservoir nearly empty.
Pack the wet tent fly last and keep it outside the liner, in a mesh pocket or strapped under the lid, so it cannot soak the dry gear. Knowing how to pack a backpacking pack in a downpour is mostly about keeping wet and dry separated. A trekking pole or two can also double as tent poles on some shelters, which saves weight inside the pack.
Common Packing Mistakes
- Heavy items at the very bottom, which makes the pack sag and pull backward.
- Heavy items far from your back, which levers you backward on every step.
- Too much hanging off the outside, which swings and snags.
- Rain gear buried at the bottom when the weather turns.
- No liner, so one storm soaks the sleeping bag.
- Never adjusting straps on the trail as the load changes through the day.
Most of these are fixed by a single shakedown hike. Load the pack at home, walk a few miles, and notice what moves or digs in. If you also ruck for training, the weight placement principles in our rucking for beginners guide are the same.
Frequently Asked Questions
Where should the heaviest items go in a backpack?
In the middle of the main compartment, tight against the back panel, roughly between your shoulder blades. That keeps the load close to your spine and lets the hip belt carry it.
Should the sleeping bag go at the bottom?
Usually, yes. It is light and bulky, fills the rounded base and is not needed until camp. Many packs have a separate bottom compartment designed for it.
How heavy should a backpacking pack be?
A common guideline is a total pack weight of no more than about 20 percent of your body weight for a multi day trip, with a base weight under 20 pounds for most beginners. Lighter is more comfortable, so cut where you can.
Do I need a pack cover if I use a liner?
A liner is the more important of the two because it protects gear from water that gets through seams and zippers. A cover keeps the pack fabric from soaking up water and getting heavier, so many people use both.
How do I stop my pack from swaying?
Pack it full and dense with heavy items close to your back, cinch the compression straps, and tighten the load lifters. Swaying almost always means weight is too far from your body or the load is loose.
Once you know how to pack a backpacking pack by zones, it becomes a five minute routine: lay it out, sleeping bag in the bottom, heavy gear in the middle against your back, daytime items on top, then adjust the straps in order. Packs like the Osprey Atmos AG 65, the Osprey Rook 65 and the Kelty Coyote 65 make it easier with sensible pockets and adjustable suspension. Try it on a short overnight before your next big trip, and pick your shelter from our tent guide and your bag from the best backpacking sleeping bags. Then plan clean water with our guide to purifying water while backpacking and look at our bikepacking packing guide if you ever take the trip on two wheels.
Discover more from Maive Verse
Subscribe to get the latest posts sent to your email.