
Master how to pack a bikepacking bag for optimal stability. Discover technical strategies for weight distribution, gear access, and better trail handling.
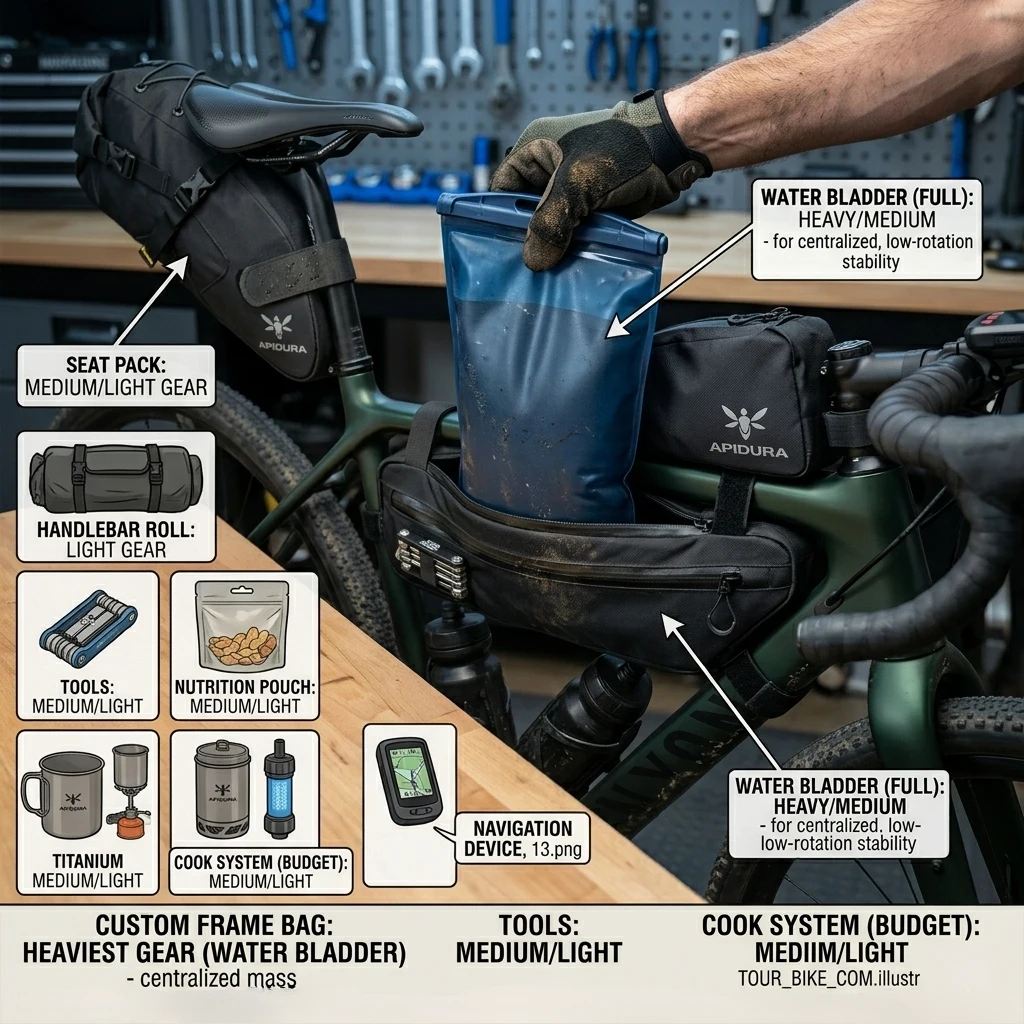
Table of Contents
Introduction: The Physics of the Loaded Bicyc
Understanding how to pack a bikepacking bag is a technical requirement for maintaining safety on variable off-road terrain. A bicycle’s handling characteristics are fundamentally altered by the addition of 15 to 30 pounds of wilderness gear. If the weight is poorly distributed, the bike becomes difficult to steer, prone to lateral swaying, and unstable during steep descents. This guide focuses on the mechanical principles of weight distribution to ensure your bike remains nimble and predictable. Mastering this skill is as essential as building your Ultimate Bikepacking Gear List.
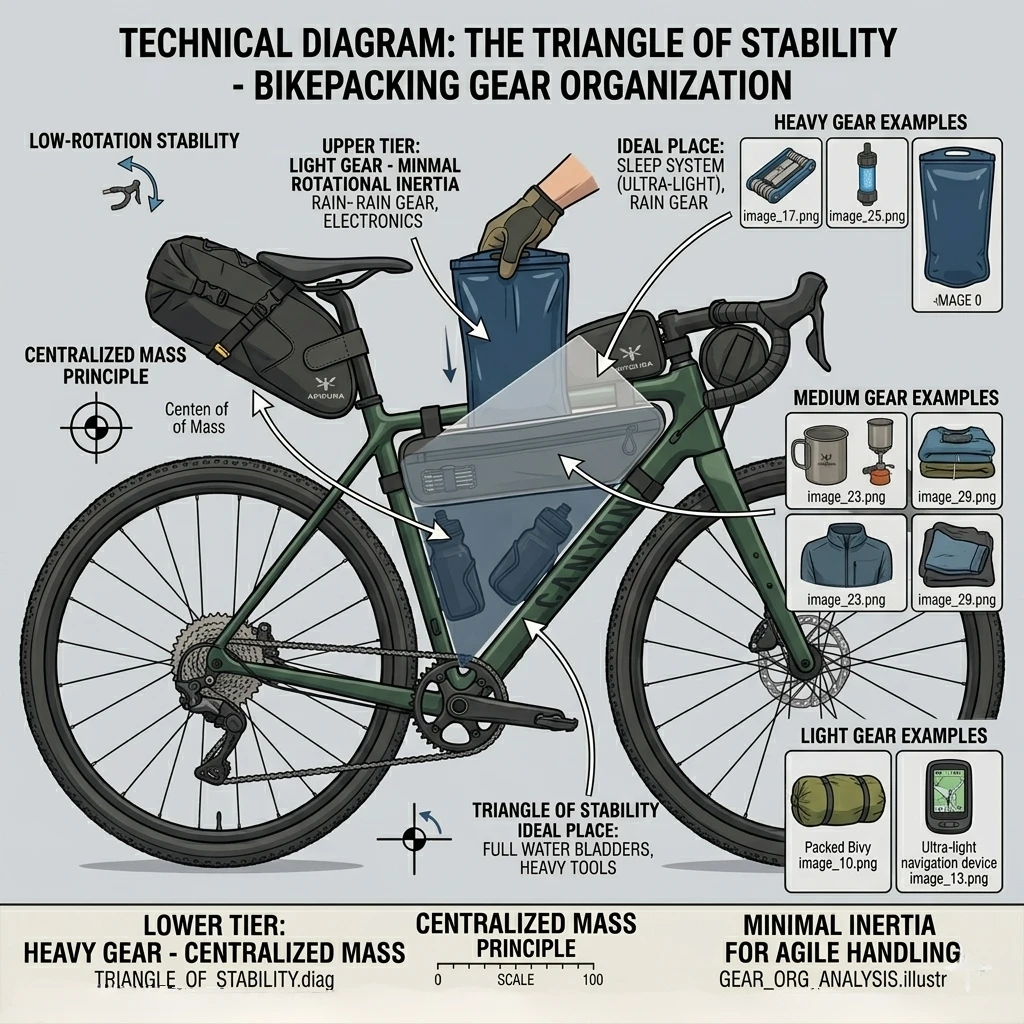
The primary goal of efficient packing is to keep the center of gravity as low and centralized as possible. This minimizes the “pendulum effect” caused by heavy items swaying at the extreme ends of the frame. High-quality bikepacking systems rely on soft bags that integrate with the bike’s geometry. Beginners often make the mistake of overpacking the seat pack, which leads to significant “tail wag” on technical climbs. Learning the correct sequence of loading transforms the bike from a heavy burden into a capable exploration tool.
Self-sufficiency in the backcountry requires rapid access to specific tools without fully unpacking. Proactive organization separates gear into “active use” and “static camp” categories. This division of equipment ensures that a mechanical failure or sudden weather shift can be managed in seconds. This methodology follows the same logic found in our Bikepacking for Beginners Guide. A well-packed bike is a silent bike, reducing the mechanical stress on bag straps and frame mounting points.
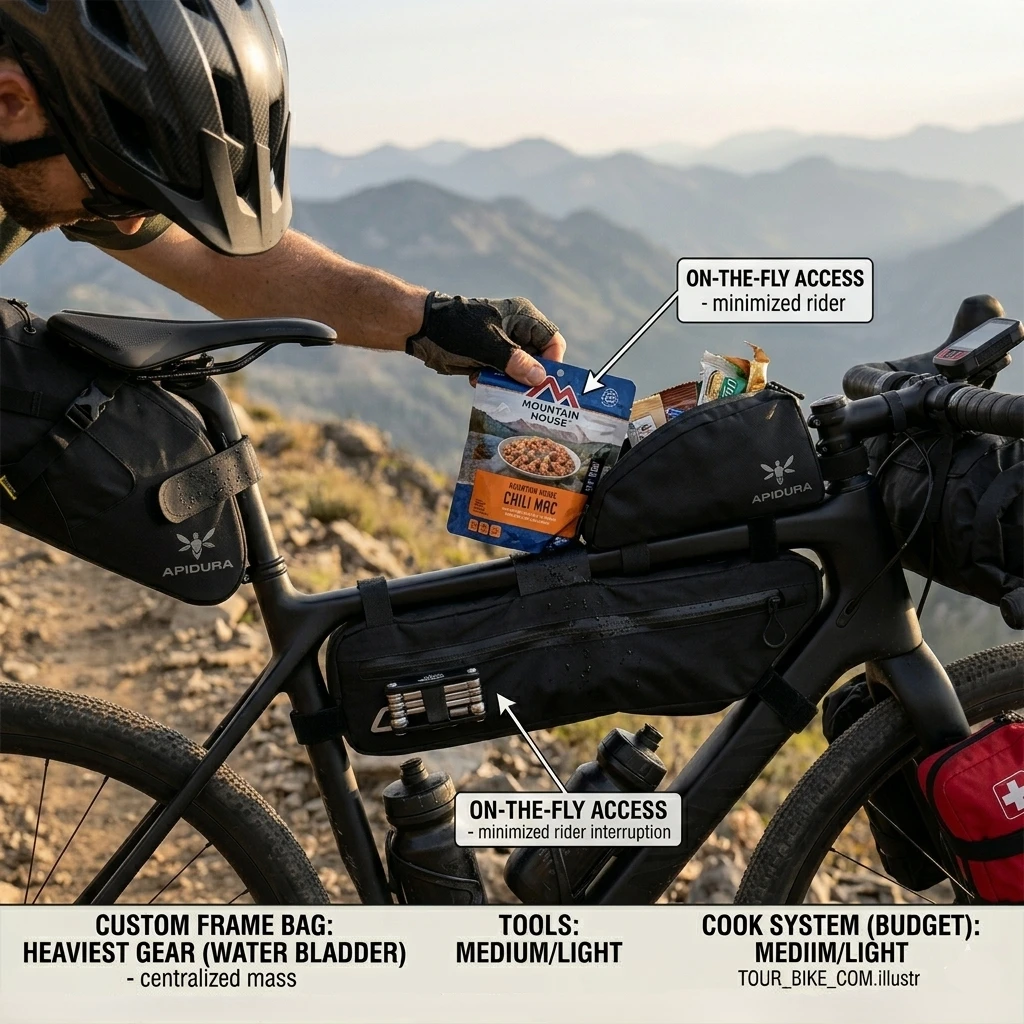
1. The Heavy-Low-Center Rule of Weight Distribution
The most important concept in learning how to pack a bikepacking bag is the “Heavy-Low-Center” rule. This principle dictates that the densest items must be placed in the lowest possible position within the center of the frame. This placement preserves the bike’s natural tip-in behavior during cornering. Placing heavy items in a handlebar bag or a seat pack creates leverage that resists the rider’s steering inputs. Stability is the foundation of off-road safety, especially on Difficult Trails.
Identifying High-Density Gear
High-density items include water, tools, stove fuel, and calorie-dense food like canned goods or dense bars. These items have the highest mass-to-volume ratio and exert the greatest influence on handling. For a technical breakdown of these essentials, refer to our 3-Day Adventure Gear List. Proper identification allows the rider to prioritize the frame bag for these specific components.
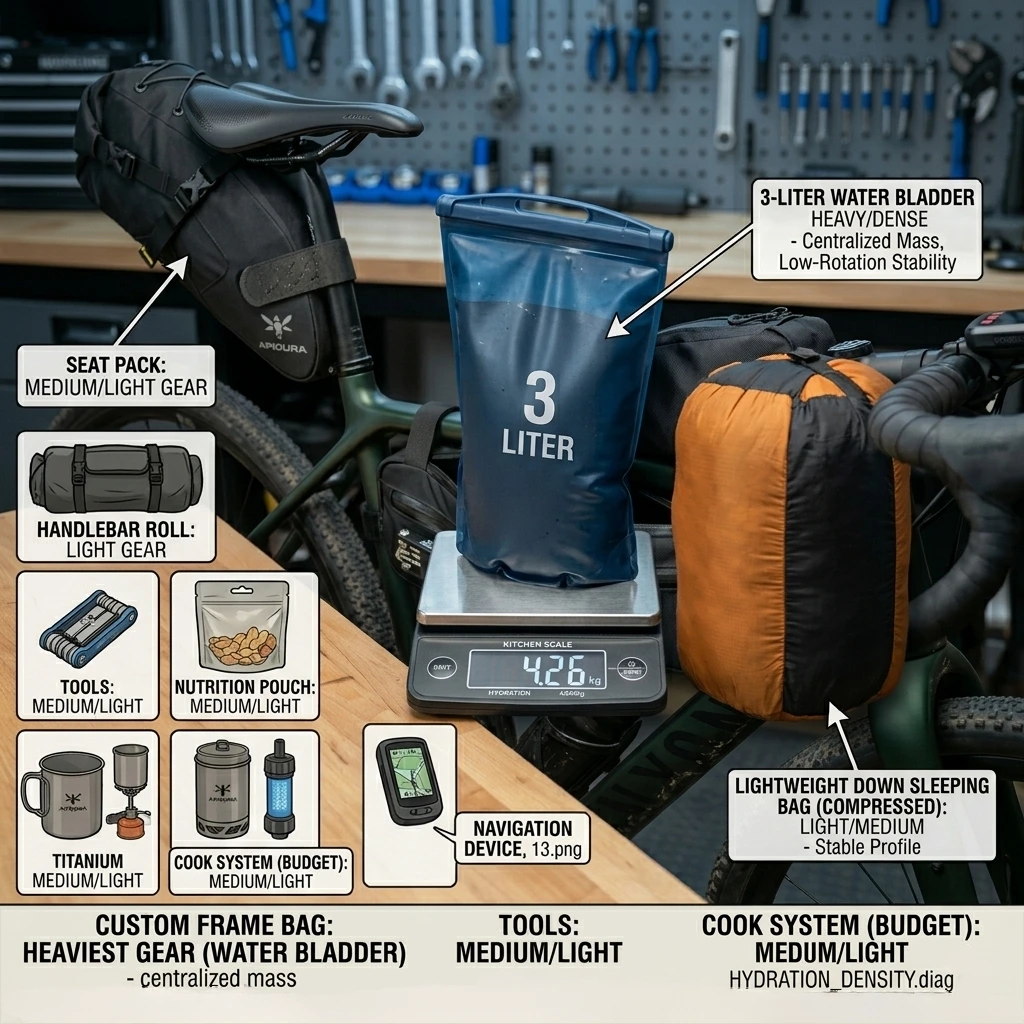
Managing the Center of Gravity
By centering the mass, the rider ensures that the weight is shared equally between the front and rear tires. This maximizes traction and prevents the front wheel from washing out in loose gravel. A centralized load also reduces the stress on the headset and seat post. This mechanical conservation is a core tenet of the Leave No Trace packing ethos . Maintaining a balanced machine is a proactive safety measure for long-distance travel.
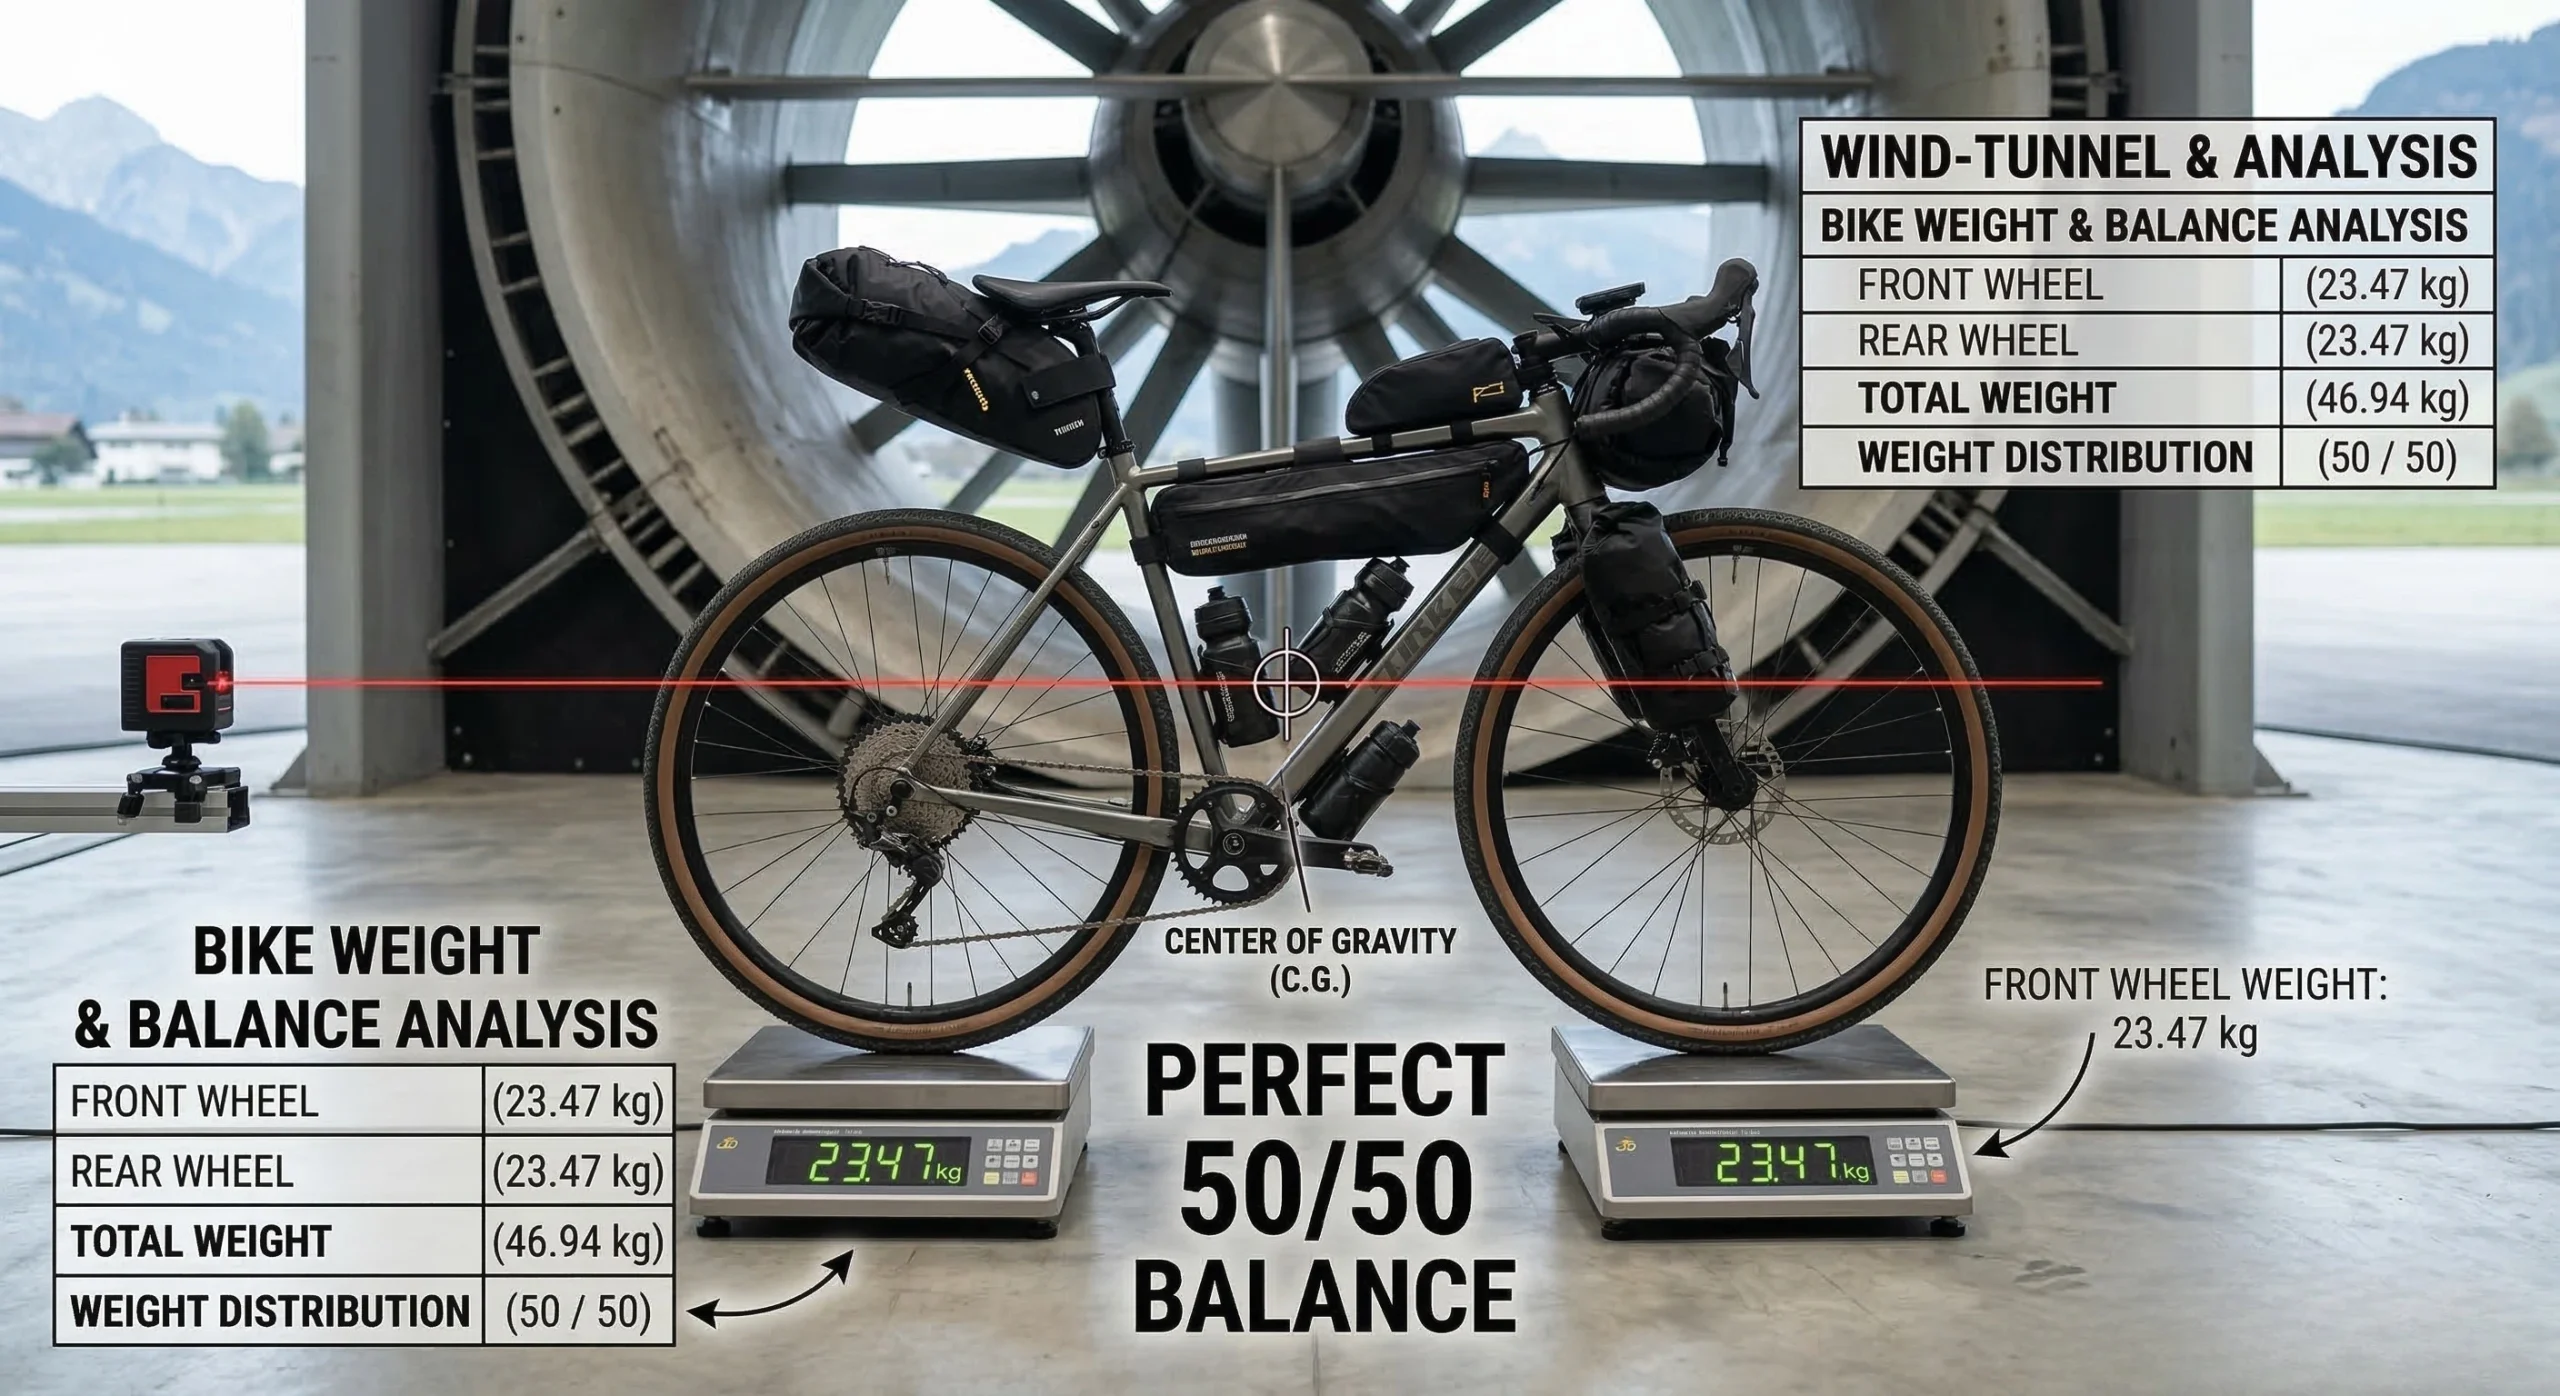
2. The Frame Bag: The Core of the Packing System
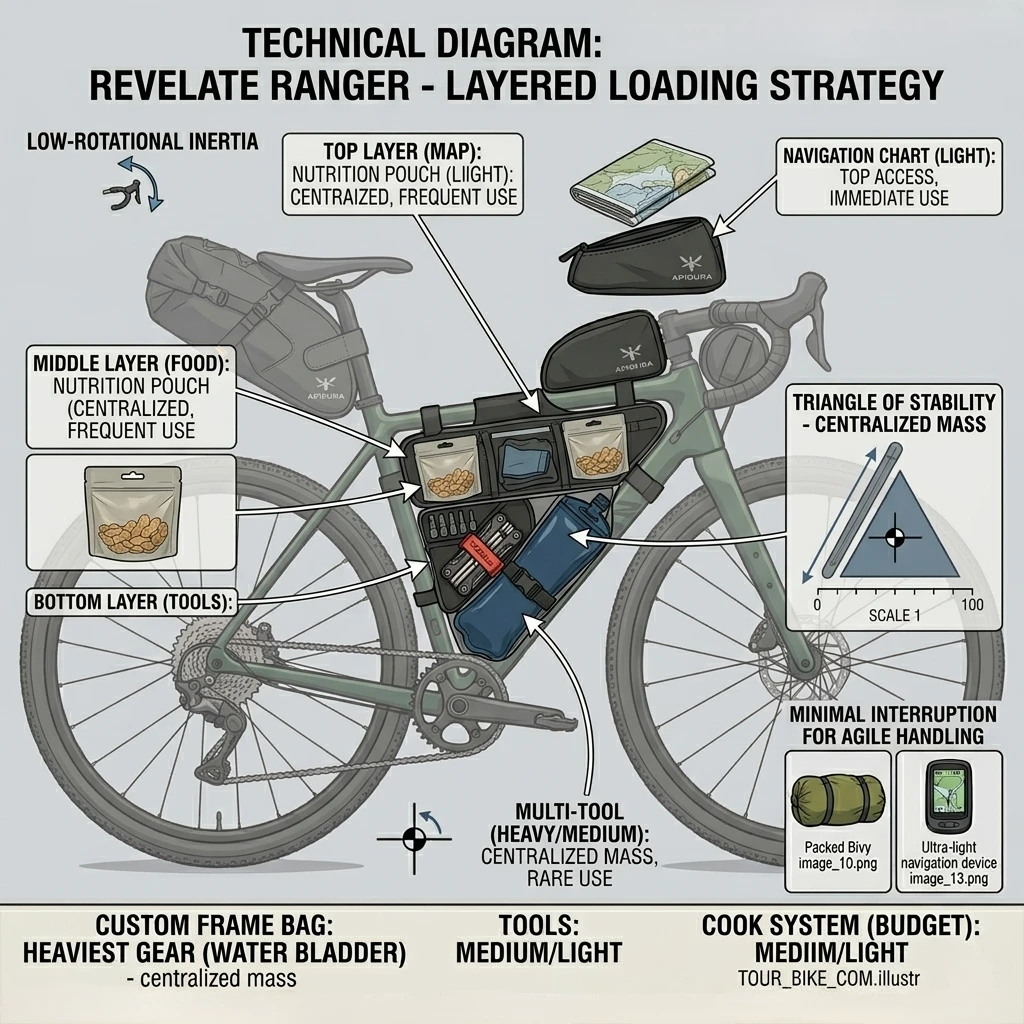
The frame bag is the most valuable real estate for anyone learning how to pack a bikepacking bag. Because it sits within the main triangle, it is the only location that does not significantly compromise steering or balance. Most modern frame bags are available in “full-frame” or “half-frame” versions to accommodate water bottle cages. Choosing a model with a tapered design prevents the bag from interfering with the rider’s knees during intense pedaling.
Recommendation: Revelate Designs Ranger Frame Bag
- Key Features: Tapered shape to prevent knee rub, heavy-duty #10 YKK zippers, internal hydration port.
- Pros: Incredibly durable; fits a wide variety of frame geometries; dual compartments for organization.
- Cons: Not 100% waterproof (requires a liner); zipper maintenance is required in muddy conditions.
- Check Price on Amazon: Revelate Designs Ranger.
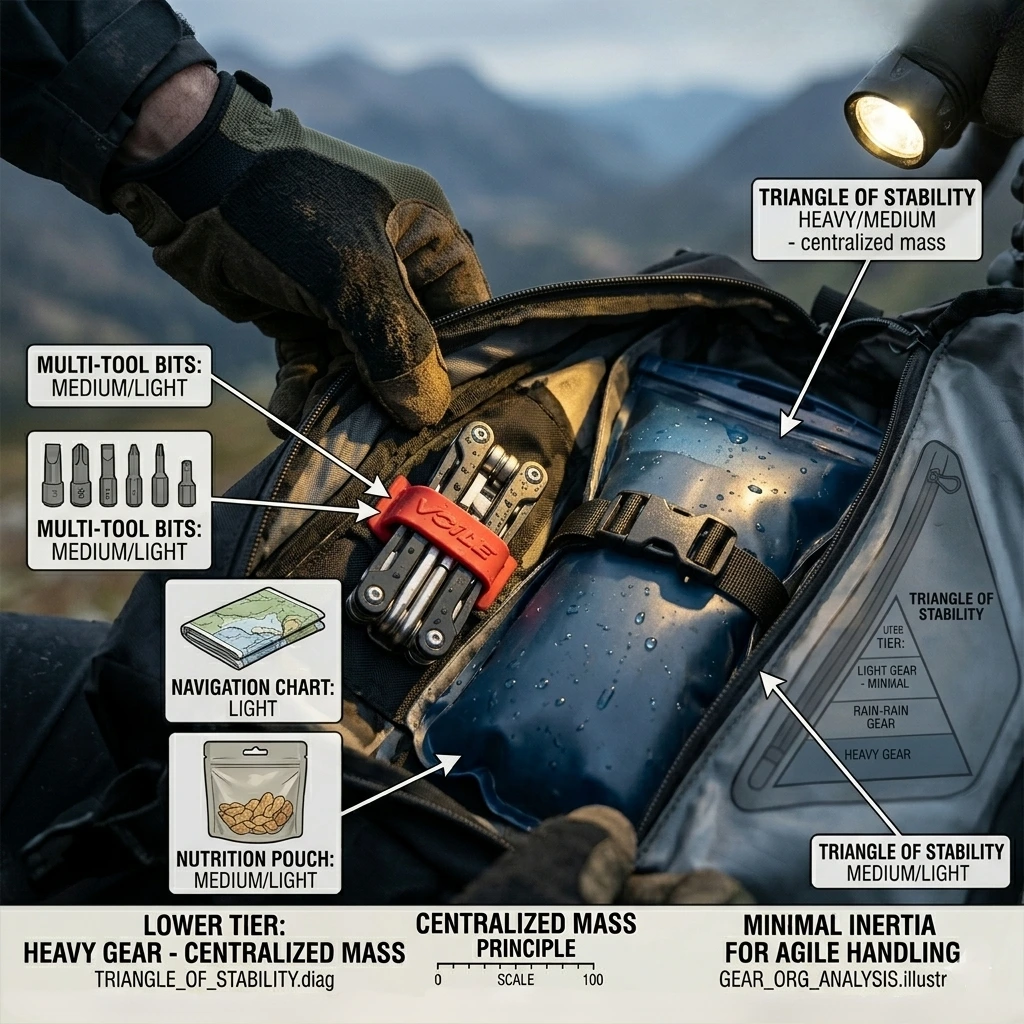
Strategic Internal Loading
Load the heaviest items at the very bottom of the frame bag, closest to the bottom bracket. This typically includes a hydration bladder or a large tool roll. Use the upper compartment for mid-weight items like electronics or a day’s worth of food. This organization ensures the bike remains stable when navigating technical singletrack. For more on frame clearance, Rockgeist Technical Resources provide excellent frame-mapping tools.
3. The Handlebar Roll: Managing Steering Sensitivity
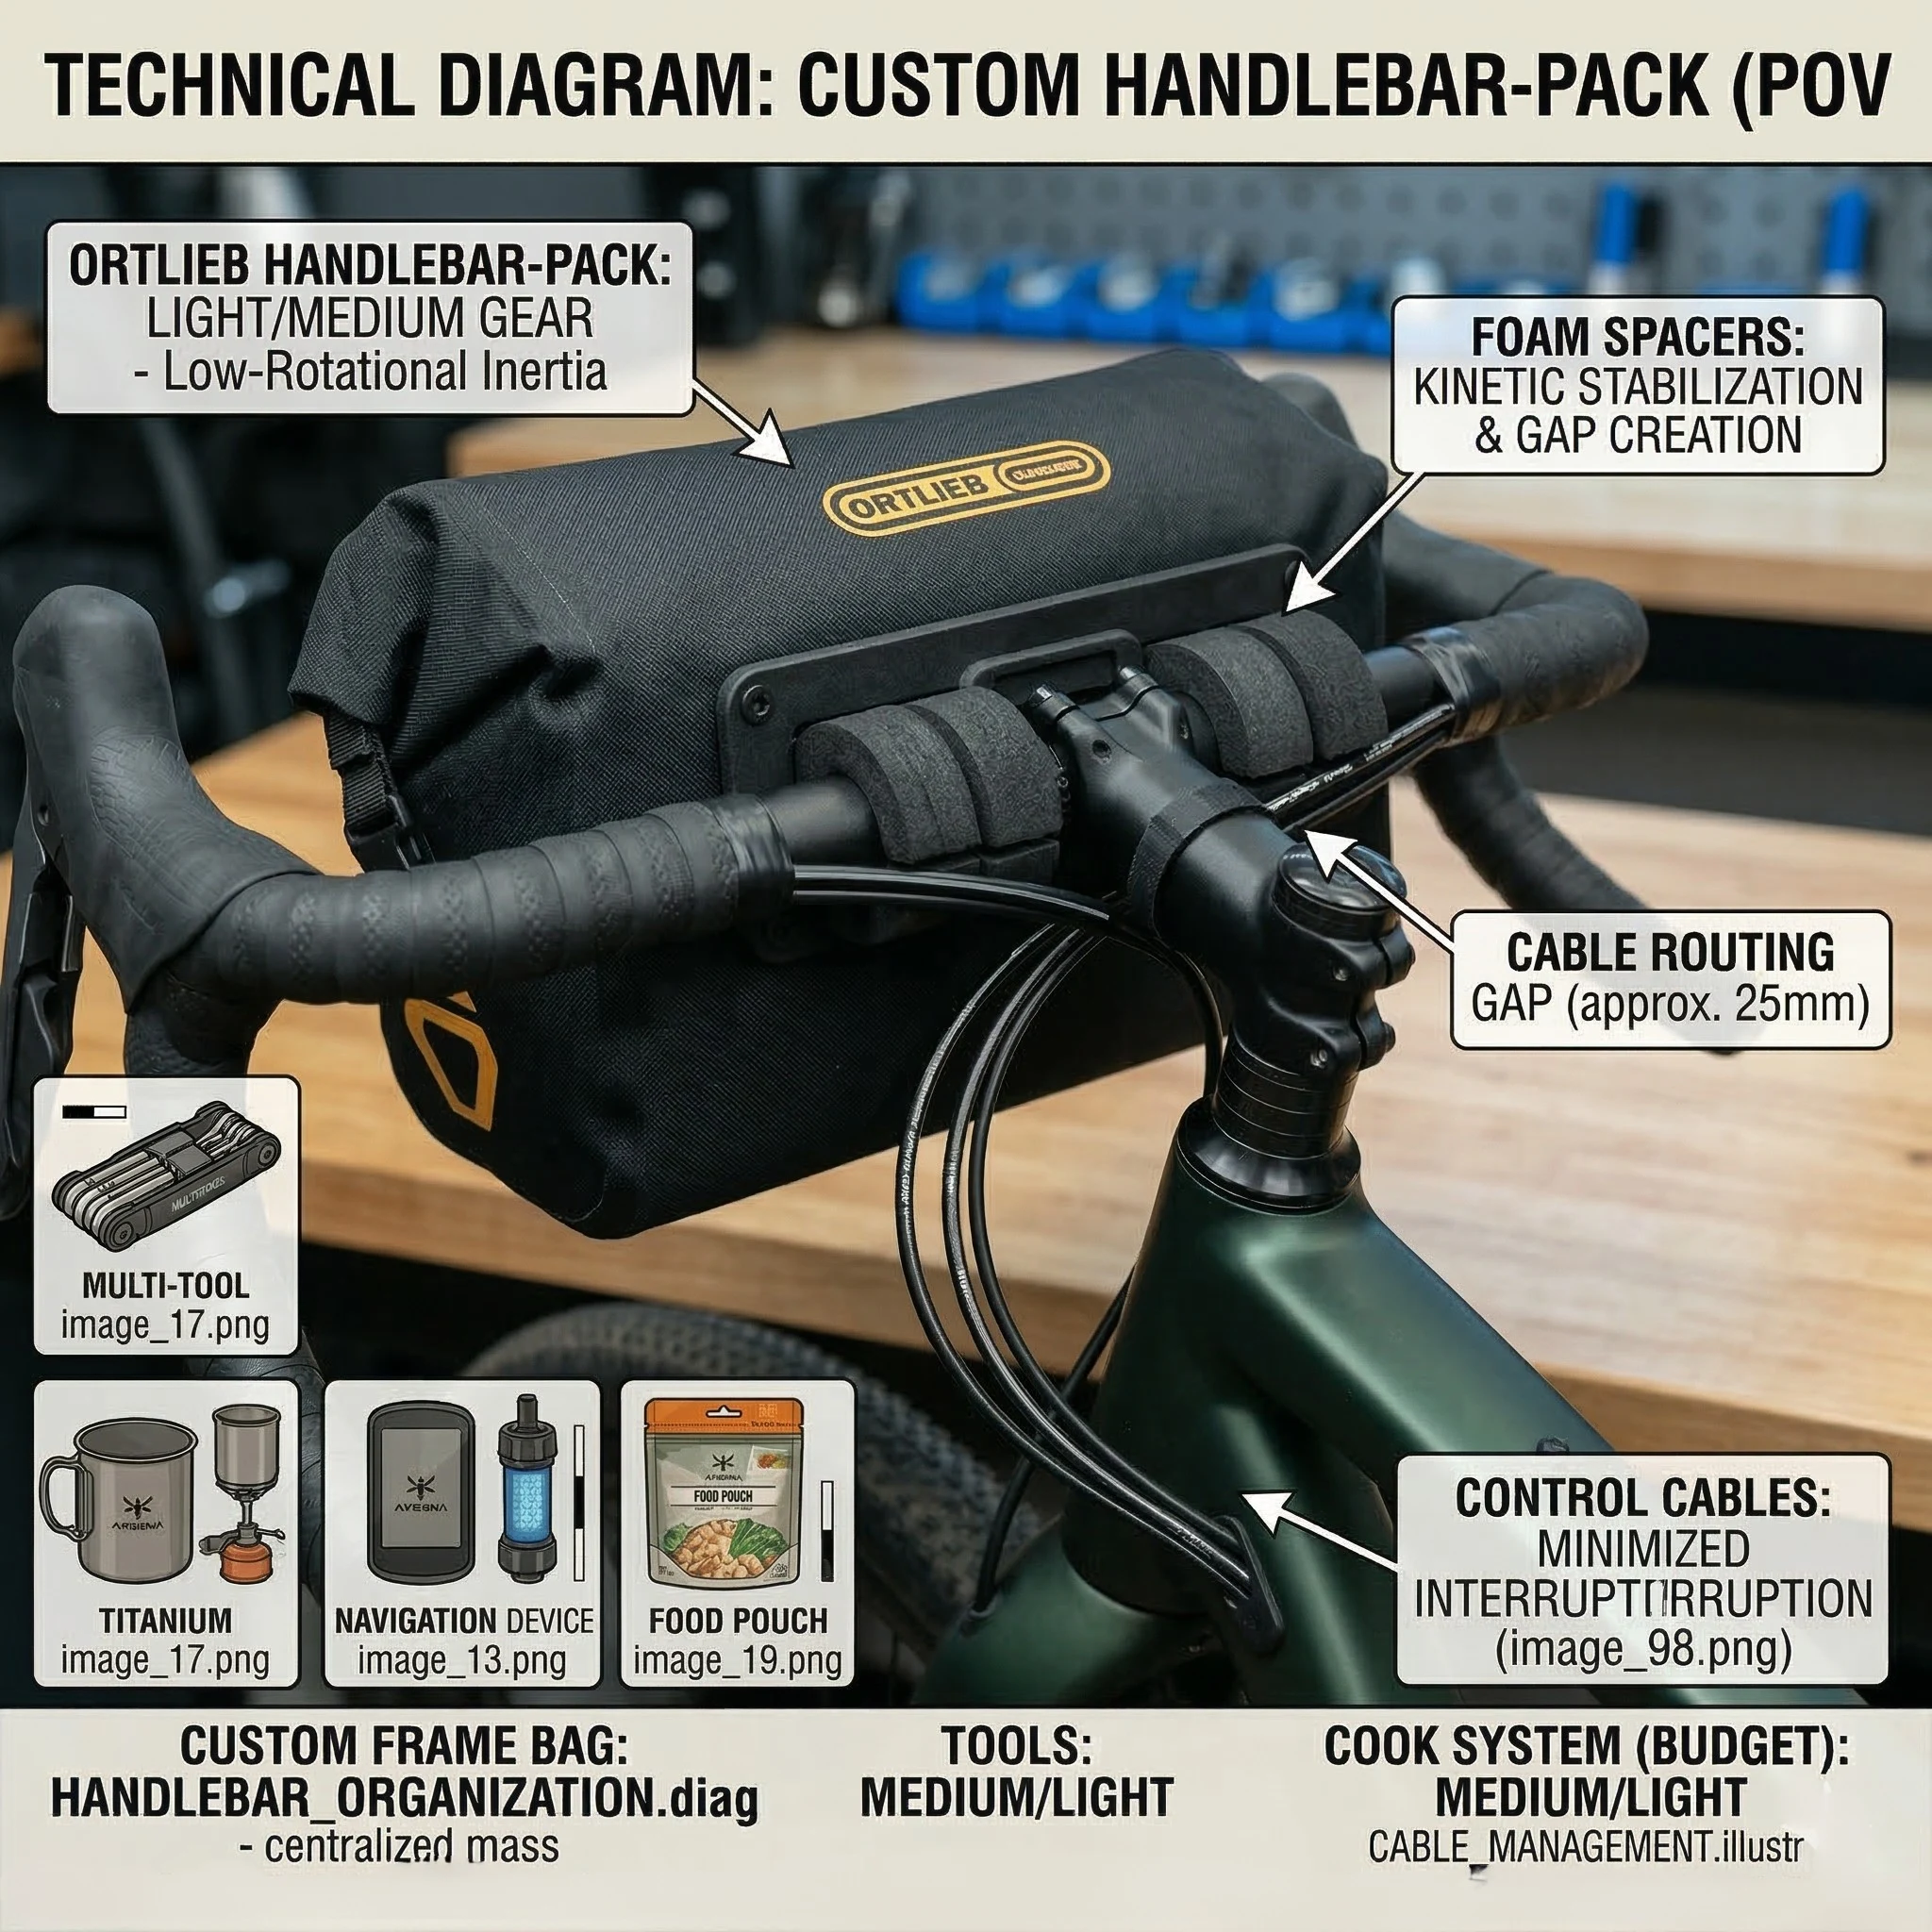
The handlebar bag is reserved for light, bulky items that require protection from the elements. Knowing how to pack a bikepacking bag on the front end is vital because excess weight here slows down the bike’s steering response. This can be dangerous on steep, rocky descents where quick corrections are mandatory. The roll-top design of these bags provides an airtight seal, making them ideal for down-filled sleeping gear.
Recommendation: Ortlieb Handlebar-Pack (15L)
- Key Features: IP64 waterproof rating, twin-sided roll-top closures, internal compression straps.
- Pros: Truly waterproof; incredibly stable mounting system; includes spacers for brake lever clearance.
- Cons: Wide profile can interfere with narrow drop bars; difficult to access while riding.
- Check Price on Amazon: Ortlieb Handlebar-Pack.
Protecting Cables and Hoses
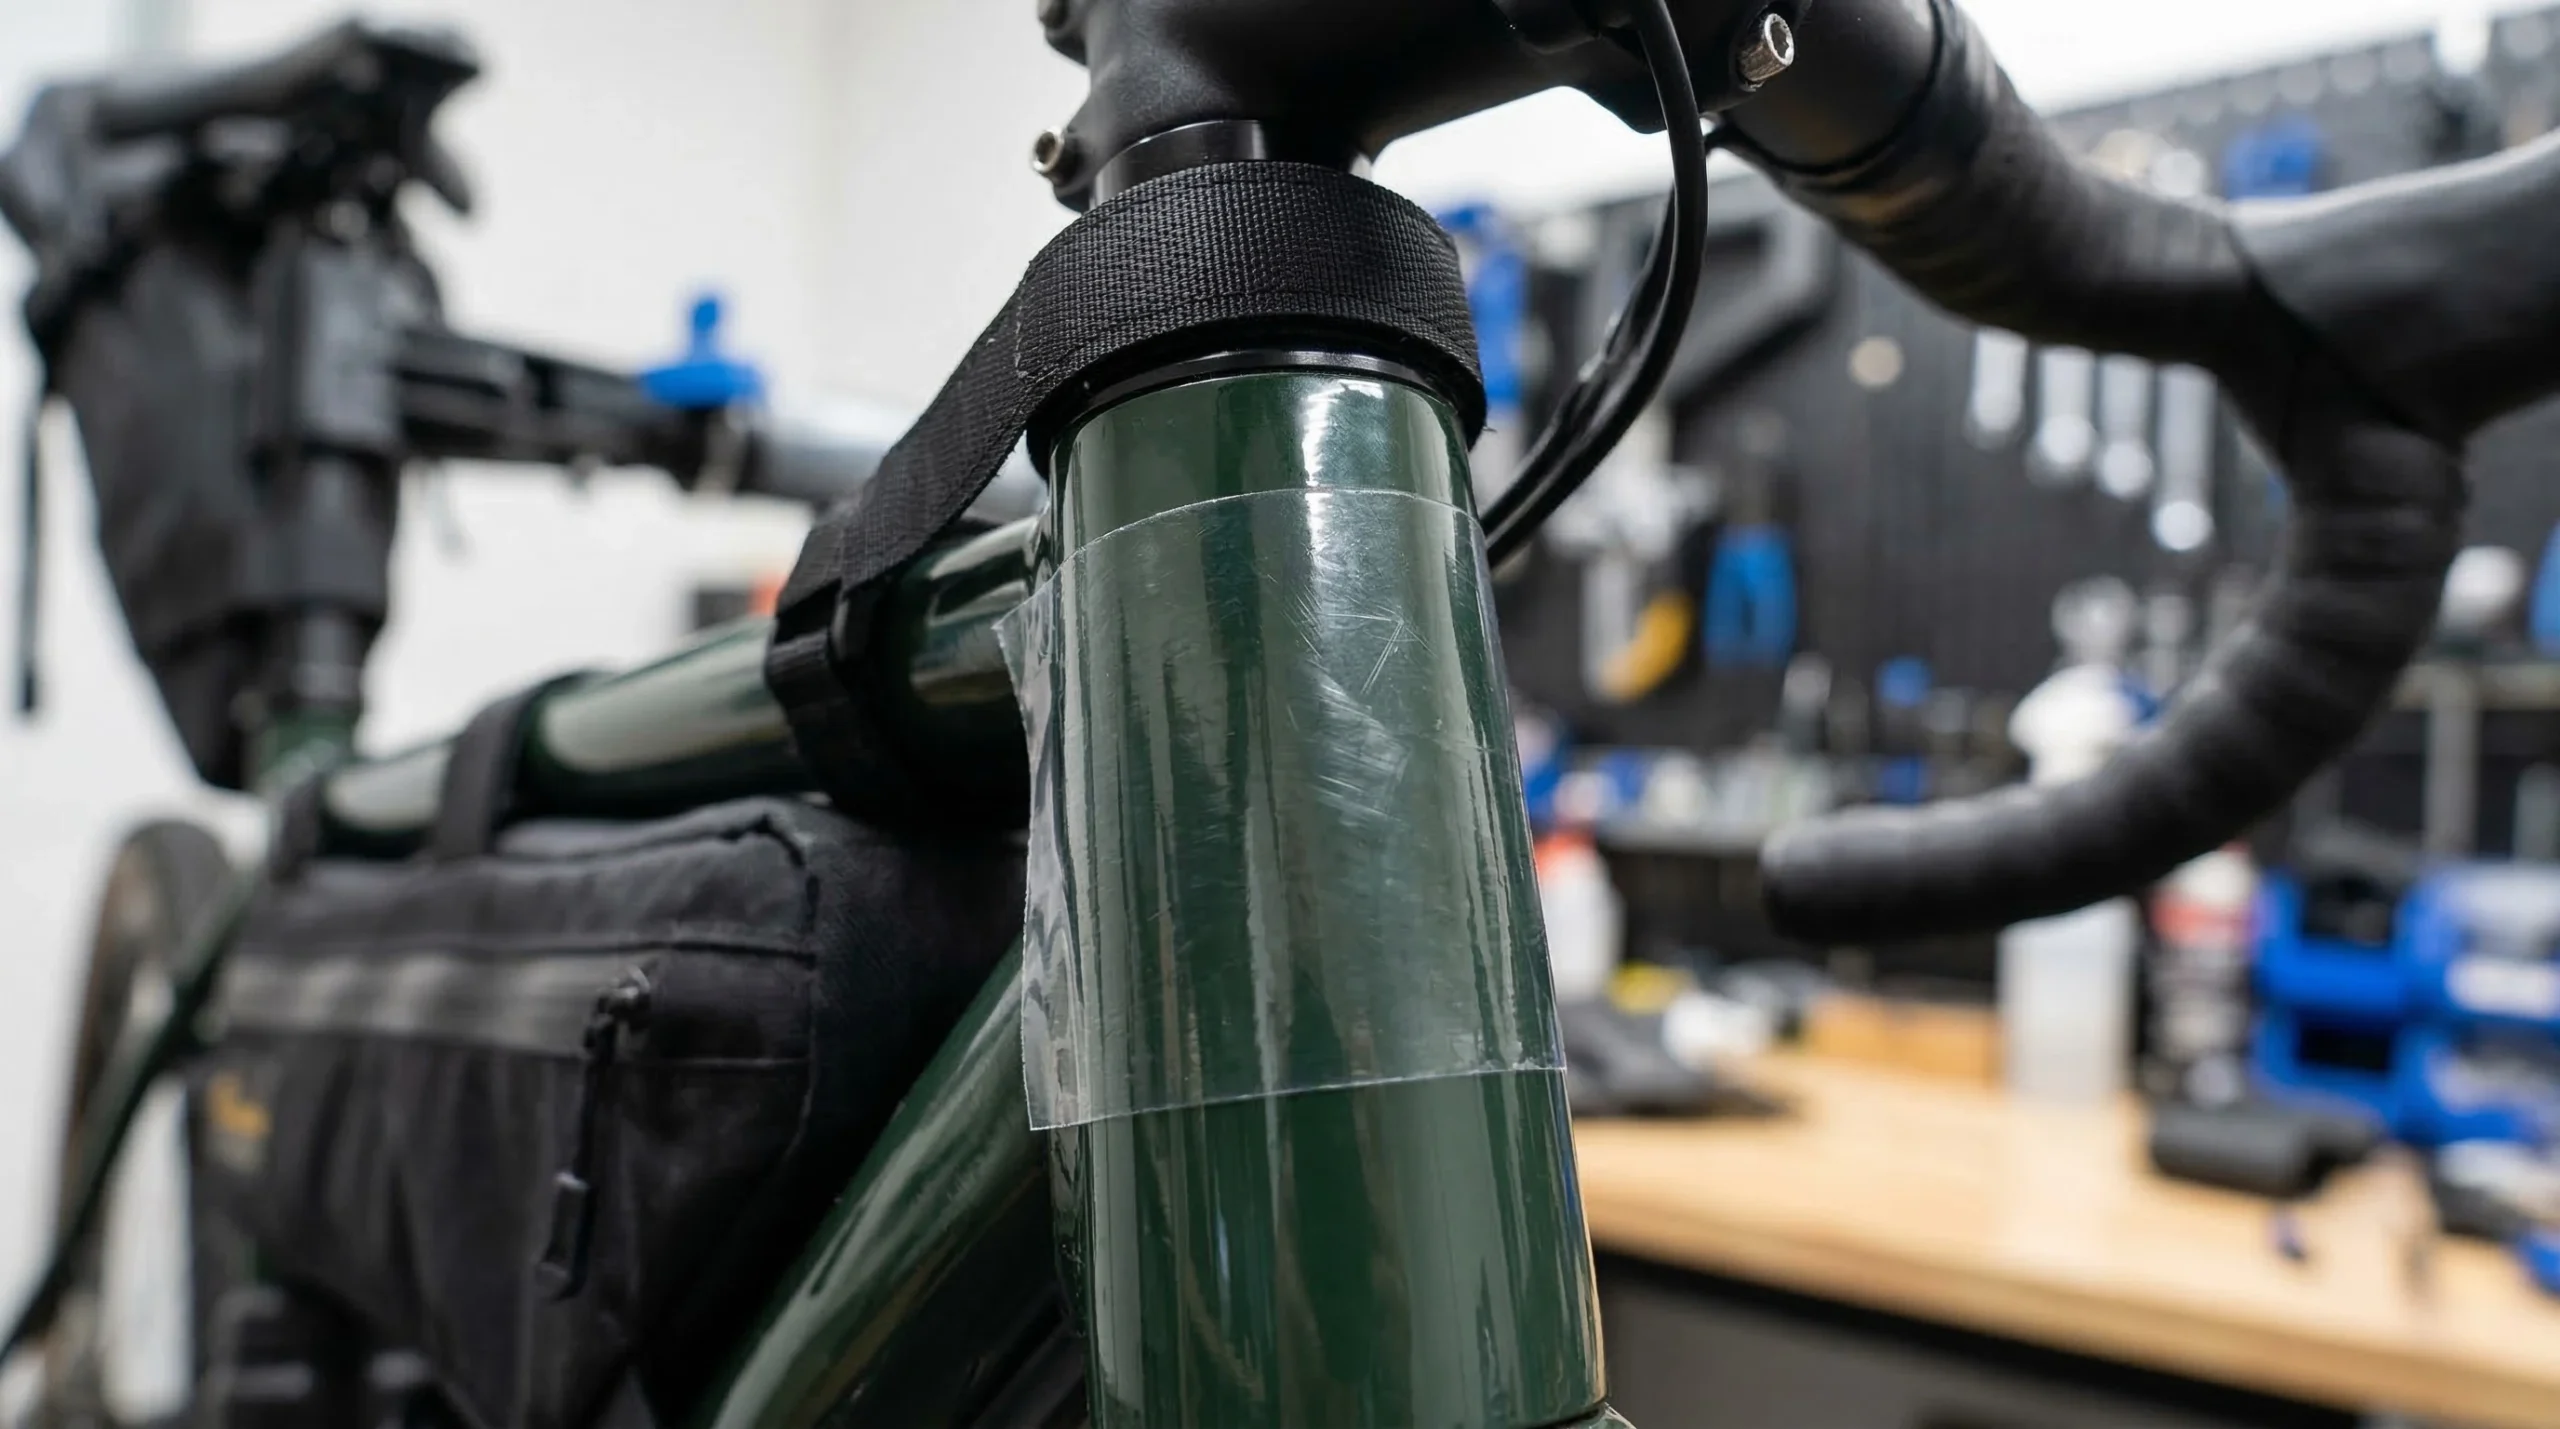
Before mounting a handlebar roll, the rider must ensure that brake hoses and shifting cables are not pinched or kinked. Constant friction from a heavy bag can wear through hydraulic lines over 72 hours of riding. Using protective frame tape at all contact points prevents aesthetic and structural damage. This attention to mechanical detail is discussed in our 7 Proven Steps. A well-mounted bag allows for full range of motion in the steering.