
This post may contain affiliate links. If you buy through them, we may earn a small commission at no extra cost to you.
Stargazing for beginners is mostly about removing obstacles rather than acquiring equipment. The three things standing between you and a genuinely good night are the moon, artificial light, and your own eyes not being given time to adjust. Deal with those and an ordinary suburban field becomes a decent observing site.
Nothing below needs a telescope. The eight steps that follow are the ones that turn a disappointing first attempt into the night people remember, and most of them cost nothing at all.
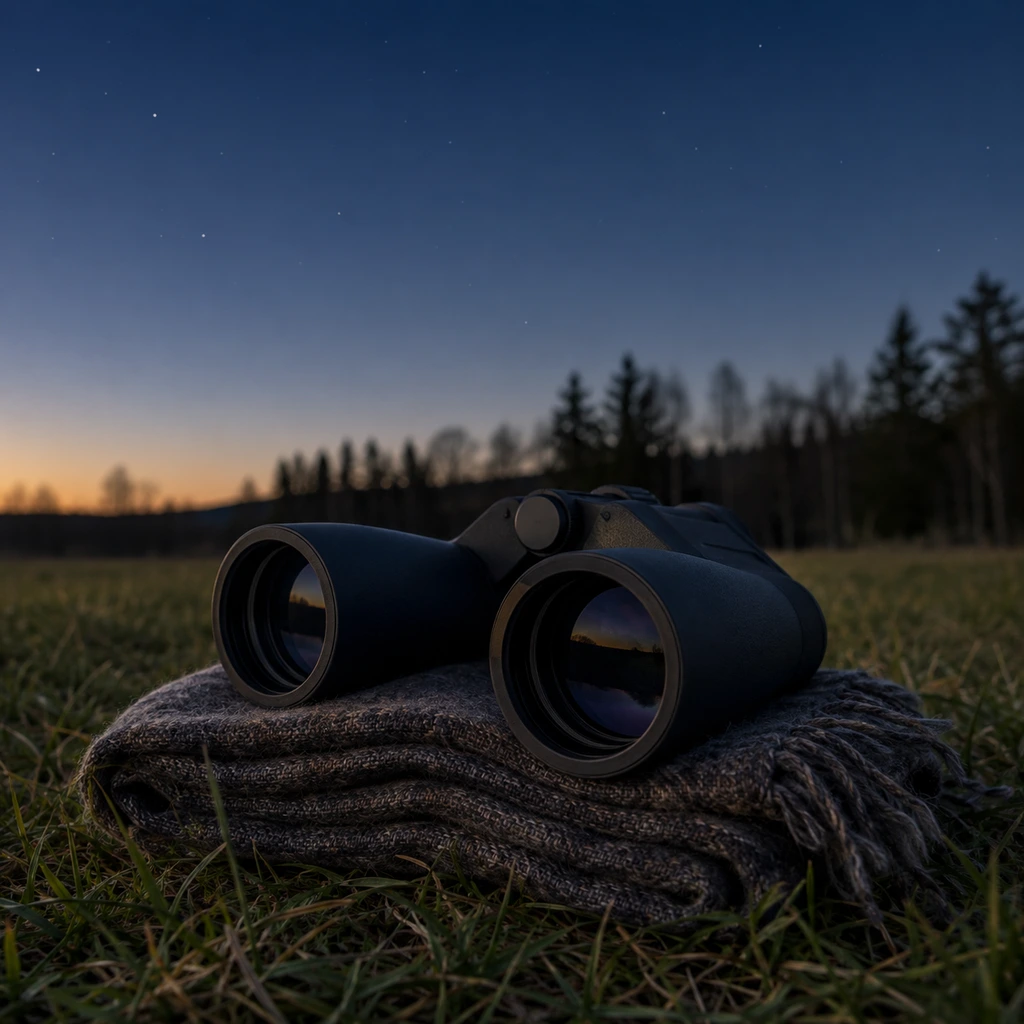
Table of Contents
What Makes a Good Night for Stargazing
Four things decide the quality of a night, and only one of them is your location. In rough order of impact: the phase of the moon, cloud cover, how much artificial light is nearby, and how transparent the air is.
The moon is the one beginners consistently underestimate. A full moon washes out everything except the planets and the brightest stars, and it does that from anywhere, including a national park. A dark, moonless night in a suburban park will show you more than a full-moon night in the middle of nowhere.
Air transparency matters more than most people expect too. The clearest nights usually follow a cold front, when the air behind it is dry and settled. Humid summer haze scatters light and dulls everything. Checking a forecast for cloud cover is easy, and the National Weather Service is the plainest source; the same satellite-app approach we describe for predicting trail weather works just as well for planning a night out.
Stargazing for Beginners: The 8 Steps
1. Check the Moon Before You Check the Weather
Work out the moon phase first, because it decides what is even possible. The week either side of a new moon is prime time for faint things: the Milky Way, star clusters, galaxies. The week around a full moon is for the moon itself, which is genuinely spectacular through binoculars, and for planets, which are bright enough not to care.
If you only get out occasionally, plan those trips for the darkest week of the month and you will roughly double what you see for no extra effort or money.
2. Get Away From Streetlights, Not Necessarily Far
You do not need a designated dark sky reserve to start. What you need is to get direct light out of your eyes. A streetlight in your peripheral vision does more damage than the general glow of a town on the horizon, so a spot shielded by a hedge, a building or a hill is worth more than another twenty miles of driving.
That said, real darkness is a different experience, and the National Park Service night skies programme lists parks that protect it. If you are making a night of it, our guide to dispersed camping covers staying somewhere genuinely dark without a campground.
3. Let Your Eyes Adapt for Twenty Minutes
Dark adaptation is the single biggest free upgrade available. Your pupils widen within a minute or two, but the chemical change in your retina takes twenty to thirty minutes to complete, and it keeps improving for an hour. The difference between a freshly arrived eye and a fully adapted one is enormous, easily the difference between a dozen stars and several hundred.
One glance at a phone screen undoes most of it. Put the phone away before you start, or at minimum turn the brightness to its lowest setting and use a night mode.
4. Use Red Light Only
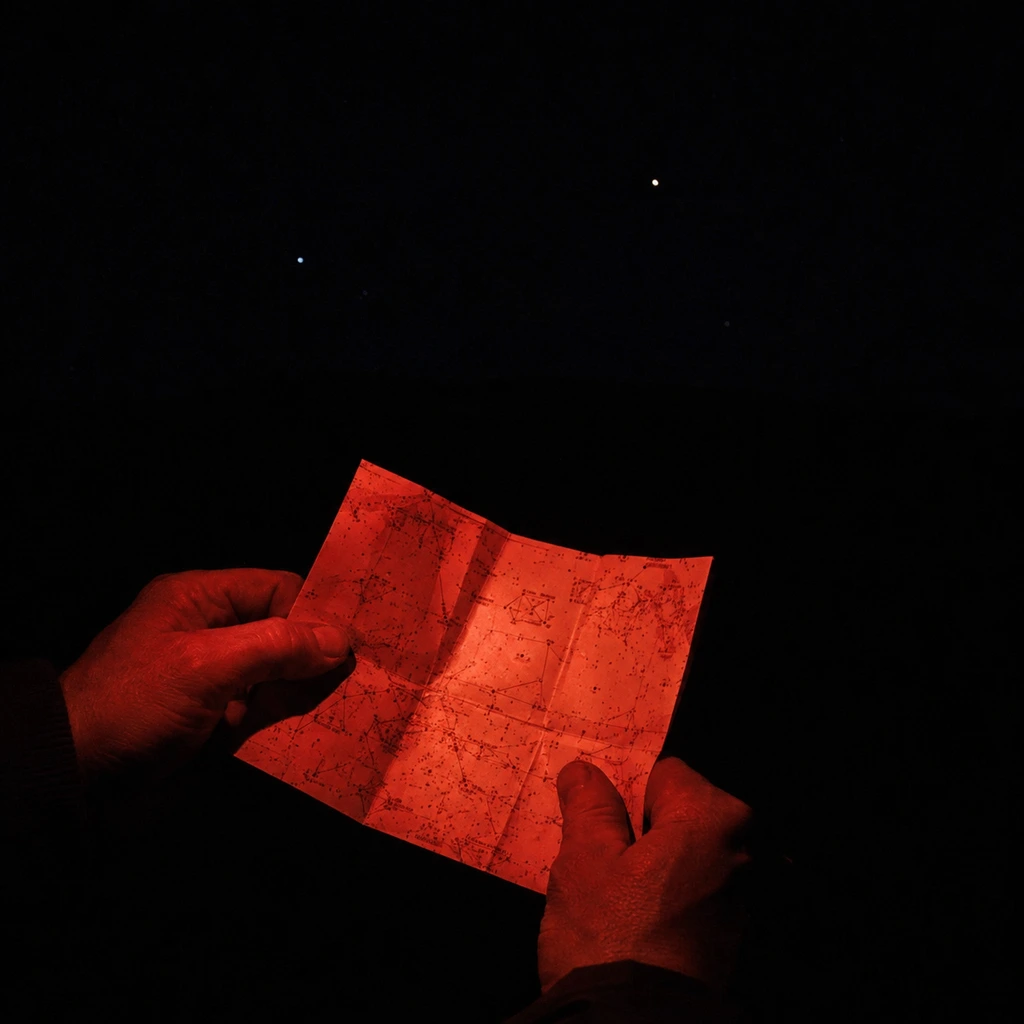
Red light preserves dark adaptation because the receptors responsible for night vision are much less sensitive to it. Any headlamp with a dedicated red mode does the job, and it is the reason experienced observers look faintly ridiculous standing around in red glow.
Set it as dim as you can still work by. Most people run red light far brighter than they need. Our round up of the best headlamps flags which models have a true red mode rather than a red filter over a white beam, and how many lumens you actually need explains why brighter is usually worse here.
5. Learn Three Anchors, Not Eighty Eight Constellations
The fastest way to stop feeling lost is to learn three reliable signposts and navigate from them. In the northern hemisphere the usual set is the Big Dipper, which points to Polaris and therefore to north; Cassiopeia, a W on the opposite side of Polaris; and whichever bright seasonal pattern is up, Orion in winter or the Summer Triangle in the warmer months.
From those three you can hop to almost anything else. Trying to memorise the whole sky at once is how people give up in the first fortnight.
6. Start With Binoculars, Not a Telescope
This is the advice most often ignored and most often regretted. A cheap telescope is difficult to aim, wobbles on its mount, shows a tiny patch of sky upside down, and usually ends up in a cupboard. Binoculars are intuitive, show a wide field you can actually navigate with, and work in daylight for wildlife too.
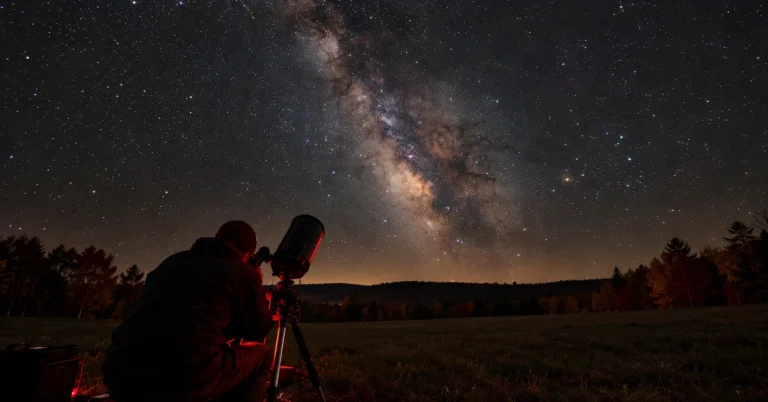
A pair like the Celestron Cometron 7×50 will show you the moons of Jupiter, the craters along the lunar terminator, and enough of the Milky Way to keep you busy for a season. Our comparison of the best binoculars for stargazing covers six options by use case. If you already own a pair for birdwatching, start with those, they are better than nothing by an enormous margin.
7. Look Slightly to the Side of Faint Objects
Averted vision is a genuine trick of the anatomy rather than a superstition. The centre of your retina is packed with colour receptors that are poor in low light, while the sensitive rods sit off to the side. Looking a little away from a faint smudge puts its light onto the better sensors and it brightens noticeably.
It feels wrong the first few times. Practise it on something you can already just barely see and the effect is obvious.
8. Dress for Standing Still
Stargazing is the coldest outdoor activity per unit of effort, because you generate no heat at all. People who would happily hike in a fleece are shivering within forty minutes of standing in a field. Dress as though it is ten degrees colder than the forecast says, and add a hat, because a surprising amount goes out through your head when you are looking up.
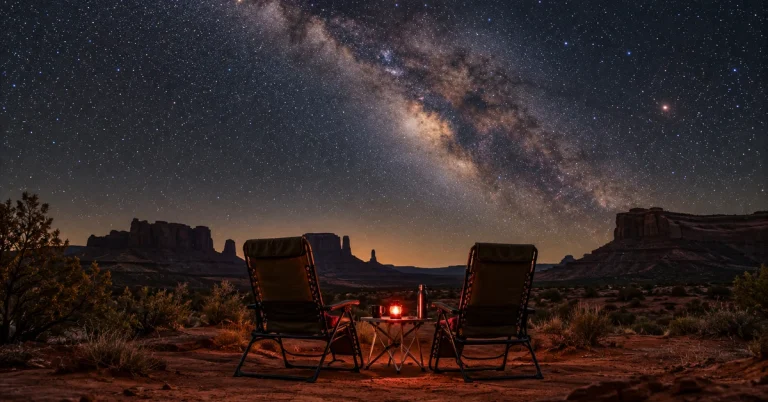
A groundsheet or a chair matters as much as the layers. The same camp chair advice applies, with one addition: for astronomy you want one that reclines, so you can look up without your neck complaining after ten minutes.
What You Actually Need
Three items, and one of them is optional for the first few nights.
Optics
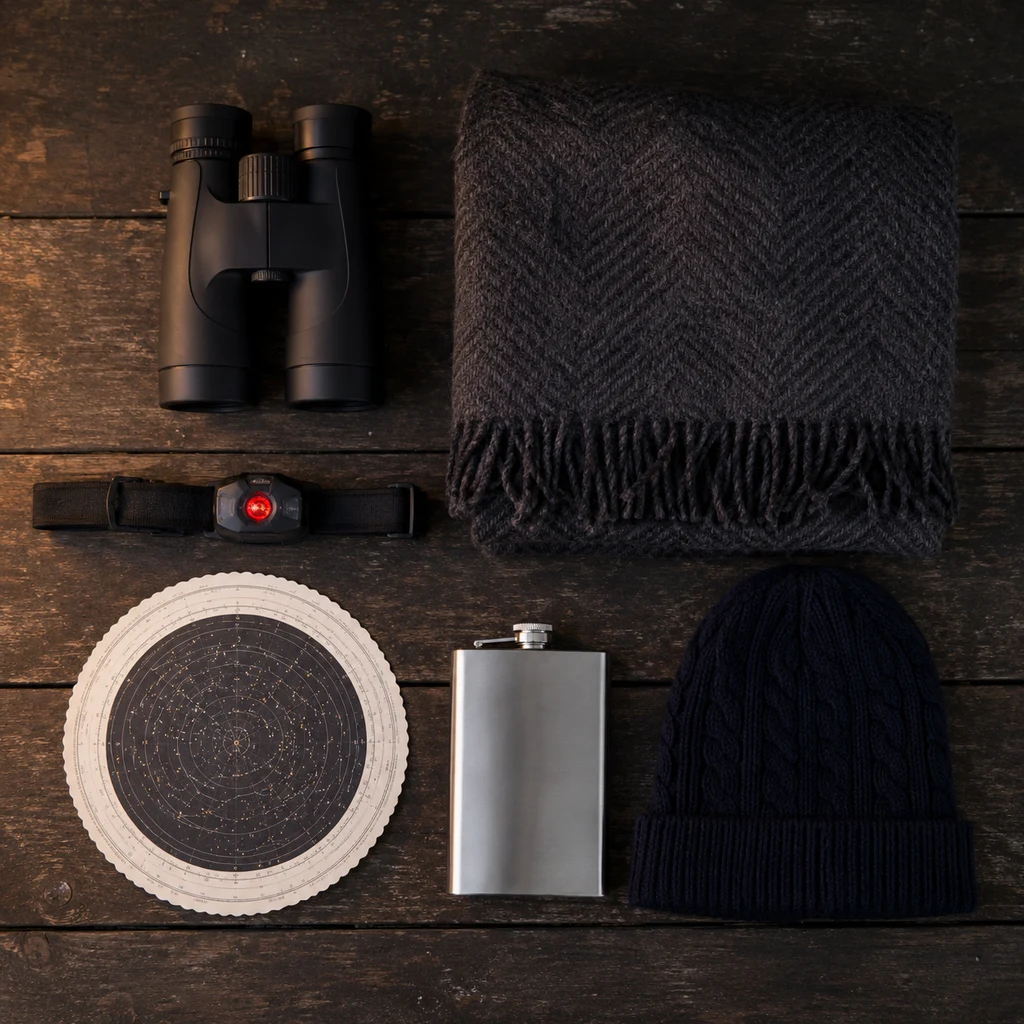
Any binocular is better than none, and a 7×50 or 10×50 is the sweet spot for a first pair: bright, wide, and light enough to hold steady. Bigger astronomy binoculars gather more light but need a tripod, which is a second purchase and a second thing to carry.
The Nikon Aculon A211 10×50 is the usual recommendation for a pair that does double duty on wildlife by day, and it is comfortable in the hands for long stretches.
A Red Headlamp
Non negotiable if you want to keep your dark adaptation while reading a chart or finding something in a bag. Check the model has a proper red mode you can select without cycling through white first, because that one flash of white costs you twenty minutes.
Something to Sit or Lie On
- A reclining chair, which is the single biggest comfort upgrade for naked-eye observing
- A foam pad or groundsheet if you would rather lie flat, and see our notes on sleeping pads for the insulating kind
- A flask of something hot, which does more for endurance than an extra layer
- A phone app or a printed planisphere to identify what you are looking at
Skip the telescope entirely for now. If you are still going out regularly in six months, you will know far better what to buy than you do today.
The Best Nights in the Months Ahead
Autumn is a good season to start. The nights get long before they get truly cold, the summer haze clears, and the Milky Way core is still visible in the early evening through September before it sets for the year.
Two things are worth putting in a calendar. The first is each new moon, which gives you roughly a week of properly dark skies every month. The second is the annual meteor showers, which need no equipment at all: just a reclining chair, a dark sky and patience. NASA publishes a monthly skywatching guide that lists what is visible without assuming any prior knowledge.
If you are combining it with a trip, our guide to fall hiking covers the seasonal conditions, and night hiking covers walking out safely in the dark, which is the part most people have not thought about.
Common Beginner Mistakes
- Going out on a full moon and concluding the hobby is disappointing
- Checking a phone at full brightness and destroying half an hour of dark adaptation
- Buying a department store telescope before ever using binoculars
- Standing up the whole time, then leaving early because of a sore neck
- Dressing for the walk in rather than for two hours of standing still
- Trying to find faint objects while looking directly at them
The other one worth naming is impatience. The sky rewards an hour far more than three separate twenty minute visits, because the last forty minutes are when your eyes are working at their best.
Frequently Asked Questions
Do I need a telescope to start stargazing?
No, and starting with one is a common way to give up. Binoculars are easier to aim, show a wider piece of sky, and cost far less. Most people who stay with the hobby buy a telescope in their second year, once they know what they want to look at.
How dark does it need to be?
Darker is better, but the useful threshold is simply getting direct light out of your eyes. A shielded suburban spot on a moonless night beats a genuinely dark site under a full moon. Stargazing for beginners is far more about timing than about driving distance.
What is the best time of night?
An hour or two after full darkness, which in practice means late evening. That gives the atmosphere time to settle after sunset and gives your eyes time to adapt. The hours before dawn are often the clearest of all, if you can face them.
Why can I not see the Milky Way?
Almost always moonlight, light pollution or insufficient dark adaptation, in that order. It is genuinely invisible from most towns. On a moonless night from a rural site, after half an hour outside, it appears as a faint band of cloud that does not move.
Is stargazing worth doing in winter?
Winter has the longest nights, the steadiest air and the brightest constellations, so the views are excellent. The limitation is entirely comfort. Dress for standing still, keep the sessions shorter, and it is arguably the best season of the year.
Pick the next moonless week, find somewhere with a hedge between you and the nearest streetlight, and give it a full hour. The sky does most of the work once you stop getting in its way.
Discover more from Maive Verse
Subscribe to get the latest posts sent to your email.