

This post may contain affiliate links. If you buy through them, we may earn a small commission at no extra cost to you.
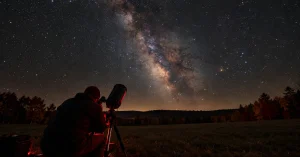
Learning how to use a telescope is mostly about a handful of small habits, not about the telescope itself. Most first nights go wrong the same way: the finder is not lined up, the eyepiece is the most powerful one in the box, the tripod is wobbling, and the target is something faint in a bright suburban sky. Fix those four things and even a modest beginner scope will show you craters, rings and star clusters.
This guide walks through setup, focusing, finding things and what to look at first on an October evening. If you have not bought a scope yet, start with our round-up of the best telescopes for beginners, and if you are brand new to the night sky, our stargazing for beginners guide covers the basics.
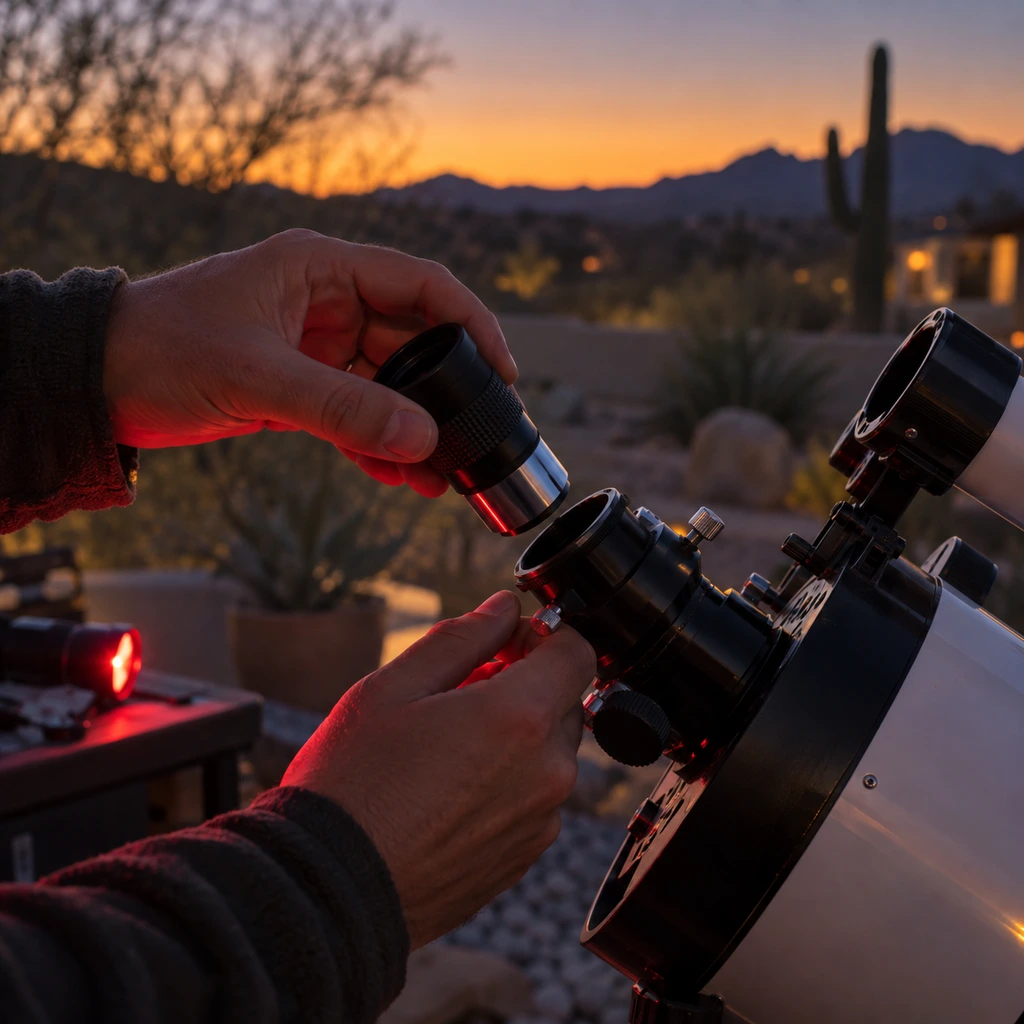
Table of Contents
Know What Kind of Telescope You Have
Every telescope collects light and brings it to a focus, but they do it in different ways, and that changes how you set them up and look after them. Knowing which kind you own is the first step in learning how to use a telescope well.
Refractors
A refracting telescope uses a lens at the front. It is the classic long tube you look through from the back. Refractors need almost no maintenance, cool down quickly and give crisp views of the Moon and planets, which makes them forgiving first scopes.
Reflectors and Dobsonians
A reflecting telescope uses a curved mirror at the bottom of the tube, and you look in near the top. Reflectors give the most aperture for the money. A Dobsonian is simply a reflector on a low, rocking box mount, and it is one of the easiest scopes to point by hand.
Catadioptric Telescopes
Schmidt-Cassegrain and Maksutov designs are catadioptric, combining a lens and mirrors in a short, fat tube. They pack long focal lengths into a compact body, which suits planets and the Moon, and they are easy to carry.
Alt-Azimuth and Equatorial Mounts
An alt-azimuth mount moves up and down and left and right, like a camera tripod head. It is intuitive. An equatorial mount tilts one axis to line up with the Earth’s axis, so you can follow a star with a single slow motion, but it needs rough polar alignment and feels awkward at first. If yours is equatorial, point the polar axis roughly at Polaris and set the latitude scale to your location before you start.
Set Up Before Dark
Pick a Steady Spot
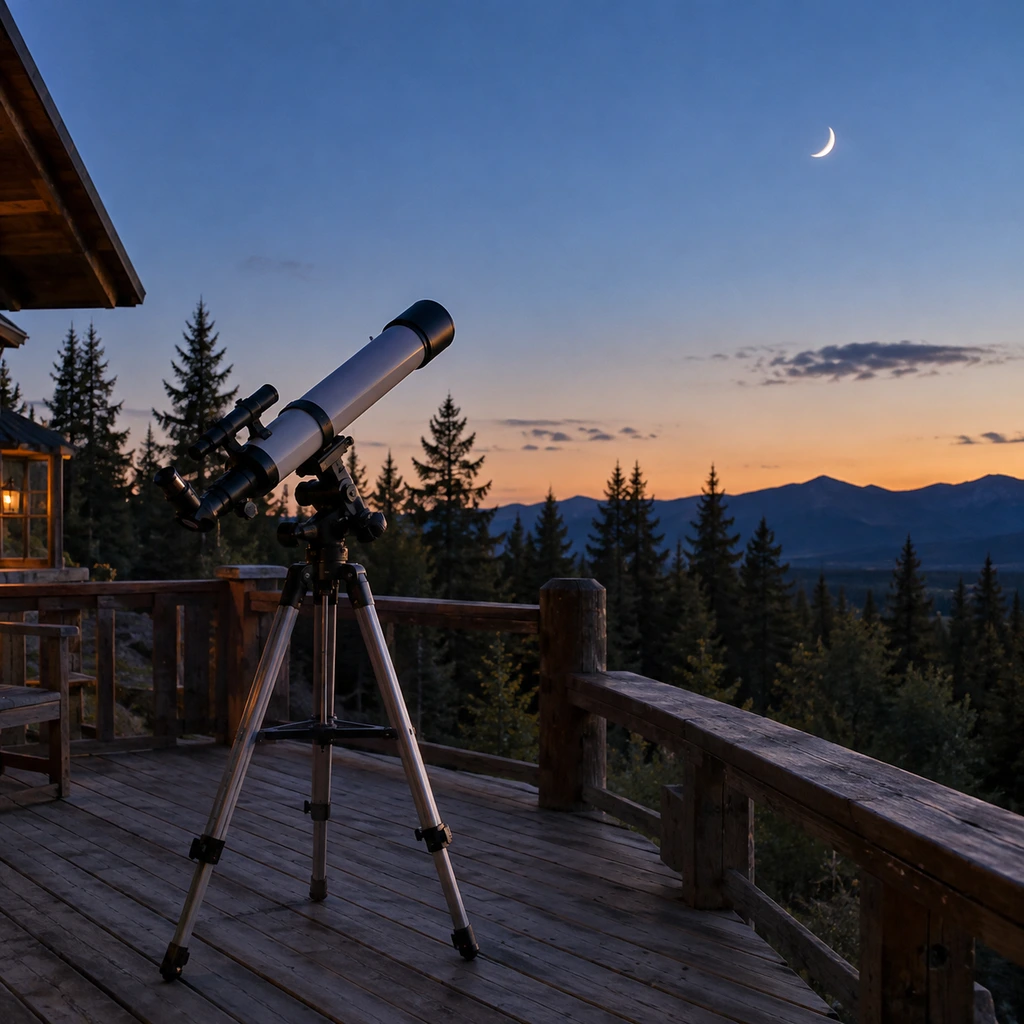
Set up on grass or dirt rather than a wooden deck, which shakes every time someone walks across it. Avoid looking over rooftops, driveways or a warm car, because rising heat makes the view boil. Extend the tripod legs only as far as you need; the thicker top sections are the stiffest.
Let the Optics Cool Down
A telescope brought out of a warm house has warm air trapped inside the tube, and that air shimmers. Put it outside 30 to 60 minutes before you plan to look at anything sharp. Small refractors settle quickly; larger reflectors take the longest.
Align the Finder in Daylight
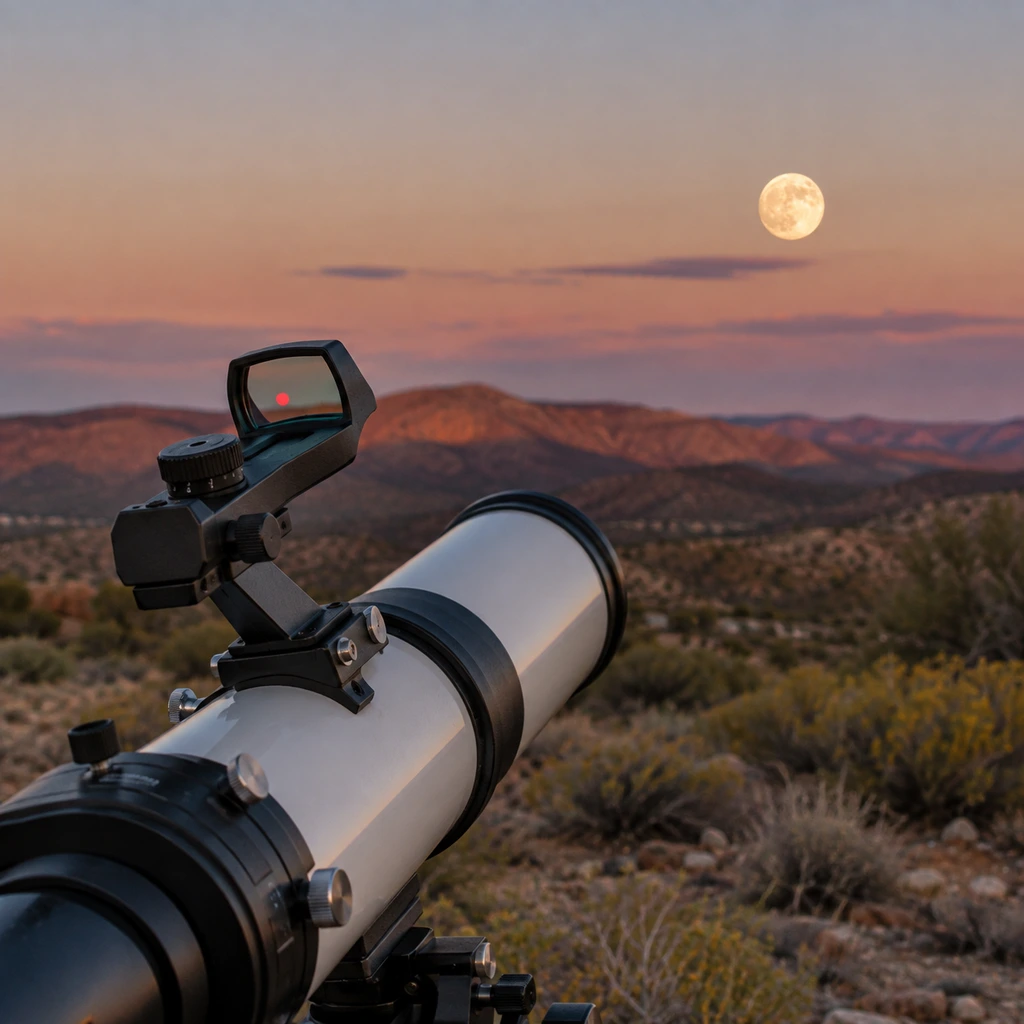
This is the single most useful thing you can do. In daylight, center a distant object such as a treetop, a power pole or a chimney a few hundred yards away in the main telescope using the lowest-power eyepiece. Then adjust the screws on the finder until its crosshair or red dot sits on exactly the same spot. Once that is done, whatever the finder points at will be in the eyepiece. Never point any telescope or finder at the Sun while you do this.
How to Use a Telescope: Focus and Magnification
Start With the Lowest Power Eyepiece
The eyepiece with the biggest number on it, often 25 mm or 20 mm, gives the lowest magnification and the widest view. Always start with it. A wide view makes things far easier to find, the image is brighter, and small wobbles barely show. Swap to a higher-power eyepiece only once your target is centered.
Work Out the Magnification
Magnification is the telescope’s focal length divided by the eyepiece’s focal length. A scope with a 650 mm focal length and a 25 mm eyepiece gives 26x; the same scope with a 10 mm eyepiece gives 65x. Both numbers are usually printed on the tube and the eyepiece.
| Eyepiece | Power on a 650 mm Scope | Best For |
|---|---|---|
| 25 mm | 26x | Finding targets, star clusters, Andromeda |
| 20 mm | 33x | Wide Moon views, the Pleiades |
| 10 mm | 65x | Moon craters, Jupiter and its moons |
| 6 mm | 108x | Saturn’s rings on steady nights |
| 10 mm with a 2x Barlow | 130x | Planet detail when the air is very still |
Why More Power Is Usually Worse
The 600x printed on the box of a cheap telescope is meaningless. The practical limit for most beginner scopes is around 100x to 150x, and the atmosphere often limits you to less. Beyond that, the image gets dim, blurry and shaky. A small, sharp view always beats a big, mushy one.
Focus Slowly
Turn the focus knob slowly in one direction until a star shrinks to its smallest, sharpest point, then stop. If a star looks like a doughnut, you are far out of focus; keep turning. Refocus every time you change eyepiece.
Finding Things in the Sky
Start With the Moon
If you are still working out how to use a telescope, the Moon is the perfect first target, impossible to miss and spectacular at any power. The most detail shows along the terminator, the line between light and shadow, where crater walls cast long shadows. A full Moon is actually the flattest-looking phase.
Use Star-Hopping
For anything you cannot see with your eyes, start at a bright star you can see, then hop from star to star in the finder toward the target, using a chart or an app. It is exactly how you find galaxies, and our guide on how to find the Andromeda Galaxy walks through a full star-hop step by step.
Let Your Eyes Adapt
Your eyes need 20 to 30 minutes in the dark for full dark adaptation, and one glance at a white phone screen resets it. Use a red light for charts, dim your phone to its lowest red setting, and look slightly to the side of faint objects, a trick called averted vision. Our guide on headlamp brightness explains why a red mode is worth having.
Use an App, but Sparingly
A planetarium app makes it easy to see what is up and where. Set it to night mode, check where your target is, then put the phone away and use the finder. Some scopes have app guidance built in, which helps a lot on the first few nights.
What to Look at in October
The Bright Planets
Bright planets are well placed in the evening sky this season. Saturn shows its rings even at modest power, and Jupiter shows its cloud bands and up to four moons lined up beside it. Check an app for which planets are up on the night you observe.
The Pleiades
The Pleiades rise in the east during October evenings, a tight group of blue-white stars. Use your lowest power; they spread wider than many telescope fields and look best in a wide view.
The Andromeda Galaxy
High in the east after dark, Andromeda is the farthest thing most people will ever see with their own eyes. In a small scope it is a soft oval glow, best at low power from a dark site. For more on dark skies and planning, our Orionid meteor shower guide covers October viewing conditions.
Common Beginner Mistakes
- Starting with the highest-power eyepiece instead of the lowest.
- Skipping the daylight finder alignment, then searching blindly.
- Observing from a deck, balcony or over a warm rooftop.
- Using the telescope straight out of a warm house.
- Touching the tube while looking, which makes the view shake.
- Expecting faint galaxies to look like photographs.
- Pointing the telescope or finder anywhere near the Sun.
The fix for most of these is patience. Spend your first night on the Moon and a bright planet, and learn the scope before chasing faint targets. A warm layer helps too, because standing still at night gets cold fast; our guide on how to layer for hiking works just as well at the eyepiece.
Safety and Care
Never Look at the Sun
Pointing a telescope at the Sun without a proper solar filter that covers the front of the tube can cause instant, permanent eye damage, and can melt parts of the scope. Eyepiece-style “sun filters” sold with cheap telescopes are unsafe; throw them away. Cap the finder during the day so nobody looks through it by accident.
Collimation for Reflectors
If your reflector shows stars as smeared or lopsided even at perfect focus, the mirrors may need collimating, which means adjusting them so they line up. It sounds technical but takes a few minutes with a collimation cap, and most manuals walk you through it. Refractors rarely need it.
Storage and Dew
Dew forms on cold optics on humid nights. Never wipe it off; let the scope dry indoors with the caps off, then put the caps back on. Store the telescope somewhere cool and dry, and keep eyepieces in their case. If you observe from a campsite, the same rules apply, and our {i(“night-hiking-guide-sunset-safety”,”night hiking guide”)} covers walking safely to and from a dark site. Clean lenses rarely and gently, because a little dust does far less harm than scratches.
Frequently Asked Questions
Why can’t I see anything through my telescope?
Usually the lens cap is still on, the finder is not aligned, or you are using too much magnification. Start with the lowest-power eyepiece on the Moon, and align the finder in daylight first.
What magnification should I use?
As little as you need. Start around 25x to 40x to find things, then go up to 60x to 120x for the Moon and planets on steady nights. Higher is rarely better.
How long should a telescope cool down?
Around 30 minutes for a small refractor and up to an hour for a large reflector. You will see the image steady as it reaches outside temperature.
Can I see galaxies with a beginner telescope?
Yes, the bright ones, like Andromeda, as soft glows from a dark site. They will not look like photos, but seeing light that left a galaxy millions of years ago is its own reward.
Can I use a telescope from the city?
Yes for the Moon, planets and bright double stars, which cut through light pollution well. Faint galaxies and nebulae need darker skies, so plan a trip for those.
The basics of how to use a telescope come down to a short checklist: set up on solid ground, let it cool, align the finder in daylight, start at low power and focus slowly. Do that on your first night with the Moon and a bright planet, and you will be ready for clusters and galaxies on the next. If you want to capture what you see, our guides on how to photograph the night sky and the best tripods for astrophotography pick up where this leaves off. For a first scope, the Celestron StarSense Explorer 114AZ uses your phone to guide you to targets, the Celestron AstroMaster 130EQ gives more aperture on an equatorial mount, and the Celestron Travel Scope 70 packs small for camping trips, along with a pair from our best binoculars for stargazing for sweeping the sky. Sleeping out under the stars in a hammock? See our guide to cold weather hammock camping. Planning a dark-sky camping night? Our fall camping essentials and cold weather backpacking guides will keep you warm while you wait for full dark, and a red-mode headlamp keeps your night vision intact.
Discover more from Maive Verse
Subscribe to get the latest posts sent to your email.