

This post may contain affiliate links. If you buy through them, we may earn a small commission at no extra cost to you.
Birdwatching for beginners has one enormous advantage over every other outdoor hobby: you can start it in your own garden, this afternoon, with nothing at all. There is no season ticket, no trailhead, no permit and no minimum fitness level. The birds are already there. The only thing you are really learning is how to notice them.
That said, one purchase changes everything, and it is not the one most people expect. This guide covers the seven first steps, how to work out what you are looking at, where and when to go, and the six pairs of binoculars worth buying at each price level. Late summer into autumn is the single best time to begin, because migration is under way and species you will never otherwise see are passing overhead.
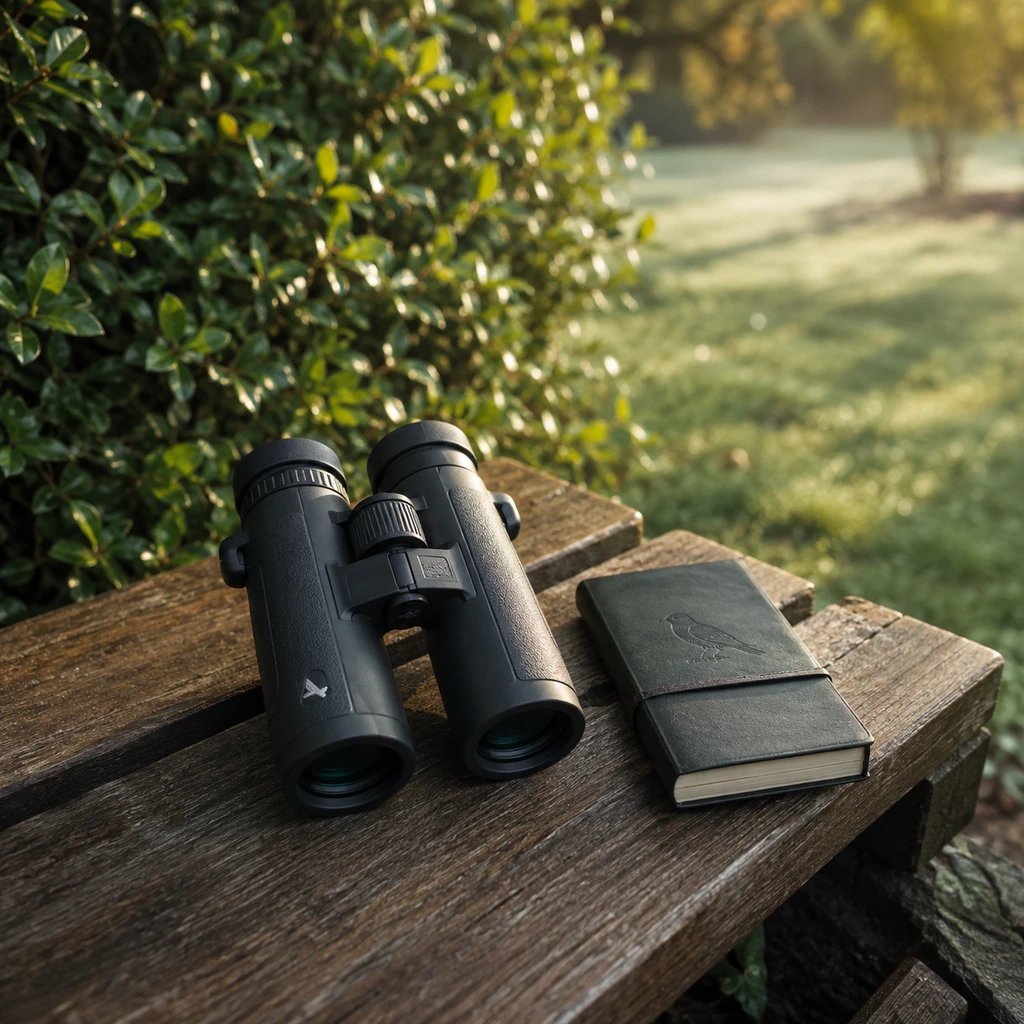
Table of Contents
Why Birdwatching Is the Easiest Outdoor Hobby to Start
Most outdoor hobbies front load the cost and the effort. Birdwatching for beginners inverts that. You can do a genuinely rewarding first session from a kitchen window, and the skill you build there transfers directly to a reserve, a coastline or a mountain trail.
- It works anywhere. Car parks, city rivers, hedgerows and suburban gardens all hold birds. You do not need wilderness, though it pairs beautifully with a first camping trip.
- It scales with your effort. Ten minutes on a bench counts. So does a dawn start. Nothing is wasted, and there is no failure state.
- It costs almost nothing to try. The only real purchase is binoculars, and a capable pair costs less than a pair of boots.
- It rewards patience over fitness. This is the rare outdoor activity where sitting still is the advanced technique, which makes it genuinely all ages.
It also travels well as a second activity. Birding fills the slow hours of a camping weekend, and it gives a hike with children a purpose beyond reaching the end.
Birdwatching for Beginners: The 7 First Steps
Work through these in order. Steps one to three cost nothing, and most people find the hobby has already taken hold before they reach step four.
1. Start Where You Already Are
Pick one spot you pass every day, a garden, a park bench, a bus stop with a tree, and look at it properly for ten minutes. Familiar ground is the fastest way to learn, because you stop noticing the scenery and start noticing what has changed. Most birders can name more species from their own street than from anywhere else.
2. Learn the Ten Commonest Birds First
Resist the urge to identify the rare and the strange. Learn your ten most common local birds until you know them instantly, by shape and movement rather than colour. Once those ten are automatic, anything unusual announces itself simply by not fitting, which is how experienced birders actually spot rarities.
3. Go Out at Dawn
Bird activity is heavily weighted to the first two hours after sunrise. Birds feed hardest after a cold night and sing most at first light, so a 6am hour will show you more than an entire afternoon. If dawn is impossible, the last ninety minutes before dusk is the second best window. Camping on site removes the drive entirely, which is one of the quieter arguments for dispersed camping.
4. Buy Binoculars, Not a Camera
This is the step that converts curiosity into a hobby. A camera makes you fiddle with settings while the bird leaves; binoculars put you in the moment. Buy 8×42 if you can, which is the size the whole gear section below is built around, and do not spend anything on a spotting scope until you have used binoculars for a full season.
5. Use Your Ears Before Your Eyes
Experienced birders find most birds by sound and only then raise their binoculars. You do not need to identify songs yet, you only need to notice them and turn towards them. Stop walking, listen for fifteen seconds, then look. That single habit roughly doubles what you see.
6. Keep a List
Write down what you see and where. A list turns scattered sightings into visible progress, and it is what makes the hobby stick past the first month. The free eBird platform from the Cornell Lab does this on a phone and feeds your sightings into real conservation science, which is a pleasant side effect of writing things down.
7. Go Somewhere With Water
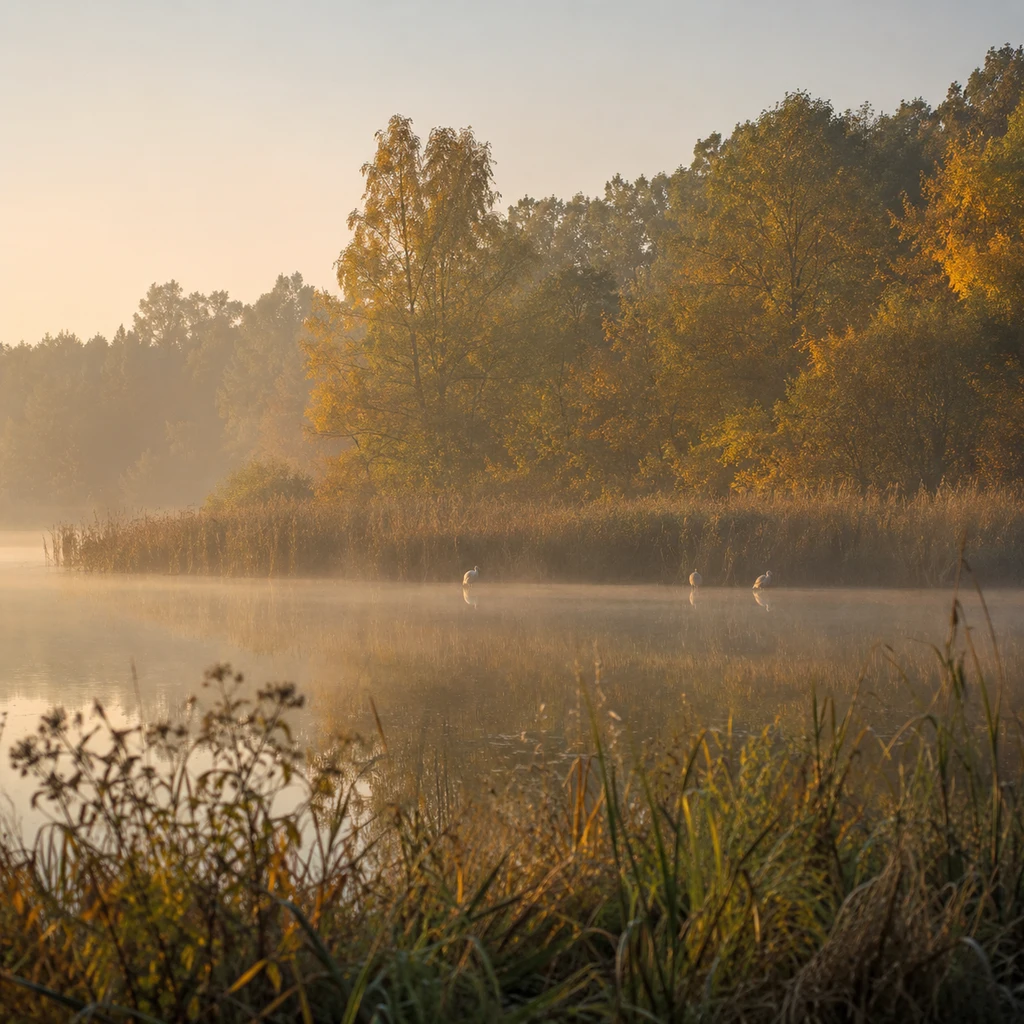
When you are ready to travel for it, choose water. A reservoir, estuary, marsh or even a large park lake will hold far more species than woodland of the same size, and the birds are out in the open rather than hidden in a canopy. Water is the single highest return habitat for a beginner.
What Binoculars Actually Matter For
Binocular marketing is built around the wrong number, which is why so much advice on birdwatching for beginners points at the wrong pair. Here is what the specifications mean and which ones change what you see, plus a note on slowing down outdoors, which helps more than optics.
The Two Numbers: Magnification and Objective
An 8×42 binocular magnifies eight times through a 42mm front lens. The first number is power, the second is how much light it gathers. Higher magnification sounds better and is usually worse, because it narrows your field of view and magnifies every tremor in your hands. For birds, 8×42 is the standard for good reason, and 10×42 is the most you should consider without a tripod.
Field of View Is What You Will Actually Notice
Field of view is how wide a slice of world you see, usually quoted in degrees or feet at 1000 yards. It is the difference between finding a moving warbler and hunting for it while it leaves. A wide field is worth more to a beginner than an extra bit of magnification, which is precisely the trade most cheap high power binoculars get wrong.
Eye Relief Decides It If You Wear Glasses
Eye relief is how far your eye can sit from the lens and still see the whole image. If you wear glasses you need long eye relief and twist down eyecups, or you will see a permanently narrowed circle. This is the single most common reason a new birder concludes that binoculars are not for them.
Best Binoculars for Birdwatching at a Glance
Any of these six works for birdwatching for beginners. Five are 8×42, the format that suits nearly everyone. The compact is the exception, included because a pair you actually carry beats a better pair left at home.
| Binoculars | Format | Glass and coatings | Standout feature | Best for |
|---|---|---|---|---|
| Celestron Nature DX | 8×42 | Phase-coated BaK-4, fully multi-coated | 7.4 degree field of view | Best overall for beginners |
| Gosky 8×42 | 8×42 | BAK4, fully multi-coated | Phone adapter and tripod included | Best budget full size |
| Occer 12×25 | 12×25 compact | BAK4, FMC coated | Fits a coat pocket | Best pocket compact |
| Vortex Diamondback HD | 8×42 | Dielectric, Armortek, HD glass | Unlimited lifetime VIP warranty | Best mid range |
| Nikon PROSTAFF P3 | 8×42 | Multilayer, silver-alloy prism | Long eye relief, turn-and-slide cups | Best for glasses wearers |
| Athlon Midas UHD | 8×42 | ED glass, ESP dielectric | ED glass removes colour fringing | Best premium |
Six Binoculars Worth Buying
Each of these is picked for a different budget and a different pair of eyes rather than ranked one to six. Ratings and specifications were checked at the time of writing.
Celestron Nature DX 8×42: Best Overall for Beginners
If you want one recommendation and no further reading, this is it. The Nature DX has been the default first birding binocular for years because it puts phase-coated BaK-4 prisms and fully multi-coated lenses at a price where most rivals skip the phase coating entirely, and phase coating is what keeps fine detail from smearing.
The number that matters here is the 7.4 degree field of view, which is genuinely wide. That is what lets you pick up a small bird moving through a hedge instead of losing it while you hunt. Paired with 8x magnification, the image stays steady enough to hold one handed on a gate post.
The body is rubber-armoured polycarbonate, waterproof and nitrogen purged, so damp autumn mornings are a non issue, and there is a tripod socket if you later want to sit and watch a marsh for an hour. Celestron backs it with a limited lifetime US warranty. At 4.6 stars across four thousand ratings it is the safest buy on this list.
Specs That Matter
- 8×42 format, the standard birding size
- Phase-coated BaK-4 prisms, fully multi-coated lenses
- Wide 7.4 degree angular field of view
- Waterproof and nitrogen purged, rubber-armoured body
- Tripod adaptable, limited lifetime US warranty
Who It Is For
Anyone starting out who wants to buy once and not think about it again for several years.