
This post may contain affiliate links. If you buy through them, we may earn a small commission at no extra cost to you.
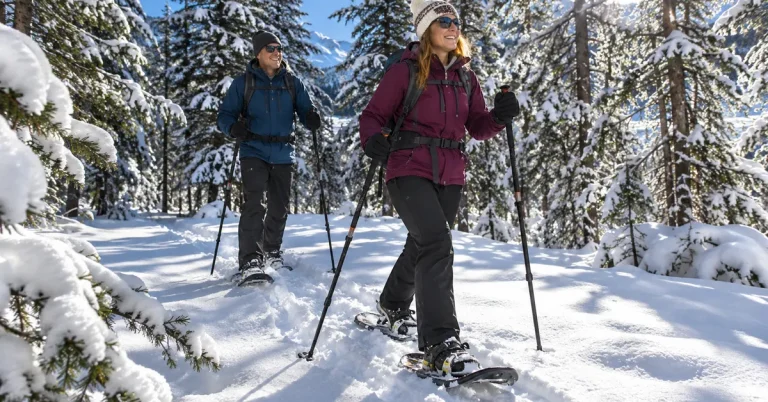
Snowshoeing for beginners is one of the easiest ways to keep hiking all winter. If you can walk, you can snowshoe. Snowshoes spread your weight over a larger surface so you float on top of deep snow instead of sinking to your knees with every step, which turns a miserable posthole slog into a quiet, beautiful walk through a snowy forest. If your local trails are packed and icy rather than deep, our guide to hiking in snow and ice covers the traction you need instead.
This guide covers everything you need for your first outing: when snowshoes beat microspikes, how to choose the right size, how bindings and heel lifts work, simple technique for flats, hills and descents, what to wear, where to go, and the safety and etiquette rules every new snowshoer should know.
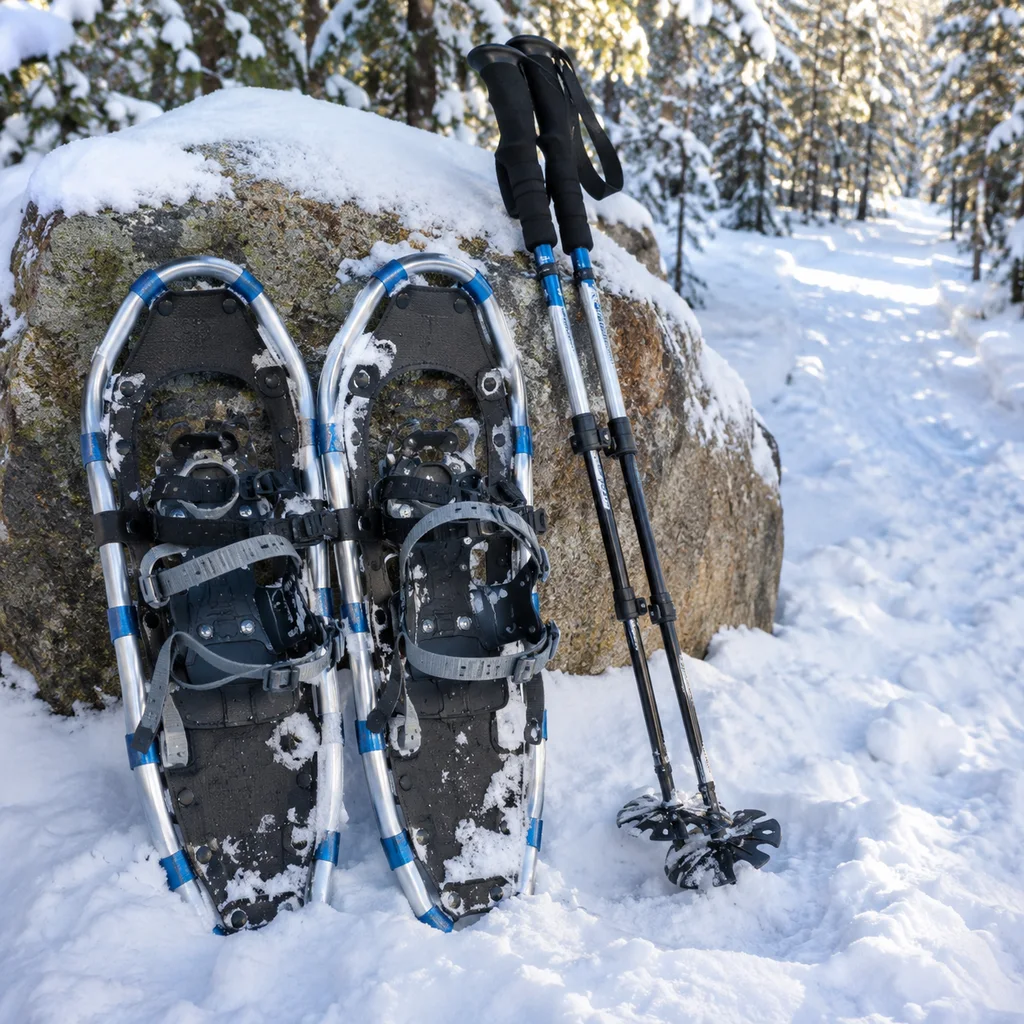
Table of Contents
Why Snowshoeing for Beginners Is So Easy
Snowshoeing has almost no learning curve. Unlike skiing, you do not need lessons, lift tickets or special boots. Your regular insulated hiking boots work in most snowshoe bindings, and the basic movement is just walking with a slightly wider stance. It is also great exercise. Moving through snow burns far more energy than walking on dry ground, so even a short outing keeps you warm and works your legs and core.
Best of all, it opens up trails that would otherwise be closed to you for months. Summer paths, frozen lakeshores and snowy meadows all become fair game, and winter crowds are usually much smaller than summer ones. If you are new to hiking in general, start with our hiking for beginners guide, and if you would rather skip the snow entirely, our list of low elevation hikes keeps you on dry trails.
When to Use Snowshoes vs Microspikes
The biggest beginner question is which traction to bring. The answer depends on the snow, not the temperature.
Deep or Fresh Snow: Snowshoes
Wear snowshoes when the snow is deep and unconsolidated, meaning fresh powder or soft snow that your boots sink into more than a few inches. If you are postholing, sinking to your shins or knees with each step, you need flotation. Snowshoes also prevent the deep boot holes that ruin a trail for everyone who comes after you.
Packed Snow and Ice: Microspikes
On trails that are already packed down by other hikers, or covered in ice, snowshoes are overkill and can feel clumsy. Slip on microspikes instead. Our guide to the best microspikes for hiking compares the top options. Many winter hikers carry both and switch as conditions change.
Mixed Conditions
Snow changes during the day and with elevation. A trail can be icy at the trailhead and knee deep higher up. When in doubt, strap your snowshoes to your pack and start in spikes or boots. It is easier to carry gear you do not need than to turn back because you left it in the car.
Choosing Your First Snowshoes
Snowshoes look complicated, but only a few features really matter when you are starting out.
Sizing by Weight and Snow Type
Snowshoe size is about the total weight it has to float, meaning you plus your pack and clothing, not your shoe size. Heavier loads and deep, fluffy powder call for larger snowshoes, while packed trails and lighter users can go smaller. A 22 to 25 inch snowshoe suits most adults on packed and moderate snow. Most brands list a maximum recommended load, so add about 10 to 20 pounds for gear and check the chart. Some models, like the MSR Evo Trail, accept add on tails for extra flotation in deep powder.
Bindings
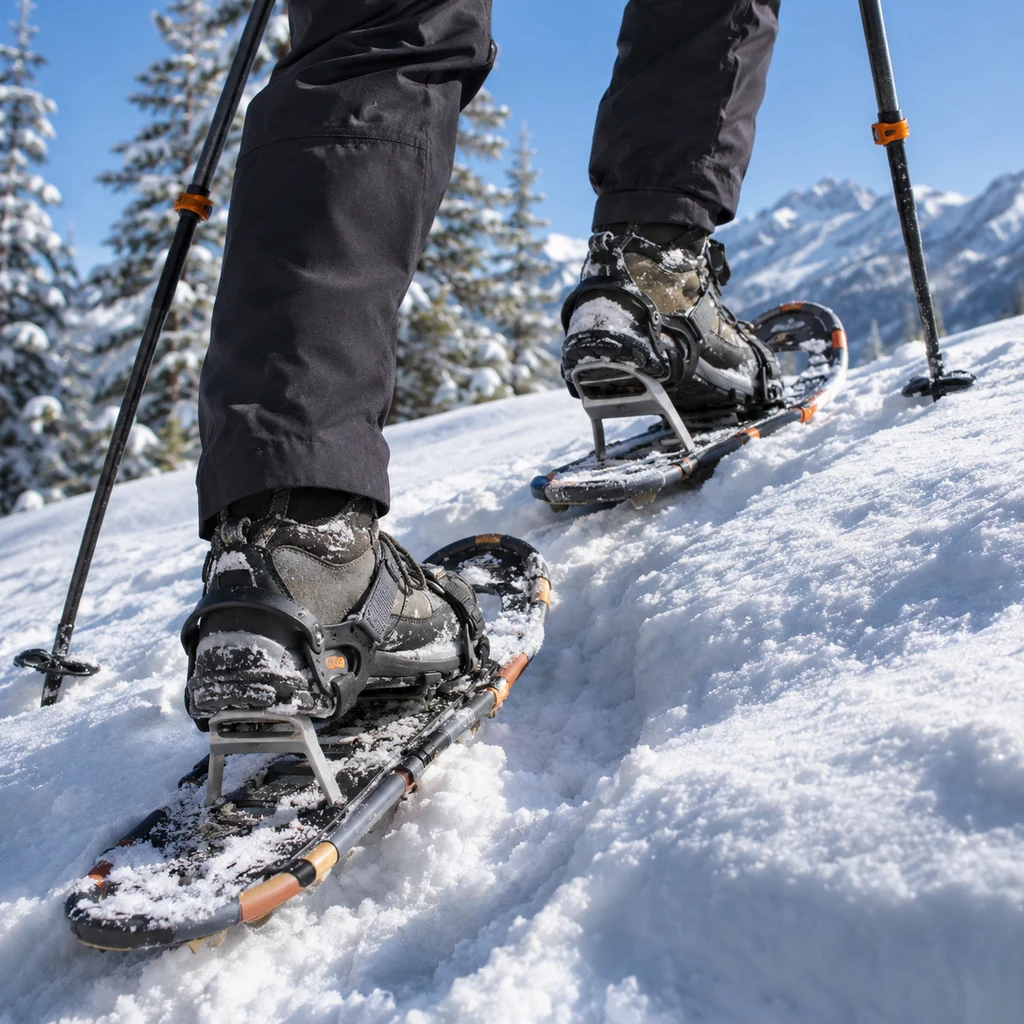
The binding holds your boot to the snowshoe. Beginner friendly bindings use ratchets, wide straps or hook and loop closures that are easy to adjust with gloves on. Practice putting them on at home, because fumbling with frozen straps in the wind at a trailhead is no fun. Snug the binding so your heel can lift freely but your toe stays centered over the pivot.
Heel Lifts
Heel lifts, sometimes called climbing bars, are wire bars that flip up under your heel on steep climbs. They keep your foot closer to level, which reduces calf fatigue and gives you better traction going uphill. Flip them down on flat ground and descents. Models like the Retrospec Drifter include them at a beginner friendly price.
Crampons and Traction
Look under the snowshoe. Metal teeth under the toe, often called crampons, and traction rails along the sides keep you from slipping on hard snow, ice and slopes. More aggressive traction is better for hilly terrain, while flat rolling trails need less.
Poles With Snow Baskets
Trekking poles add balance, help you push uphill and catch you when you stumble. Use poles with large snow baskets so they do not plunge deep into the snow. Our picks for the best trekking poles and our guide on how to use trekking poles both apply to snowshoeing. Some beginner kits, like the G2 snowshoe set, include poles and a bag.
Basic Snowshoeing Technique
Snowshoeing for beginners really comes down to a few simple adjustments to how you already walk.
Walk With a Wider Stance
Walk with your feet slightly wider apart than normal so the inner edges of the snowshoes do not clip each other. Lift your feet a little higher than usual and let the tails slide forward. After a few minutes it feels completely natural.
Climbing Uphill
On gentle climbs, flip up your heel lifts and walk straight up. On steeper slopes, kick the toe of the snowshoe into the snow to set the crampons, which is called kick stepping. Shorten your poles slightly for climbs and take smaller steps to save energy.
Traversing a Slope
When crossing a slope sideways, press the uphill edge of each snowshoe into the snow to create a flat platform for each step. Lengthen your downhill pole and shorten your uphill pole for balance. If the slope feels too steep to traverse safely, go around it.
Descending
Going downhill, keep your knees slightly bent, lean back just a little and keep your weight over your heels so the heel crampons bite. Take controlled steps and use your poles in front of you. On very steep or icy descents, side step down like a staircase. If you fall, and every beginner does, roll onto your side and use your poles to push yourself back up.
What to Wear Snowshoeing
You will warm up fast, so dress in layers you can adjust as you go. A moisture wicking base layer, a light fleece and a waterproof or wind resistant shell work for most days. Our layering guide explains each layer, and a light puffy from our list of the best insulated jackets keeps you warm during breaks.
- Insulated, waterproof hiking boots that fit well in your bindings
- Wool socks, ideally from our list of the best hiking socks
- Waterproof pants or gaiters to keep snow out of your boots
- Warm gloves, plus a spare pair; our best ski gloves work well here too
- A warm hat, sunglasses and sunscreen, since snow reflects a lot of sunlight
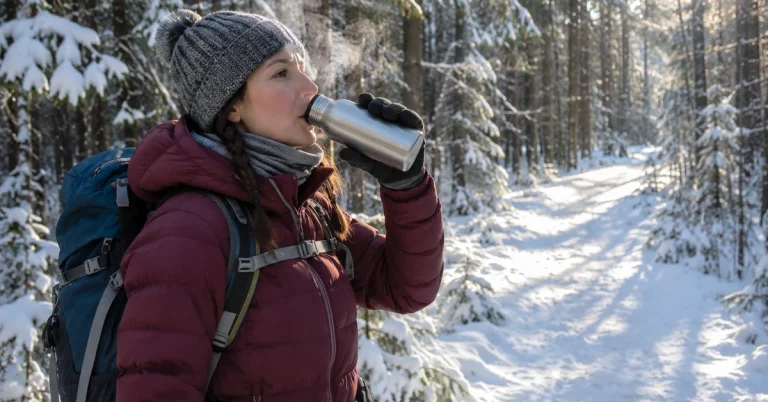
Bring water in an insulated bottle so it does not freeze. A Hydro Flask or another pick from our list of the best insulated water bottles works well, and our guide on how to keep water from freezing has more tricks.
Where to Go Snowshoeing
For your first few outings, choose easy, well marked terrain close to help.
Nordic Centers and Groomed Trails
Many cross country ski areas and Nordic centers maintain dedicated snowshoe trails, often with rentals, maps and a warm lodge. They are the easiest place to try the sport before you buy.
State Parks and Familiar Trails
Summer hiking trails you already know are another great choice, since you know the route and the distances. Check with the park first, because some roads and trailheads close in winter.
Safety and Trail Etiquette
Avalanche Awareness
Stay out of avalanche terrain unless you have avalanche training, a beacon, probe and shovel, and partners who know how to use them. Steep open slopes, gullies and the runout zones below them can slide. Beginners should stick to forested trails and gentle terrain, and check your local avalanche forecast before heading into the mountains.
Do Not Walk on Ski Tracks
Never walk on groomed cross country ski tracks, the parallel grooves set by grooming machines. Snowshoes and boots destroy them. Walk to the side of the trail or use dedicated snowshoe routes. Yield to downhill traffic and step aside for skiers.
Plan for Short Days and Cold
Winter daylight is short, so start early, tell someone your plan and carry a headlamp from our list of the best headlamps for camping. Our night hiking guide helps if you get caught out after sunset. Move a little slower than in summer, since snowshoeing takes more effort per mile. Fast movers can try winter trail running once they are comfortable on snow.
Frequently Asked Questions
Is snowshoeing hard for beginners?
No. If you can hike, you can snowshoe. The movement is simply walking with a wider stance, and most people feel comfortable within the first few minutes.
Can I wear regular boots with snowshoes?
Yes. Most snowshoe bindings fit insulated hiking boots and winter boots. Avoid soft sneakers in cold, deep snow, since they get wet quickly.
What size snowshoes do I need?
Choose by your total weight with gear and the snow you will be on. Most adults on packed and moderate snow do well with 22 to 25 inch snowshoes, while deep powder and heavy loads need larger models or add on tails.
What is the best way to start snowshoeing for beginners?
Rent a pair at a Nordic center or outdoor shop, pick a short, flat, marked trail and go on a sunny day with a friend. Once you know you love it, buy your own pair and explore further.
Discover more from Maive Verse
Subscribe to get the latest posts sent to your email.