
This post may contain affiliate links. If you buy through them, we may earn a small commission at no extra cost to you.
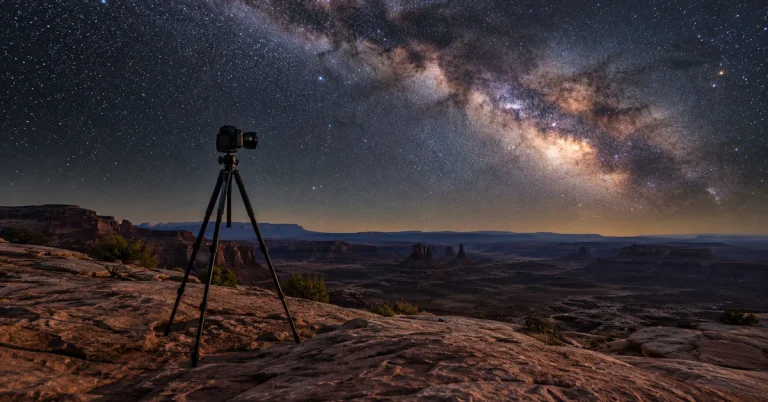
Learning how to photograph the night sky is easier than most people expect. You do not need a telescope, a tracking mount or an expensive camera to get your first sharp shot of the stars. A camera with manual settings, a wide lens, a sturdy tripod and a dark place are enough to capture the Milky Way in a single exposure of twenty seconds or less.
This guide walks through the gear, the exact settings, when and where to shoot this fall, and how to turn a grainy first attempt into a photo you want to print. If you are new to looking up at all, start with our stargazing for beginners guide and come back when you know your way around the sky.
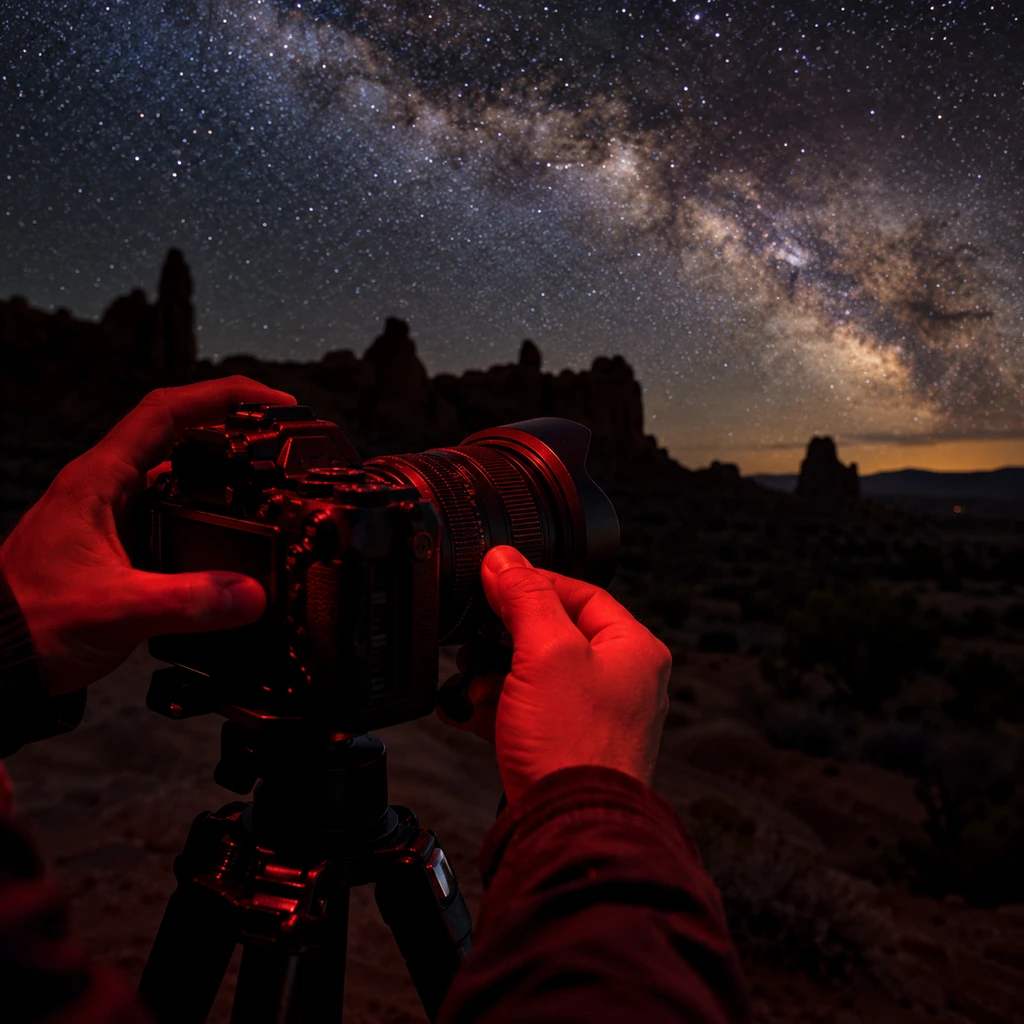
Table of Contents
What You Need to Get Started
A Camera With Manual Controls
Any interchangeable lens camera works, mirrorless or DSLR, and so do many advanced compacts. What matters is that you can set shutter speed, aperture and ISO yourself and shoot in RAW. Full frame sensors are cleaner at high ISO, but plenty of great night skies have been shot on entry level crop sensor bodies.
A Wide, Fast Lens
A wide angle lens between 14 and 24mm with a maximum aperture of f/2.8 or brighter is the classic choice. The f-number matters more than almost anything else here: an f/1.8 lens gathers more than twice the light of an f/2.8 lens, which means lower ISO and less noise for the same exposure.
A Tripod That Does Not Move
Exposures run from ten to thirty seconds, so the camera has to sit perfectly still. A light but rigid tripod is the single most important accessory. The carbon Peak Design Travel Tripod packs small for hikes, and the K&F Concept 64 inch aluminum tripod is a solid budget option. Our round-up of the best tripods for astrophotography compares six picks in detail.
A Red Headlamp and Warm Layers
A headlamp with a red mode lets you see your camera controls without ruining your night vision. Our guide to headlamp lumens explains what you actually need. Nights cool fast in the fall, and standing still behind a camera is colder than hiking, as anyone who has read our guide to cold weather backpacking knows, so bring more layers than you think using the system in our guide on how to layer for hiking.
Spare Batteries and a Remote Release
Cold drains batteries fast, and long exposures with live view drain them faster, so carry at least two spares in an inside pocket where your body keeps them warm. A cheap remote release or intervalometer lets you trigger the shutter without touching the camera, which removes the tiny shake a button press causes. If you do not have one, the camera two second self timer does the same job for single frames. An intervalometer also automates star trail sequences, so it earns its place in the bag quickly.
How to Photograph the Night Sky: The Best Camera Settings
Settings are where most people get stuck when they learn how to photograph the night sky. These are a starting point, not a rule. Take a test shot, look at it zoomed in, then adjust. The table sums up where most photographers begin.
| Setting | Starting Point | Why |
|---|---|---|
| Mode | Manual (M) | Auto modes cannot meter a dark sky |
| File format | RAW | Keeps the data you need for editing |
| Aperture | Widest available, f/1.8 to f/2.8 | Gathers the most starlight |
| Shutter speed | 10 to 25 seconds | Long enough for light, short enough for sharp stars |
| ISO | 1600 to 6400 | Brightens the exposure; higher adds noise |
| Focus | Manual, on a bright star | Autofocus fails in the dark |
| White balance | 3800K to 4200K | Keeps the sky natural rather than orange |
| Stabilization | Off | Can blur images on a tripod |
Shutter Speed and the 500 Rule
The Earth rotates, so stars start to smear into short lines if the shutter stays open too long. The old 500 rule gives a quick limit: divide 500 by your focal length. At 20mm on full frame that is 25 seconds. On a crop sensor, multiply the focal length by the crop factor first. Modern high resolution sensors show trailing sooner, so the more precise NPF rule, built into many photo apps, often gives a shorter time. Treat either number as a ceiling and check your stars at full zoom.
ISO
ISO brightens the image, and noise rises with it. Start at 3200, check the histogram, and move up or down. Underexposing and brightening later adds more noise than exposing properly in camera, so do not be afraid of a bright looking preview.
Aperture
Shoot wide open to start. If the stars in the corners look like little wings or comets, stop down by a third or half a stop. Many lenses sharpen noticeably at f/2.8 compared with f/1.8, and the small light loss is worth it.
Focusing in the Dark
Switch to manual focus, turn on live view, magnify the screen as far as it goes and point at the brightest star or planet you can find. Turn the focus ring slowly until the star is the smallest possible point. Do not trust the infinity mark on the lens; most lenses focus slightly past it. Once it is sharp, tape the ring so it cannot drift.
When to Photograph the Milky Way This Fall
Late September and October
The bright galactic core is a summer target. By late September it sits low in the southwest after dark and sets in the early evening, so plan to shoot within a couple of hours of the end of twilight. Through the fall the fainter band of the Milky Way still arcs high overhead, and the Andromeda Galaxy climbs in the east, which makes this a great season for wide overhead compositions.
Work Around the Moon
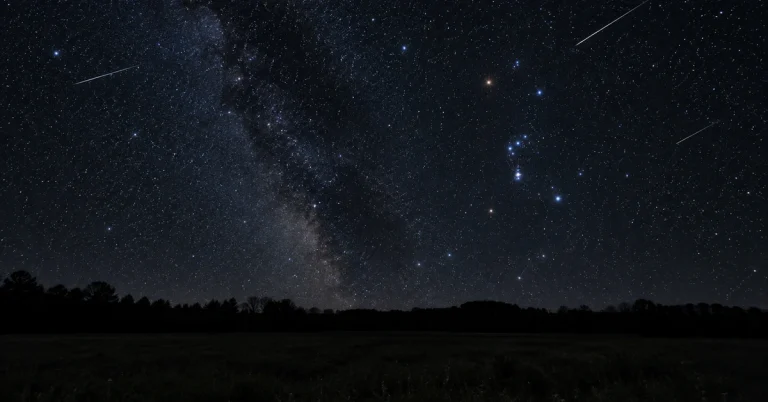
A bright moon washes out the faint stars. Shoot in the week around the new moon, or on nights when the moon rises late or sets early. Check a moon phase app before driving anywhere. Meteor showers are a bonus target, and our guide to the Orionid meteor shower covers the October peak.
Check the Forecast Twice
Clear skies matter more than anything, and thin high cloud can ruin a night that looks clear on a basic forecast. Use a cloud cover forecast and check again before you leave. Our guide to trail weather apps covers the tools worth using.
Where to Go: Finding Dark Skies
Location decides more than gear does. Anyone who knows how to photograph the night sky well will tell you that a mediocre camera under a dark sky beats a great camera near a city every time.
Understand Light Pollution
Light pollution is the biggest obstacle for most people in the US. The Bortle scale rates sky darkness from 1, the darkest, to 9, an inner city sky. You want Bortle 4 or lower for the Milky Way to show clearly, and a light pollution map will show you the nearest dark area to your home.
US Dark Sky Parks Worth the Drive
Officially designated dark sky places are the easy answer. Big Bend National Park in Texas, Great Basin National Park in Nevada and Cherry Springs State Park in Pennsylvania are among the darkest skies in the country. Many national parks and public lands in the West are dark enough, and our guide to dispersed camping can help you stay out there overnight.
Scout in Daylight
Visit your spot before dark to find a safe place to stand, a good foreground and the direction of the sky you want. Walking unfamiliar ground with a headlamp at midnight is how people get hurt. Our night hiking guide covers moving safely after dark.
Dark Sky Etiquette
Popular dark sky spots can be busy on clear weekends, and one careless headlamp can ruin a dozen exposures. Use red light only, keep it pointed at the ground, and switch off car headlights and interior lights before you arrive at a viewpoint. Ask before you light a foreground if other people are shooting. Pack out everything, stay on durable ground, and follow the same principles in our guide to leave no trace camping.
Composition: Make the Photo About More Than Stars
Once exposure and focus are handled, composition is what separates a snapshot from a keeper. This is the fun part.
Use a Strong Foreground
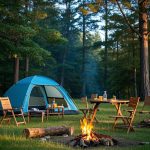
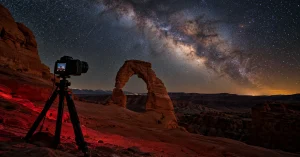
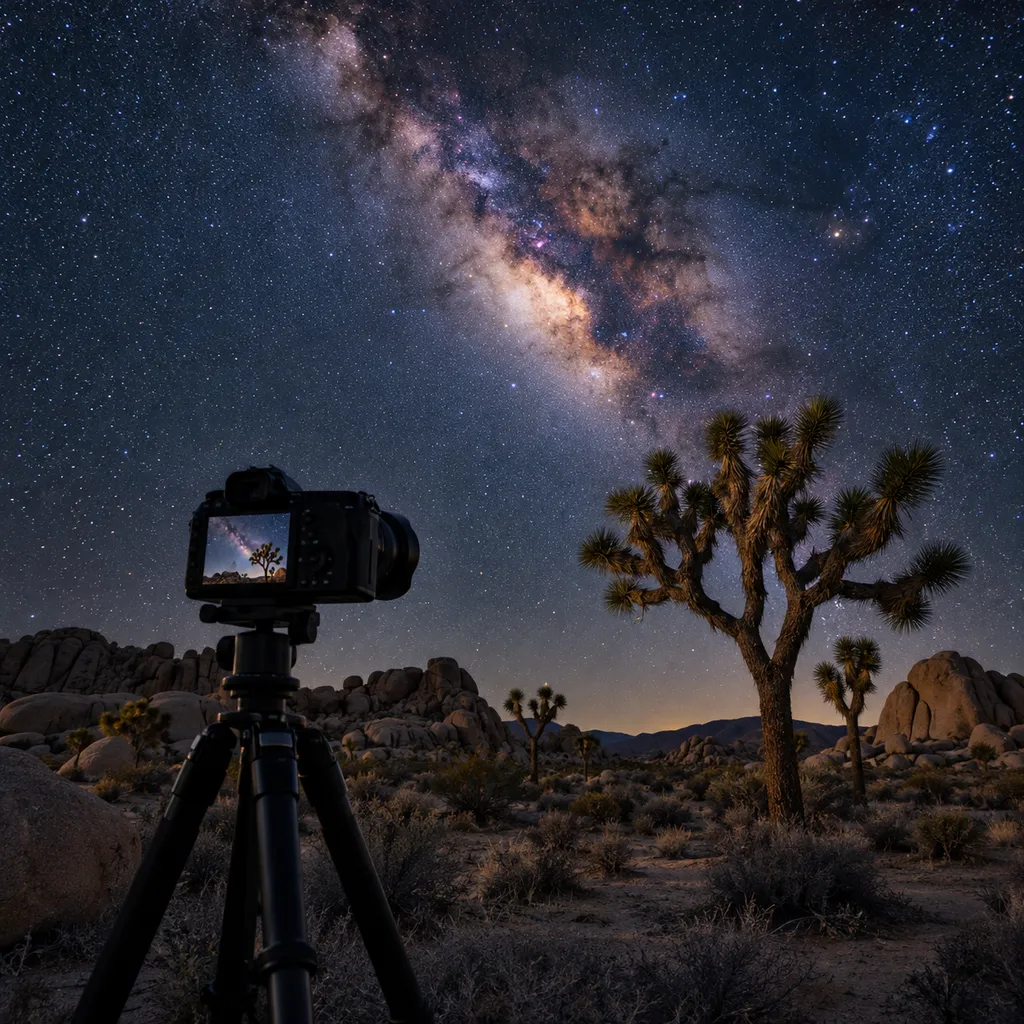
A sky full of stars on its own gets repetitive fast. A tree, a rock formation, a tent glowing from inside or a mountain ridge gives the image scale and a story. Keep the foreground in silhouette or light it very gently.
Low Level Lighting
A dim, warm light held far to one side for a second or two of the exposure can reveal foreground texture without blowing it out. A camping lantern on its lowest setting behind a rock works surprisingly well. Never shine lights at other photographers, and turn everything off between shots.
Water Reflections
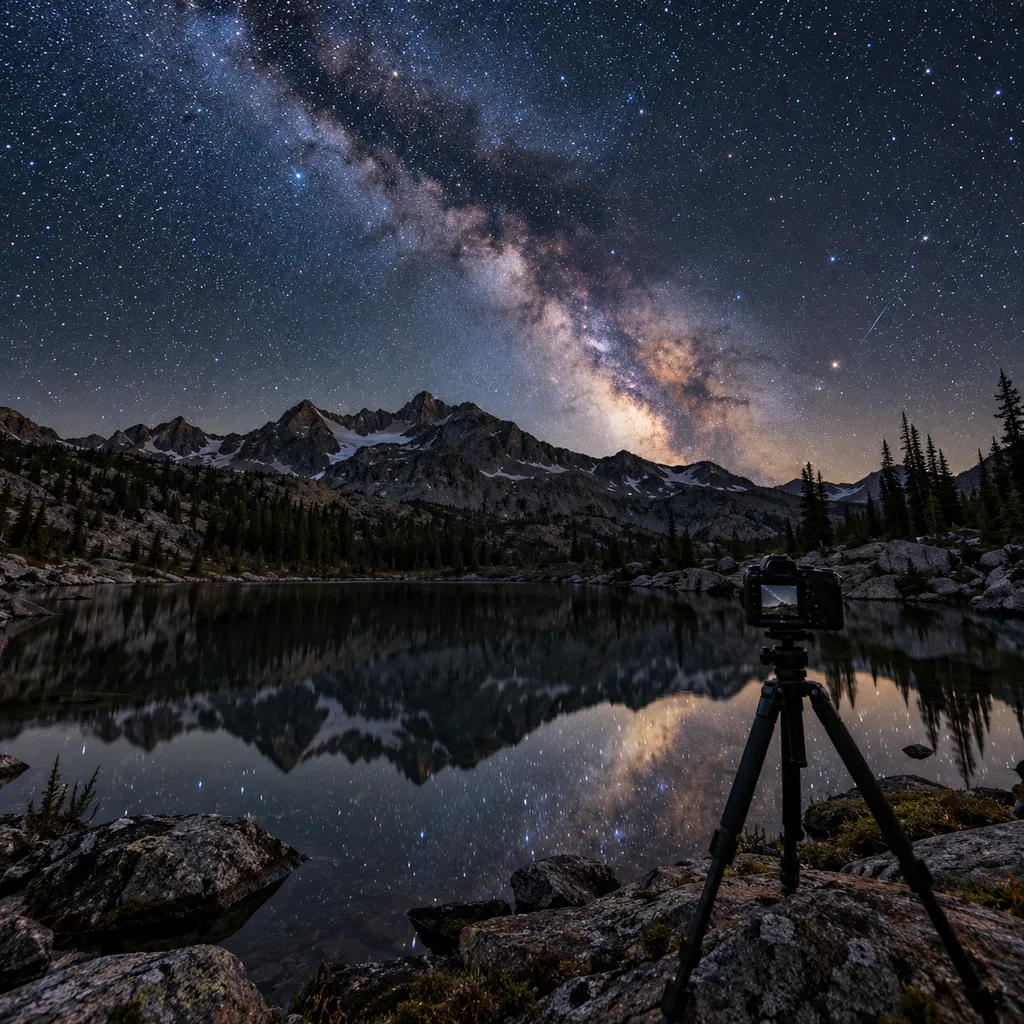
On a calm night, a lake doubles the stars. Mountain lakes are often still after midnight when the wind drops. Keep the horizon level and leave room at the bottom of the frame for the reflection.
Star Trails, Trackers and Editing
Shooting Star Trails
For star trails, point the camera north toward Polaris and shoot a continuous series of 30 second frames for an hour or more with an intervalometer, then stack them in free software. Stacking beats one very long exposure because the sensor stays cooler and a single passing car does not ruin the whole image.
When to Consider a Star Tracker
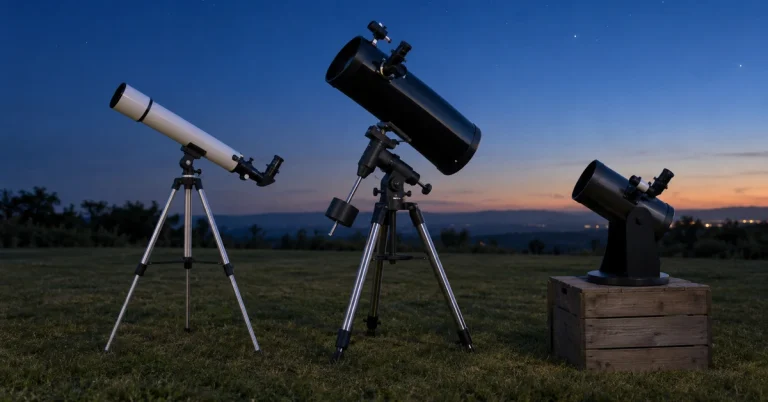
A small tracking mount rotates the camera to follow the sky, allowing exposures of several minutes at low ISO. It is the natural next step once you are hooked, and it pairs with the kind of sturdy tripod in our tripod round-up. A telescope is a different hobby altogether; our guide to the best telescopes for beginners covers visual observing.
Start With RAW Basics
Shooting RAW lets you fix white balance and recover shadows. Set a cool white balance, lift exposure slightly, add contrast and clarity to the Milky Way band, and pull highlights down if a distant town glows on the horizon.
Reduce Noise Carefully
A little noise reduction goes a long way. Too much turns stars into mush. Advanced photographers stack several identical frames to average noise away, which gives a cleaner result than any slider.
Common Mistakes When You Photograph the Night Sky
- Trusting autofocus or the infinity mark instead of focusing on a star in live view.
- Leaving image stabilization on while the camera sits on a tripod.
- Shooting under a bright moon or near a city and wondering why the stars are faint.
- Using too long a shutter speed, so stars turn into short streaks.
- Shooting JPEG, which throws away the data you need in editing.
- Forgetting spare batteries, which drain fast in the cold.
- Not checking the first frame zoomed in before shooting a whole sequence.
Most first attempts fail on focus or moonlight, not on the camera. Fix those two and your results jump. If you would rather just look for a while, a good pair from our list of the best binoculars for stargazing is a great way to learn the sky before you photograph it.
Frequently Asked Questions
Can I photograph the night sky with a phone?
Yes, recent phones with night modes can capture bright stars and even a faint Milky Way under very dark skies, especially on a small tripod. A dedicated camera with a wide lens still gives far cleaner, more detailed results.
What is the best lens for night sky photography?
A wide angle prime or zoom between 14 and 24mm with an aperture of f/2.8 or brighter. Faster lenses such as f/1.8 or f/1.4 let you use lower ISO for cleaner images.
How long should my exposure be?
Usually 10 to 25 seconds with a wide lens. Use the 500 rule or the NPF rule as a limit, then check a test shot at full zoom for trailing stars.
When is the best time to see the Milky Way?
The bright core is best from spring to late summer. In late September and October, shoot soon after dark near the new moon, when the band still arches high and the core sets in the southwest.
Do I need a star tracker?
Not to start. A tripod and a fast wide lens capture excellent Milky Way photos. A tracker helps later for longer exposures at lower ISO and for tighter shots with longer lenses.
Knowing how to photograph the night sky comes down to a few habits: go dark, go when the moon is down, focus manually on a star, and keep the shutter short enough for sharp points. Pick a clear night near the new moon, find a dark spot within driving distance, and take your first test frame. Planning a trip around it? Our guide to fall camping essentials will keep you warm while you wait for the sky to go dark.
Discover more from Maive Verse
Subscribe to get the latest posts sent to your email.