

This post may contain affiliate links. If you buy through them, we may earn a small commission at no extra cost to you.
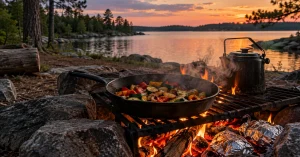
Learning how to cook over a campfire mostly comes down to one idea: you cook on coals, not flames. Tall yellow flames look impressive, but they blacken the outside of food long before the middle is done. A bed of glowing coals gives steady, even heat you can actually control, and that is what turns a campfire into a stove.
This guide covers building a cooking fire, reading heat zones, the gear that makes it easier, and simple meals that work every time. If you have never cooked outdoors at all, start with our camp cooking for beginners guide, then come back here for the fire itself.
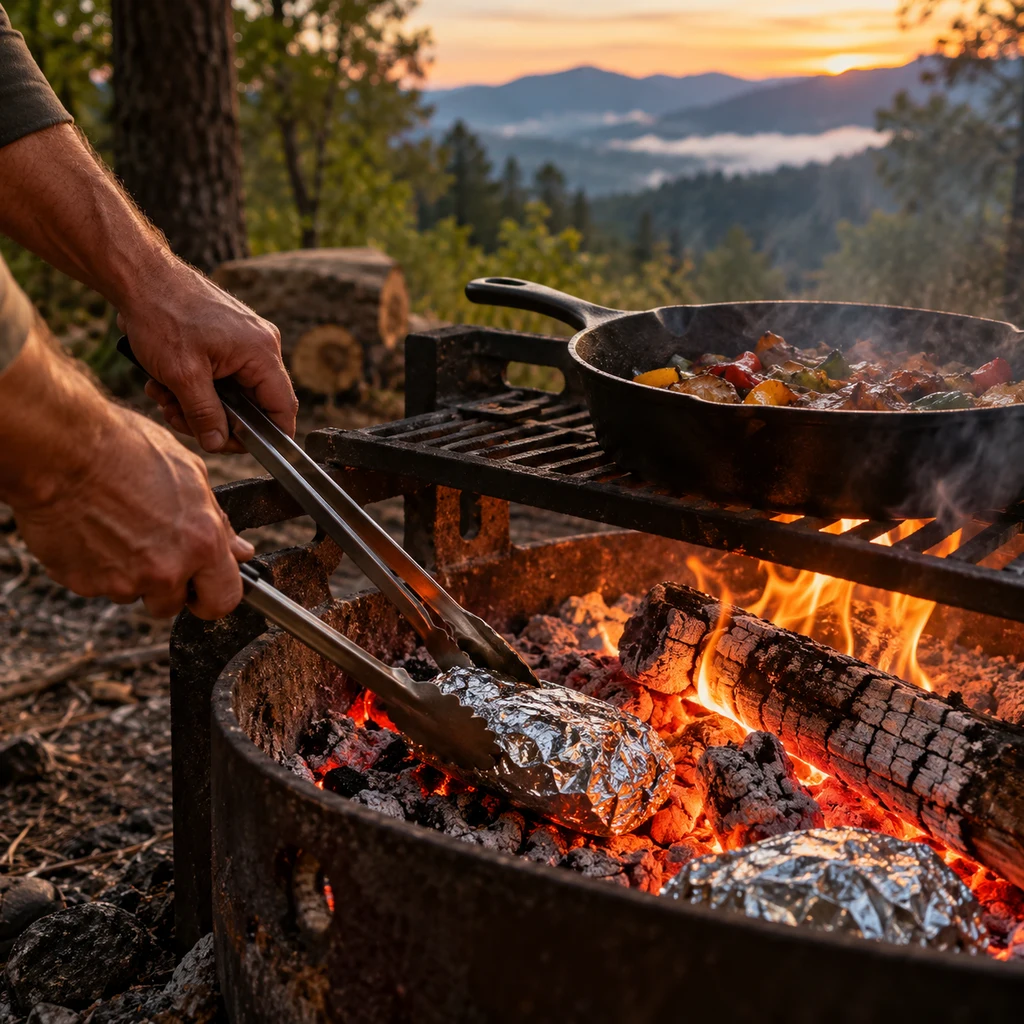
Table of Contents
Build a Fire Made for Cooking
Start Early and Let It Burn Down
A cooking fire needs time. Light it 45 minutes to an hour before you want to eat, and let the first big flames burn down into a bed of red coals. If you need a refresher on lighting it, our guides on how to build a campfire and how to start a campfire cover the basics step by step.
Use Hardwood, Not Softwood
Dense hardwoods such as oak, hickory, maple and ash burn longer and leave deep, even coals. Softwoods like pine and fir burn fast and hot, throw sparks, and coat pans in sticky soot from their resin. Use softwood to get the fire going, then feed it hardwood for cooking. Buy firewood locally or where you camp, since moving firewood spreads tree pests.
Keep a Feeder Fire Going
For a long cook, keep a small fire burning at the back of the fire ring and rake fresh coals forward as the cooking coals fade. This gives you a steady supply of heat without dropping a cold log onto the food side. It also means you can boil water for coffee and dishes on the hot side while dinner finishes on the cool side, which is the real advantage of a well managed cooking fire over a single camp stove burner.
How to Cook Over a Campfire Using Heat Zones
If you only learn one thing about how to cook over a campfire, make it this. The single most useful trick is to spread the coals unevenly. A deep pile on one side and a thin layer on the other gives you a hot zone and a cool zone, just like the burners on a stove. Food that is browning too fast moves to the cool side; food that needs a sear moves to the hot side.
Direct Heat
Food directly above a thick layer of coals. Use it for searing steaks, toasting bread and boiling water fast.
Indirect Heat
Food beside the coals rather than over them, or over a thin layer. Use it for thick cuts, chicken pieces and anything that needs to cook through without burning.
The Hand Test
No thermometer needed. Hold your palm about five inches above the cooking surface and count how many seconds you can comfortably keep it there.
| Seconds You Can Hold Your Hand | Heat Level | Good For |
|---|---|---|
| 2 seconds | High, about 450 to 550°F | Searing steaks, boiling water, stir-frying |
| 3 to 4 seconds | Medium high, about 375 to 450°F | Burgers, sausages, pancakes |
| 5 to 6 seconds | Medium, about 325 to 375°F | Chicken pieces, foil packets, fish |
| 7 to 8 seconds | Low, about 250 to 325°F | Keeping food warm, slow cooking, baking |
Gear That Makes Campfire Cooking Easier
A Grill Grate
Many campground fire rings have a built-in grate, but they are often rusty or uneven. A portable steel grate on legs, or one that rests on the rocks of the ring, gives you a flat, stable surface. Scrub it with a wire brush before and after use.
A Cast Iron Skillet
Cast iron is the classic campfire pan because it handles high heat, holds it evenly and does not warp. It is heavy, but for car camping that hardly matters. Keep it seasoned with a thin layer of oil after each use. Our round-up of the best camping cookware sets covers lighter options too.
A Camp Dutch Oven
A camp dutch oven has three legs and a flanged lid that holds coals, so heat comes from above and below at once. That makes it a true outdoor oven for stews, chili, cobblers and bread. The Lodge 6 quart camp dutch oven is the standard, the Uno Casa camp kit adds a lid lifter and tote, and the GSI Guidecast is noticeably lighter. Our guide to the best dutch ovens for camping compares six.
Long Tools and Gloves
Long-handled tongs, a spatula and a pair of leather or heat-resistant gloves keep your hands away from the heat. A lid lifter is essential for dutch oven cooking. A small shovel or metal poker helps you move coals.
Campfire Cooking Methods
Grilling on a Grate
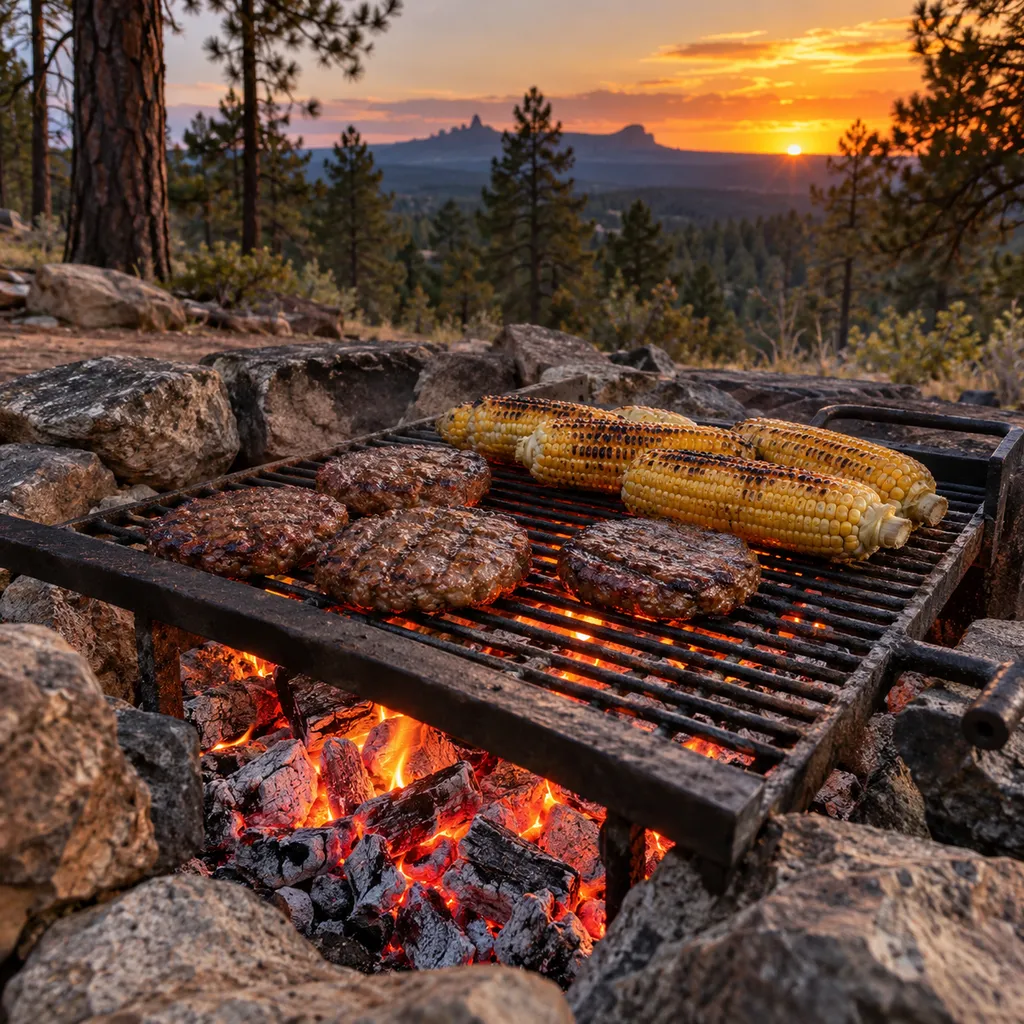
Burgers, sausages, corn and vegetables all grill well over medium high coals. Oil the grate, leave space between pieces, and turn food only once or twice so it browns properly.
Skillet Cooking
Set the skillet on the grate or directly on a level bed of coals. Breakfast is where the skillet shines, and it is the easiest way to practice heat control: bacon first, then eggs, potatoes or pancakes in the fat. Move the pan between heat zones rather than fiddling with the fire. Preheat the skillet for five minutes before adding food, because cold cast iron on coals heats unevenly and food sticks. A splash of water that skitters and evaporates instantly means the pan is ready for eggs or pancakes.
Dutch Oven Coal Basics
For baking, most of the heat goes on top. A common starting rule for a 12 inch oven at about 350°F is roughly 17 coals on the lid and 8 underneath, using charcoal briquettes for consistency. For stews and boiling, flip it: more heat below. Rotate the oven a quarter turn one way and the lid a quarter turn the other every 15 minutes to avoid hot spots.
Foil Packets
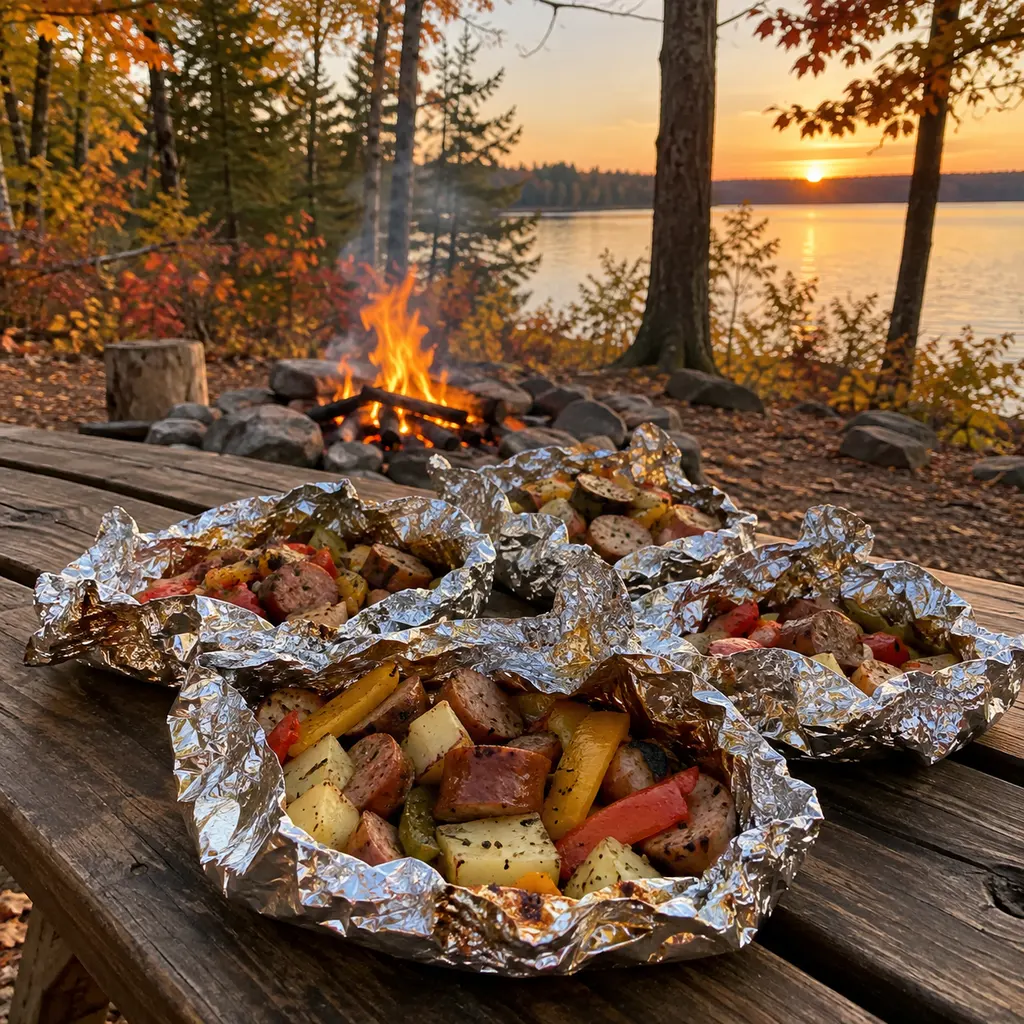
The easiest campfire meal there is. Lay chopped potatoes, vegetables and a protein on heavy-duty aluminum foil, add butter or oil and seasoning, fold the edges into a tight seal, and set the packet on medium coals. Most cook in 15 to 25 minutes; flip once halfway. Cut potatoes small so they finish at the same time as everything else. Two layers of foil prevent tears on rough coals, and leaving a little air space inside the packet lets the food steam rather than scorch. Write names on the outside with a marker if everyone builds their own.
Sticks and Skewers
Hot dogs, marshmallows and kebabs need nothing more than a long skewer. Metal skewers are safer and reusable; if you use a stick, choose a green, non-toxic hardwood and avoid anything you cannot identify.
Food Safety and Cleanup
Cook to Safe Internal Temperatures
Campfire heat is uneven, so do not judge doneness by color. A small instant-read meat thermometer settles it. USDA food safety guidance gives 165°F for poultry, 160°F for ground beef and pork, and 145°F for whole cuts of beef, pork and fish, with a three minute rest for whole cuts.
Keep Cold Food Cold
Raw meat should stay at 40°F or below until it hits the fire. Pack it frozen, keep it at the bottom of the cooler and use it early in the trip. Our picks for the best coolers for camping hold ice for days, and our camping food storage guide covers wildlife-proof storage.
Avoid Cross Contamination
Use a separate plate and utensils for raw meat, and wash your hands before handling cooked food. Hand sanitizer is not a substitute for soap and water after handling raw chicken.
Cast Iron Care
Scrape cast iron while it is still warm, rinse with hot water, dry it over the coals and wipe on a thin layer of oil. Skip soaking and avoid harsh soap on a well-seasoned pan.
Pack Out Food Waste
Do not burn foil, food scraps or grease in the fire; they attract animals and leave a mess for the next campers. Pack out everything, strain dishwater and scatter it well away from water sources. Clean up before dark, especially in bear country, where a tidy camp is your first line of safety. If you camp away from developed sites, our dispersed camping guide explains how to leave no mark.
Fire Safety and the Rules
Check for Burn Bans First
Late summer and fall are peak wildfire season across much of the West. Before you go, check the land manager for current fire restrictions; many U.S. Forest Service districts and state parks ban open fires during dry spells and allow only gas stoves. If fires are banned, a camping stove is the answer.
Use an Existing Fire Ring
Cook in an established fire ring where one exists, keep the fire small, clear flammable material from around it and never leave it unattended. Keep a bucket of water and a shovel nearby. Our camping safety tips cover the rest of camp.
Put It Out Cold
Drown the fire, stir the ashes, and drown it again until everything is cool to the touch. If it is too hot to touch, it is too hot to leave. The Leave No Trace principles cover minimizing campfire impacts in more detail.
Simple Campfire Meals to Start With
- Breakfast skillet: bacon, then diced potatoes and eggs cooked in the fat.
- Foil packet sausage and vegetables with potatoes, peppers and onions.
- Grilled burgers with corn on the cob wrapped in foil.
- Dutch oven chili, then cobbler in the same oven for dessert.
- Kebabs of chicken, peppers and onion on metal skewers.
- Campfire nachos in a cast iron skillet with a lid of foil.
For more ideas, our list of one pot camp meals works on coals just as well as on a stove. And for the morning, our camp coffee setup guide has five ways to brew over the fire.
Frequently Asked Questions
How long should a campfire burn before cooking?
Usually 45 minutes to an hour, until the flames die down and you have a bed of glowing coals. Hardwood gets there faster and lasts longer than softwood.
Can you cook directly on campfire coals?
Yes. Foil packets, cast iron pans and camp dutch ovens all sit directly on coals. Level the coals first so the pan sits flat, and keep a cooler zone to move food to.
What wood is best for campfire cooking?
Seasoned hardwoods like oak, hickory and maple. They produce long-lasting, even coals and less soot than pine or other softwoods.
How do I know when campfire food is done?
Use an instant-read thermometer: 165°F for poultry, 160°F for ground meat and 145°F for whole cuts and fish. Color and timing alone are unreliable over a fire.
What do I do if there is a fire ban?
Cook on a gas camping stove, which most fire restrictions still allow. Always check the current rules with the land manager before you light anything.
Once you know how to co