
This post may contain affiliate links. If you buy through them, we may earn a small commission at no extra cost to you.
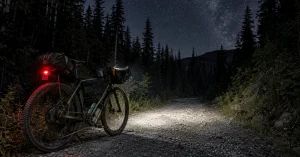
Night bikepacking stops being a compromise and starts being the point somewhere around the second hour. Traffic thins, the temperature stabilises, the world narrows to a cone of light, and a route you have ridden twenty times becomes unfamiliar. It also punishes sloppy preparation harder than daylight riding does, because every problem is colder, slower and less visible.
From late September the practical reality is that any ride of real length finishes in the dark, so this is a skill rather than a novelty. What follows is what actually changes after sunset, in the order it bites. If you are new to multi day riding, the beginner guide comes first.
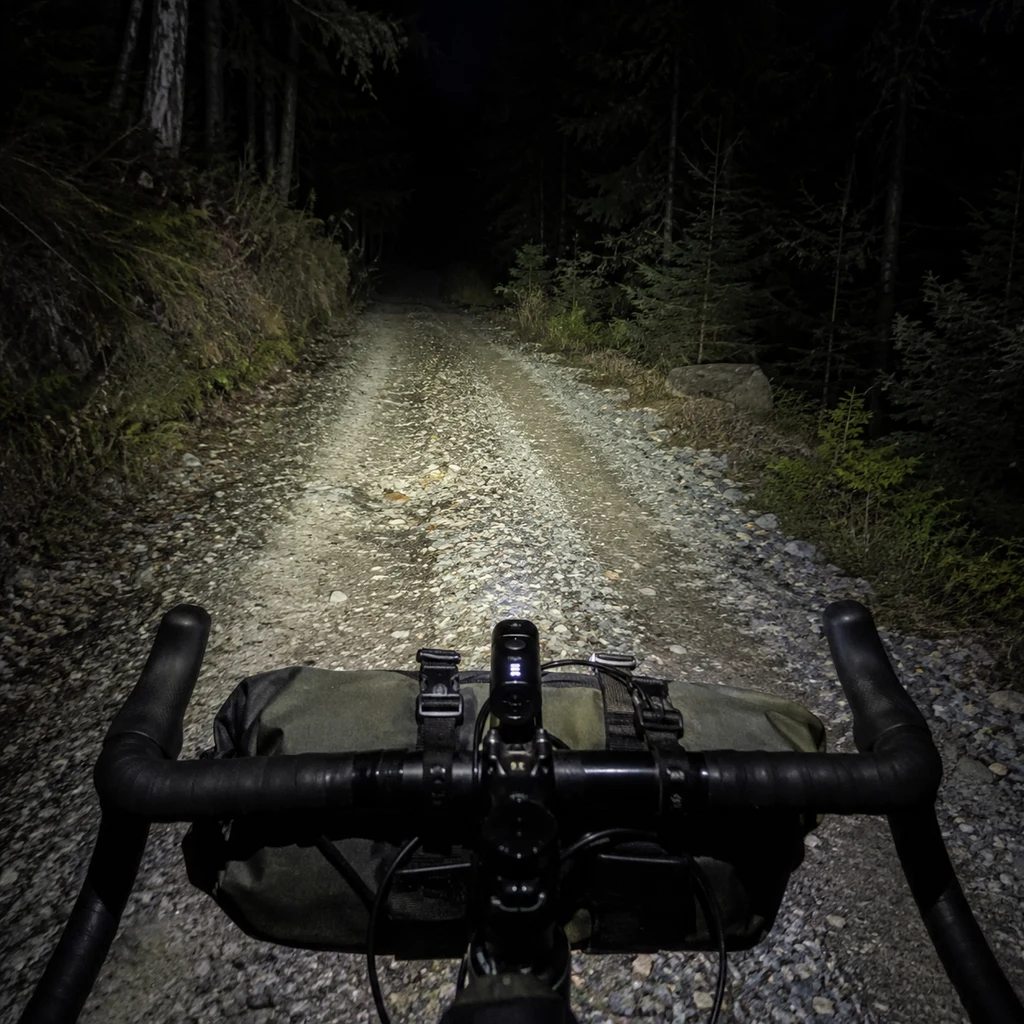
Table of Contents
What Actually Changes After Dark
Your Eyes Work Differently
In low light your vision shifts toward mesopic and then scotopic response: colour perception drops, contrast sensitivity falls, and depth judgement gets noticeably worse. That is why a rock you would have rolled at noon stops you at midnight, and it is a physiological limit rather than a confidence problem.
Everything Takes Longer
Plan on twenty to thirty percent slower than your daylight pace on the same terrain, more on technical ground. Navigation checks take longer, mechanicals take longer, and finding a camp spot takes much longer. Budget for it rather than discovering it at two in the morning.
Cold Arrives Faster Than You Expect
Temperature drops fastest in the two hours after sunset, exactly when you are still riding hard and think you are warm. Stop once and you will feel it. Sweat that was managing itself at four o’clock becomes a hypothermia risk at eight, which is why the layer goes on before you need it.
Your Body Clock Fights You
The low point of the human circadian rhythm lands somewhere between three and five in the morning, and it arrives regardless of how you feel at midnight. Riders who plan a long night push should plan where they will be during that window, not just how far.
Night Bikepacking: The Rules That Matter
1. Carry Two Front Lights
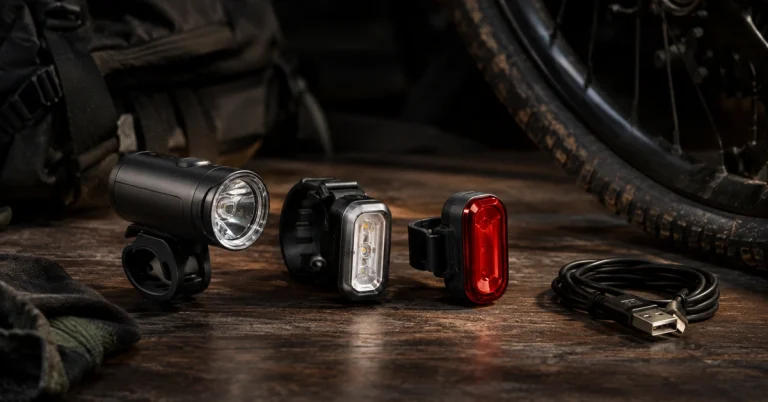
Not one bright light, two lights. One dies, one gets knocked off on a rough descent, one runs its battery down faster than the display claimed in the cold. A second light turns any of those into an inconvenience rather than the end of the ride. A sealed primary such as the Cygolite Metro plus a cheap second unit is the standard answer, and our bike light round up covers what to buy.
2. Split the Beam Between Bar and Helmet
A bar light lights the ground and shows you texture, because the low angle throws shadows that reveal rocks and holes. A helmet light lights where you are looking, which is what you want in corners and at junctions. One of each beats two of either, and it is the single biggest improvement most riders can make.
3. Be Seen From Behind, Properly
A rear light is not optional on any road section, and a steady light plus a flashing one is better than either alone, because flashing attracts attention while steady lets a driver judge your distance and speed. Add retroreflective material on your ankles, which move and read as human from a long way back. A two pack such as the Ascher tail lights covers steady and flashing at once.
4. Manage Battery Rather Than Brightness
Run the lowest setting the terrain allows and save maximum output for descents. A light advertised at 1,800 lumens often holds that for well under two hours, and lithium ion capacity drops noticeably in the cold. Carry a power bank and cable, and keep every device on one connector, which is easier when the rear light is USB-C too, like the MagicShine SEEMEE. Our power guide covers that.
5. Layer Before You Stop, Not After
Put the extra layer on at the top of the climb before the descent, not at the bottom once you are cold. Re warming costs far more energy than staying warm, and on a multi day trip that deficit compounds into the next morning.
6. Navigate on a Track, Not Landmarks
The visual cues you normally navigate by are gone. Load a GPX track, keep the phone or computer charged, and carry a backup on a second device or on paper. See our routes and apps guide for the setup.
7. Pick Your Camp Spot Before Dark
Finding somewhere flat, legal and sheltered is much harder by headtorch, and the temptation is to take the first thing you find rather than a good one. Identify two or three candidates on the map in daylight, and treat the first as a plan rather than a hope. Stealth camping needs even more of this.
8. Eat on a Schedule
Appetite disappears at night and the deficit does not. Set a timer and eat whether or not you feel like it, favouring things you can eat one handed in the cold. See high calorie bikepacking food.
9. Tell Someone, and Carry the Means to Call
Route, expected finish, and a check in time. A mechanical at nine in the evening is an annoyance; the same mechanical at three in the morning in the cold is a genuine problem, and the margin for self rescue is much thinner. See solo safety.
Reading the Numbers on a Light
Lumens are the headline and the least useful figure on the box. Here is what each number actually tells you.
| Spec | What It Means | What to Look For |
|---|---|---|
| Lumens | Total light output | Real world 600 to 1,200 for trail riding |
| Lux | Intensity at a point | Higher means more throw, narrower beam |
| Beam pattern | How light is spread | Wide for bars, focused for helmet |
| Runtime | Hours at a given mode | Check the figure for the mode you will use |
| IP rating | Water resistance | IPX6 or better for multi day riding |
| Charging | Connector and speed | USB-C so one cable serves everything |
Manufacturer runtimes are measured at room temperature on a fresh cell. Assume meaningfully less on a cold October night at the end of a season, and note that lumens measure total output while lux measures how much of it lands where you are looking.
What Changes in the Bags
Add
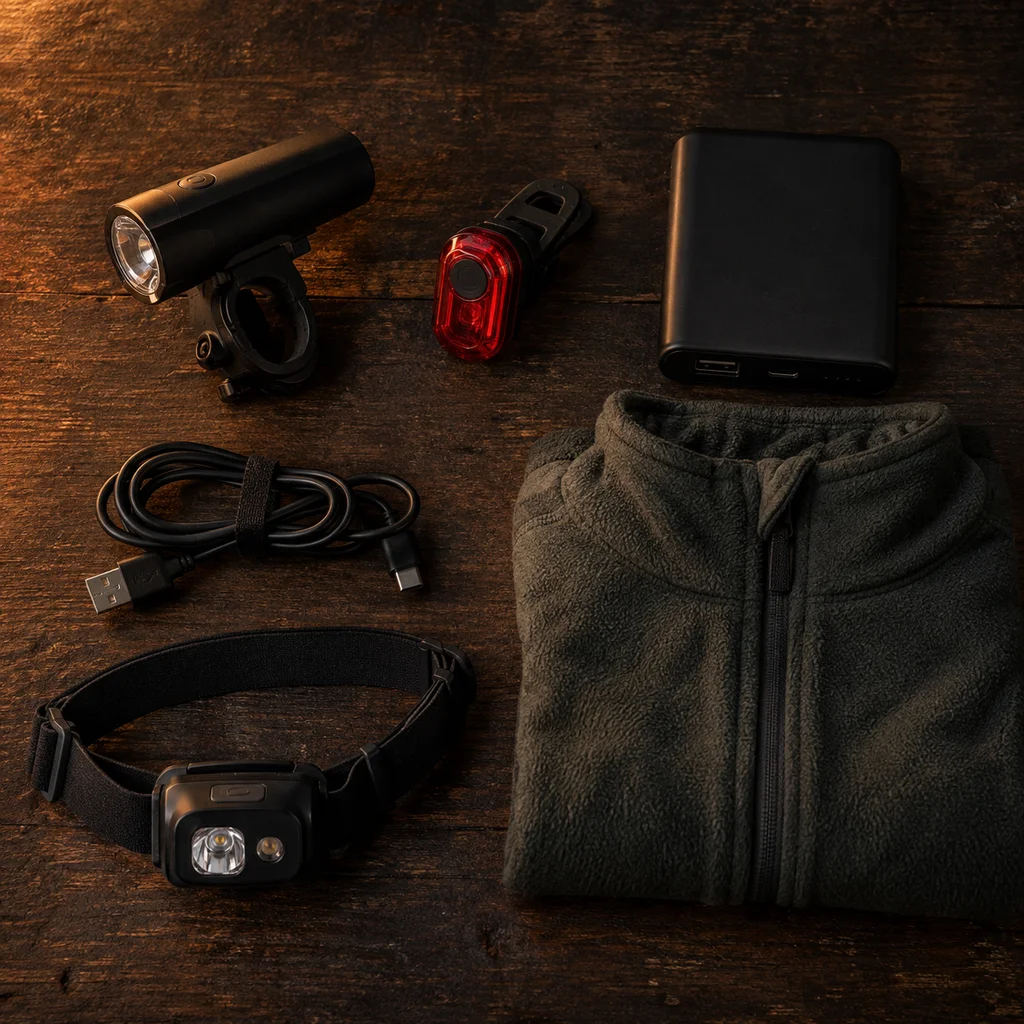
A second front light, a rear light with spare batteries or a charge, a power bank and cables, an extra insulating layer, a buff or thin hat, full finger gloves, and clear or low light lenses. Riding in the dark behind a tinted lens is a common and avoidable mistake.
Move to the Top
Anything you will need without unpacking: food, layers, headtorch, tool. Rummaging through a seat pack by headtorch in the cold is how small stops become long ones. See our packing guide.
Check Before You Go
Every light charged, every mount tight, tyre pressure set, and the multi tool where you can reach it. A mount that rattles loose in daylight is recoverable; the same mount on a night descent throws your light into the undergrowth.
Common Mistakes
- One front light and no backup, which ends the ride when it fails.
- Both lights on the bars, so corners and junctions stay dark.
- Running maximum brightness from the start and finishing in the dark.
- Tinted lenses left in from daylight riding.
- Layering up only after getting cold, which costs far more energy.
- Looking for a camp spot after dark rather than choosing it in daylight.
- Trusting manufacturer runtimes in cold weather.
- No rear light on road sections linking the off road parts.
Riding Into Winter
Everything above gets harder as the season goes on. Nights are longer, ground is wetter, batteries last less, and the consequences of stopping are larger. The pattern that works is shorter loops closer to home, more layers than feel necessary, and a genuine willingness to turn around, which is the same discipline as riding in the wet.
Check the forecast for overnight lows rather than daytime highs, because that is the number you will be sleeping in. Winter weather guidance is worth reading once before the first cold trip of the year, and your sleeping system has to match that low rather than the average.
Frequently Asked Questions
How many lumens do I need for night bikepacking?
Six hundred to twelve hundred usable lumens covers most trail riding, less on gravel and road. Beam pattern and runtime matter more than the headline number, and a well shaped 800 lumen beam beats a badly shaped 2,000.
Do I need a helmet light as well as a bar light?
On anything technical, yes. The bar light shows ground texture through shadow, the helmet light shows where you are looking. Riders who add a helmet light almost never go back.
How much slower is riding at night?
Twenty to thirty percent on familiar terrain, more if it is technical or unfamiliar. Build that into the plan rather than into the finish time.
Is night bikepacking safe?
Yes, with redundancy. Two front lights, a rear light, a charged phone, a shared route and a check in time cover almost everything that goes wrong. The risk is not the dark, it is being unprepared in it.
How do I stay warm riding at night?
Layer before you stop rather than after, keep a dry layer that never gets ridden in, cover head and hands first, and eat on a schedule. Cold arrives fastest in the two hours after sunset.
Night bikepacking rewards redundancy: two front lights, one on the helmet, a rear light, a power bank, and a layer on before you need it. Get those right and the dark becomes the best part of the ride. Our bike light round up covers the hardware, the power guide covers keeping it charged, and solo safety covers what to do when something goes wrong.
Discover more from Maive Verse
Subscribe to get the latest posts sent to your email.