Master your budget bikepacking setup for under $200. Learn technical tips to convert your mountain bike with low-cost bags and repurposed gear.
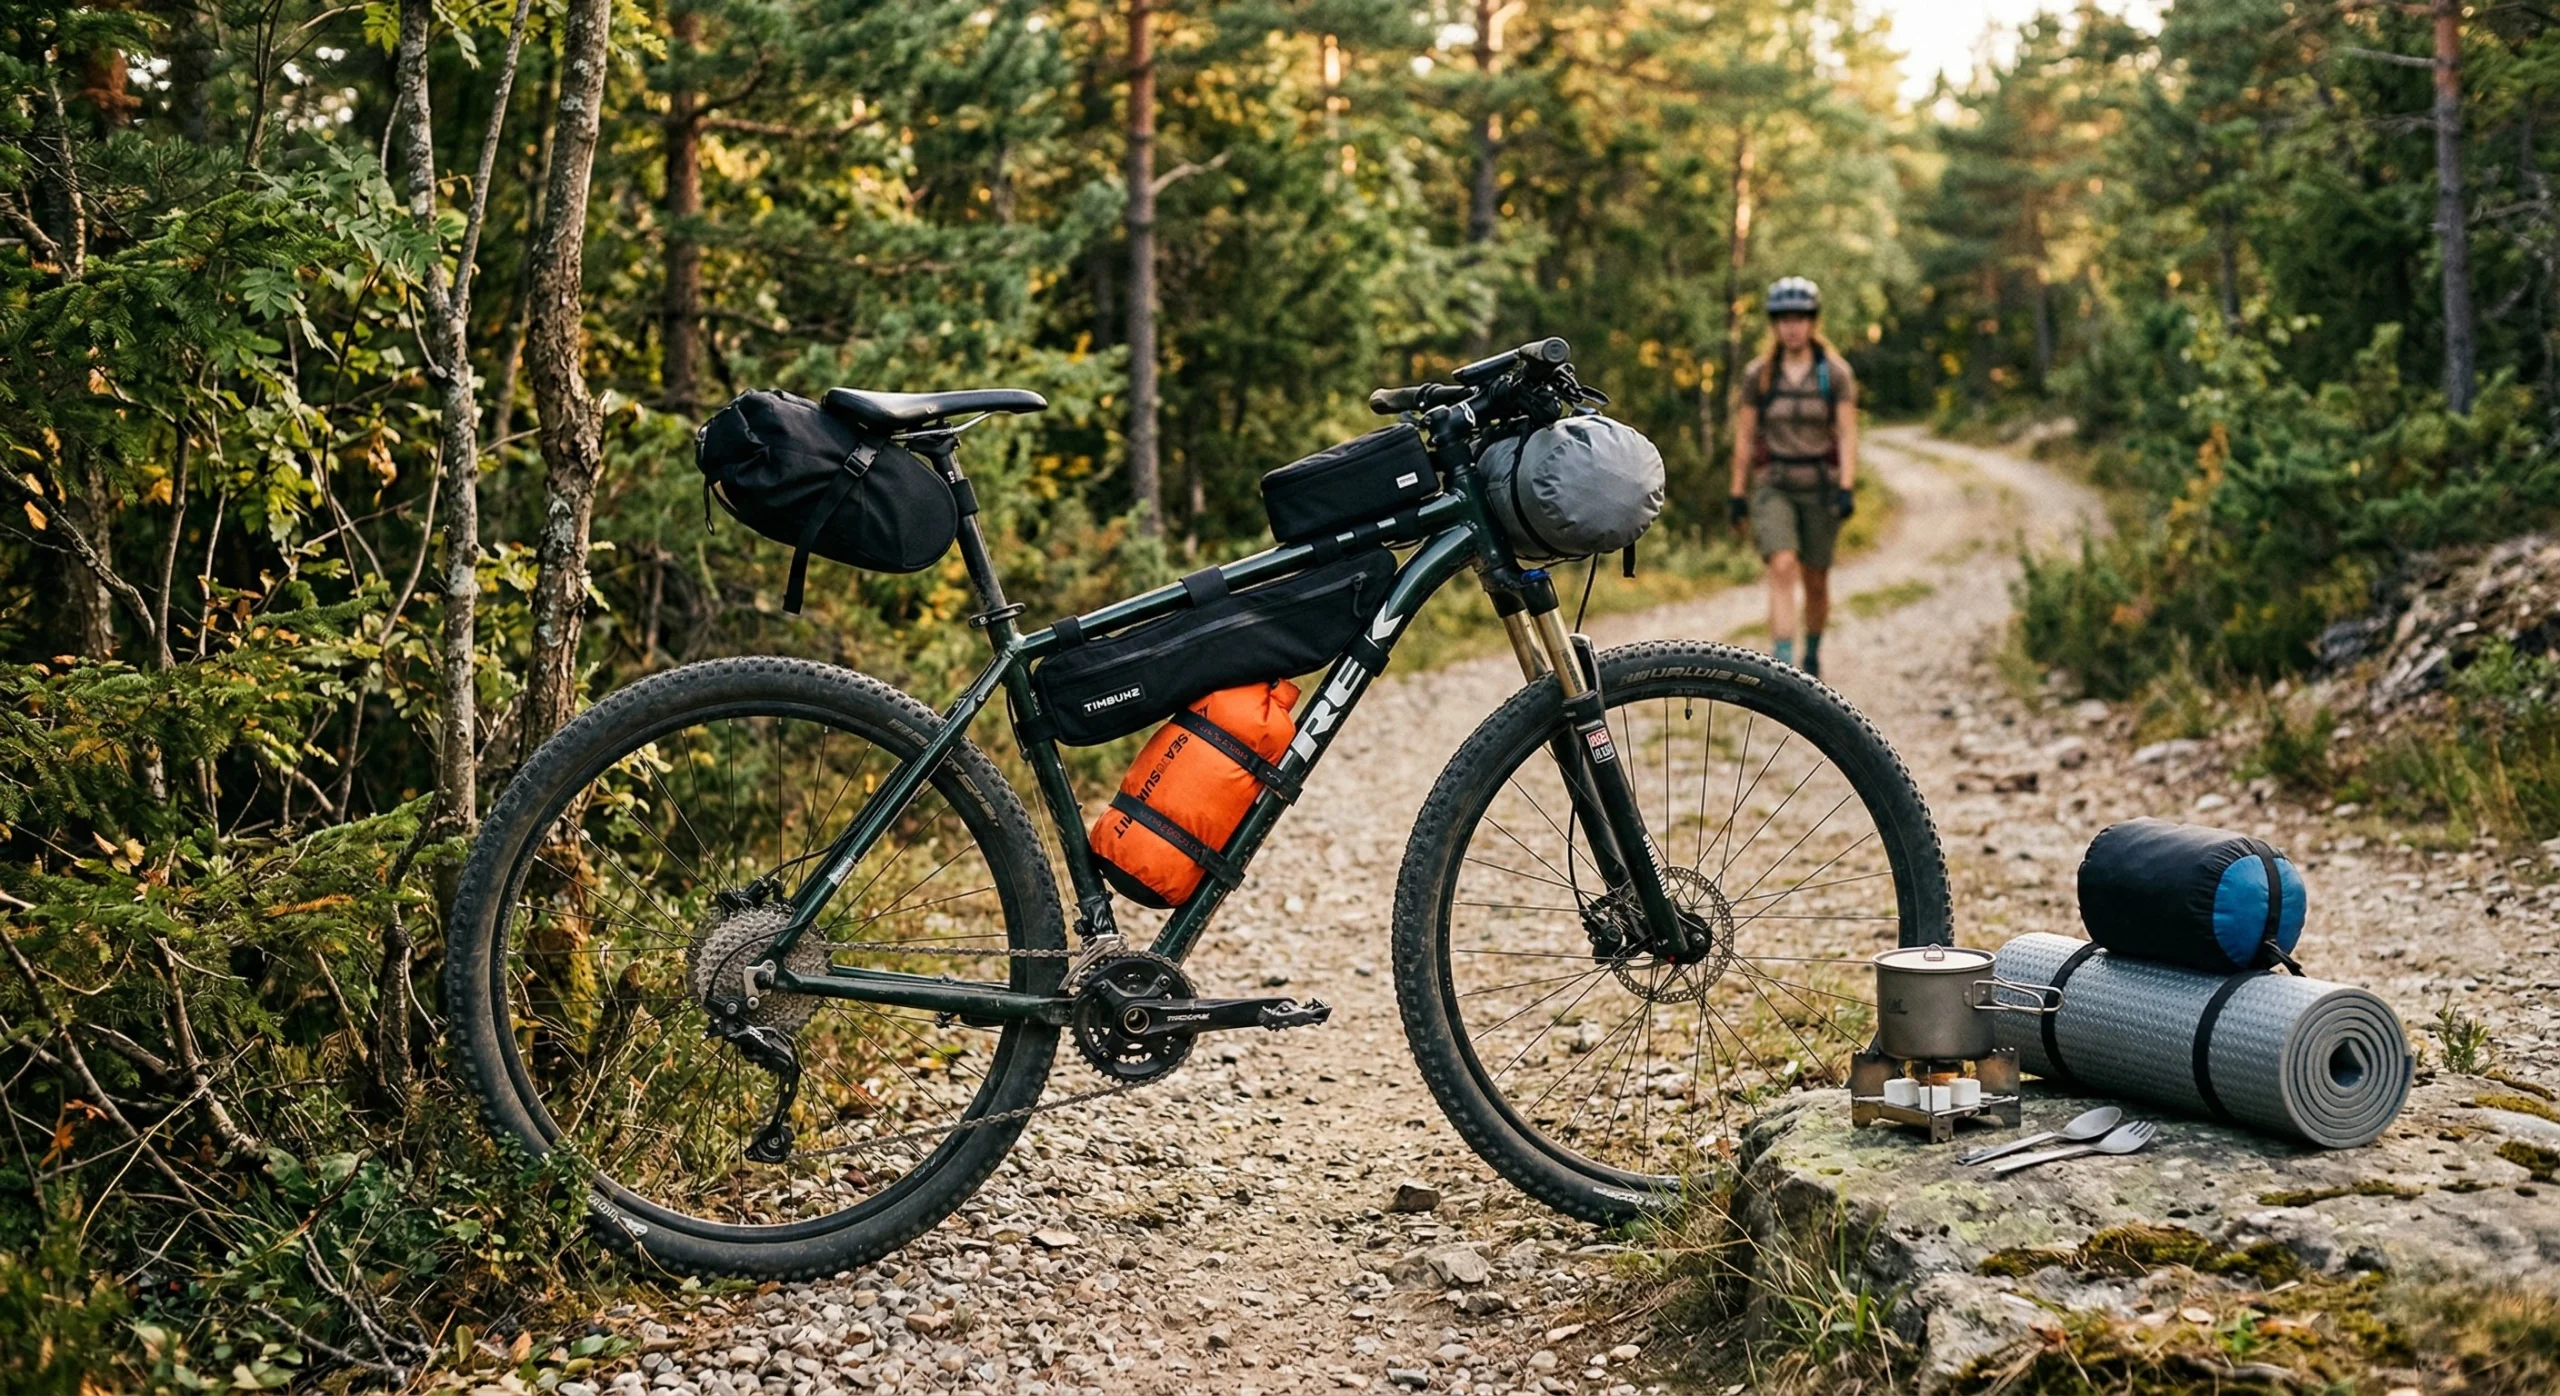
Table of Contents
Introduction: The Accessibility of Off-Road Travel
Developing a budget bikepacking setup is a practical requirement for many entry-level adventurers looking to explore the backcountry without a significant financial barrier. The assumption that self-contained wilderness travel requires a $5,000 carbon bike is a common misconception. Most modern hardtail mountain bikes are highly capable platforms for overnight expeditions. By focusing on mechanical reliability and creative gear management, any cyclist can achieve a functional conversion for less than $200. This guide provides the technical steps to prioritize value while maintaining safety.
The primary goal of a low-cost conversion is to utilize existing equipment and supplement it with affordable, high-utility bags. Success on a first mission depends on the 7 Proven Steps for Bikepacking for Beginners rather than the retail price of the gear. A well-planned mission focusing on Off-Road Navigation and weight management ensures a positive experience on the trail.
1. Preparing the Donor Mountain Bike Platform
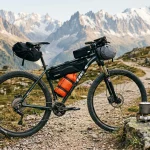
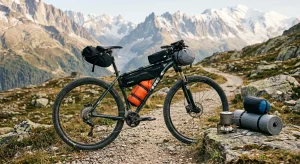
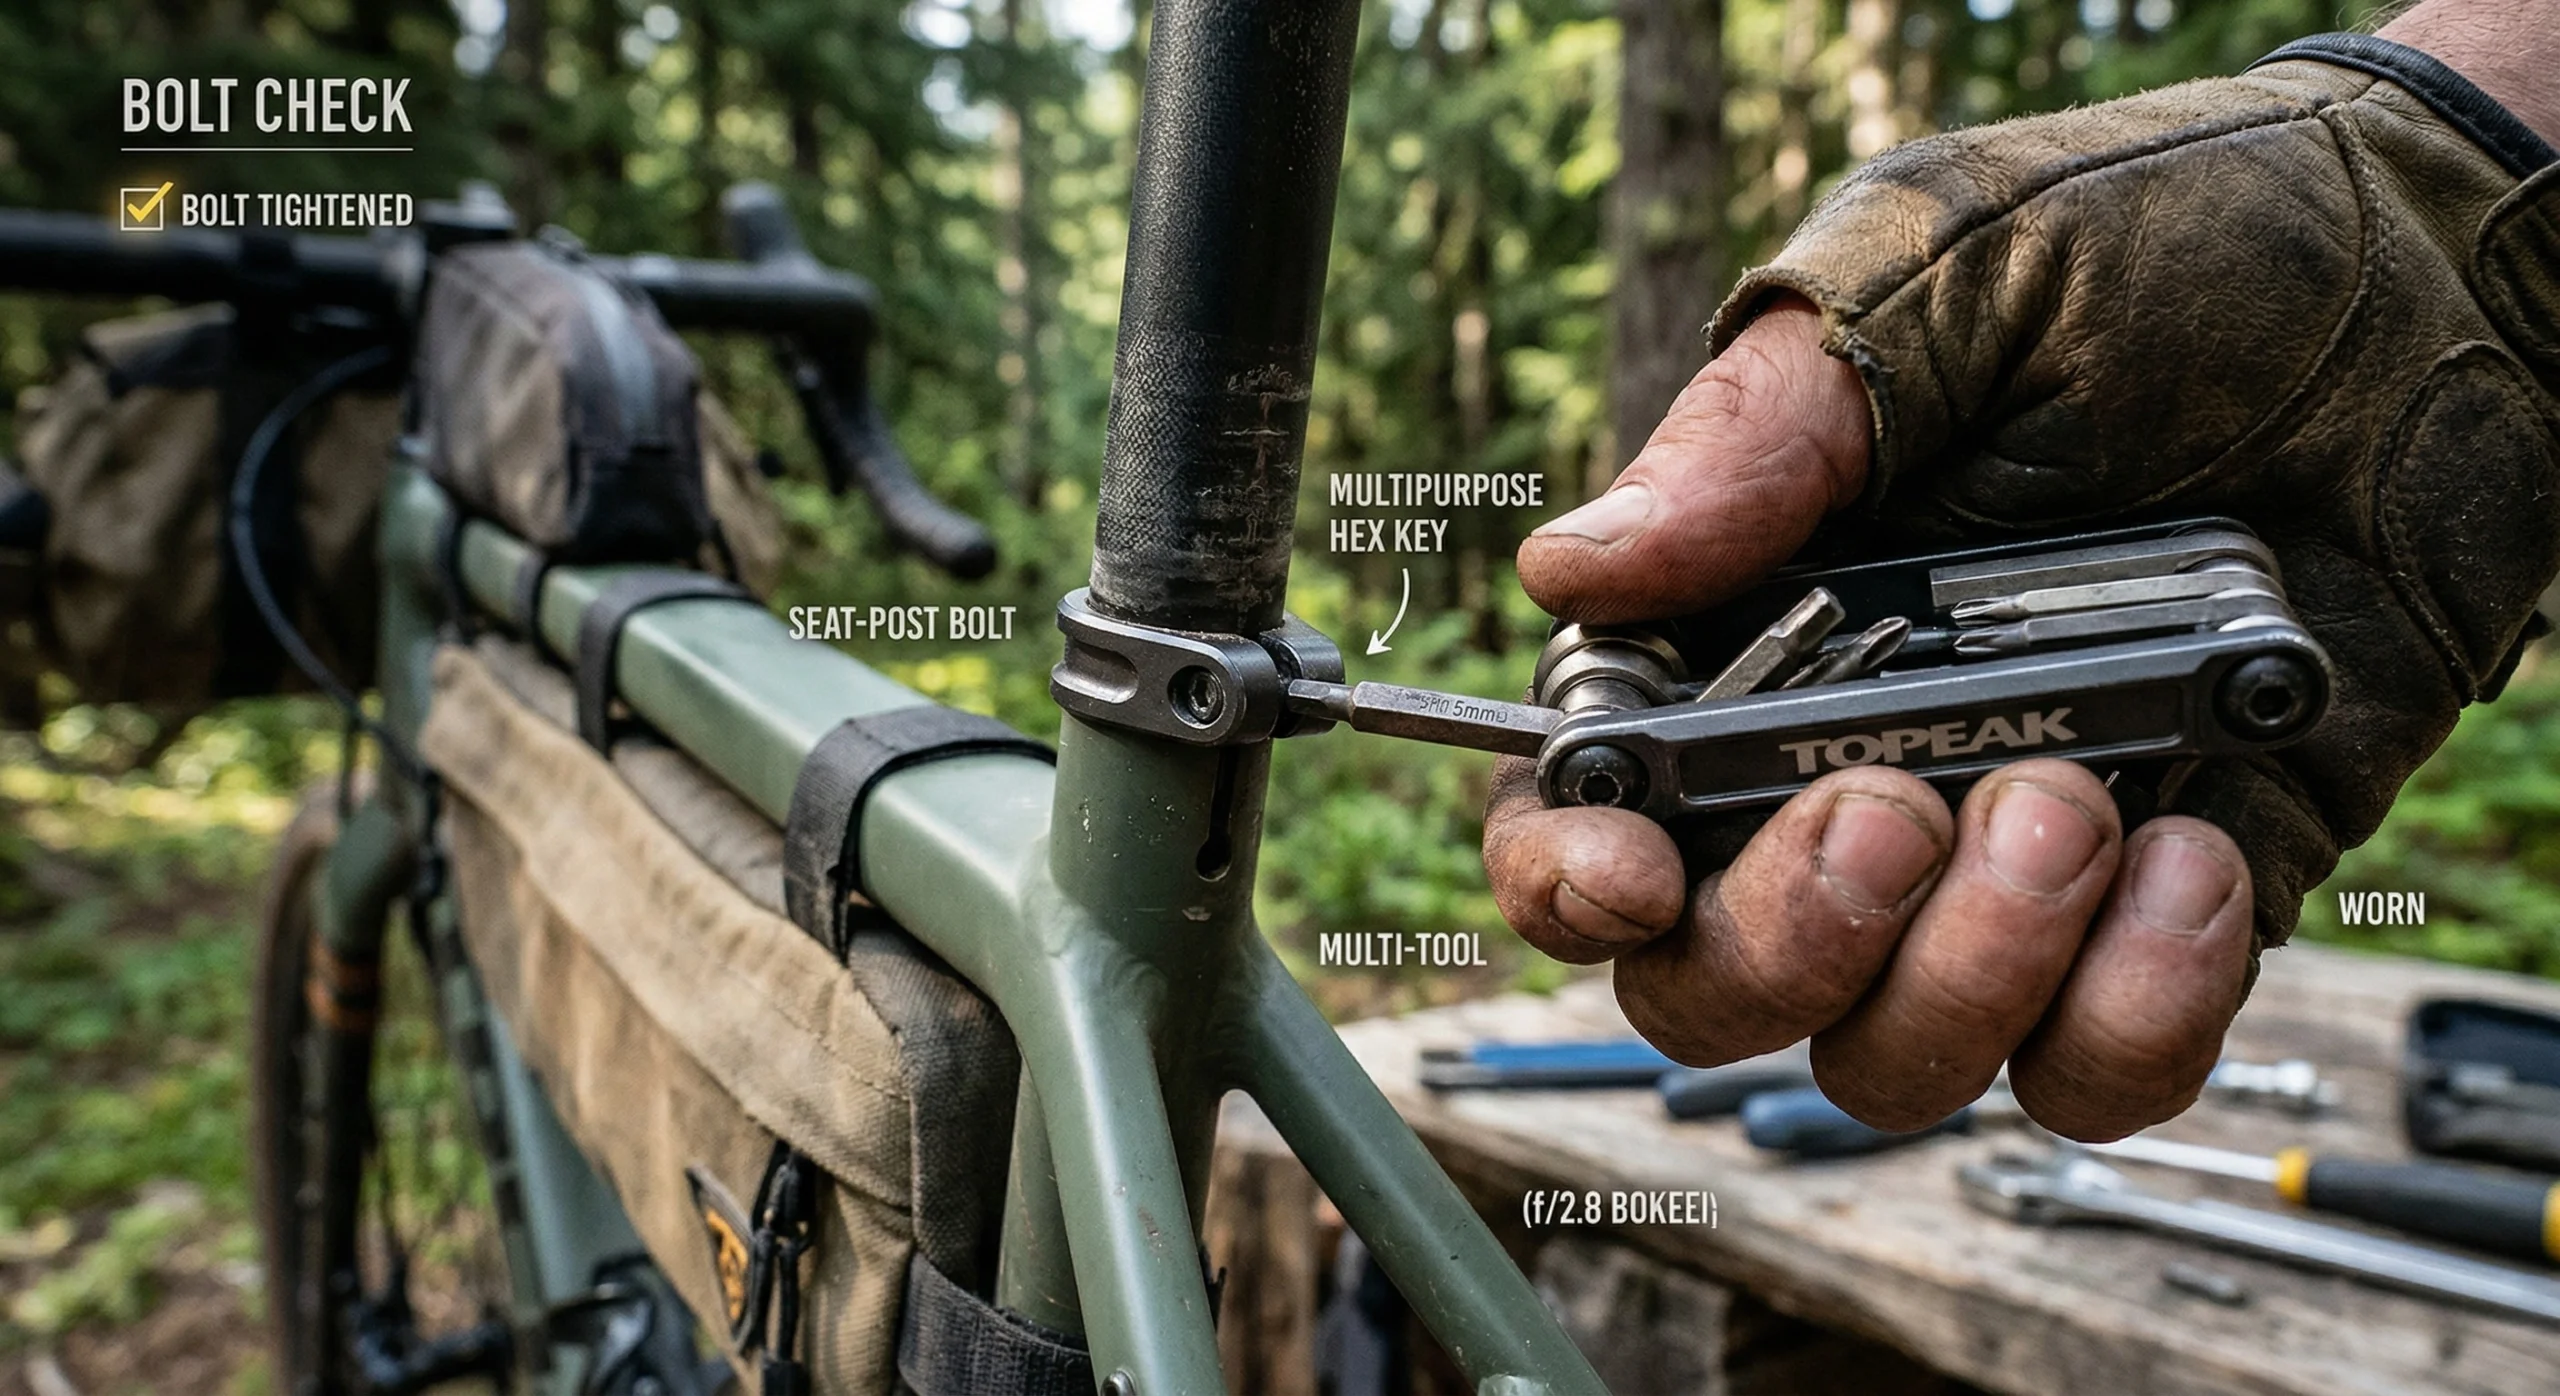
The foundation of a budget bikepacking setup is a reliable hardtail or rigid mountain bike. Before adding luggage, the rider must ensure the machine is mechanically sound. A bike that is prone to mechanical failure in the city is a liability in the wilderness.
- Full Bolt Check: Use a multi-tool to ensure every rack eyelet, stem bolt, and axle is torqued to specification.
- Tire Integrity: Inspect tires for sidewall dry rot or deep tread gashes. Converting to a Tubeless Setup is a high-value upgrade for puncture prevention.
- Brake Pad Thickness: Off-road travel with a loaded bike accelerates brake wear; ensure pads have at least 1.5mm of material remaining.
- Chain Maintenance: A clean, lubricated chain improves shifting efficiency on technical climbs. Refer to our Mechanical Readiness Guide for maintenance protocols.
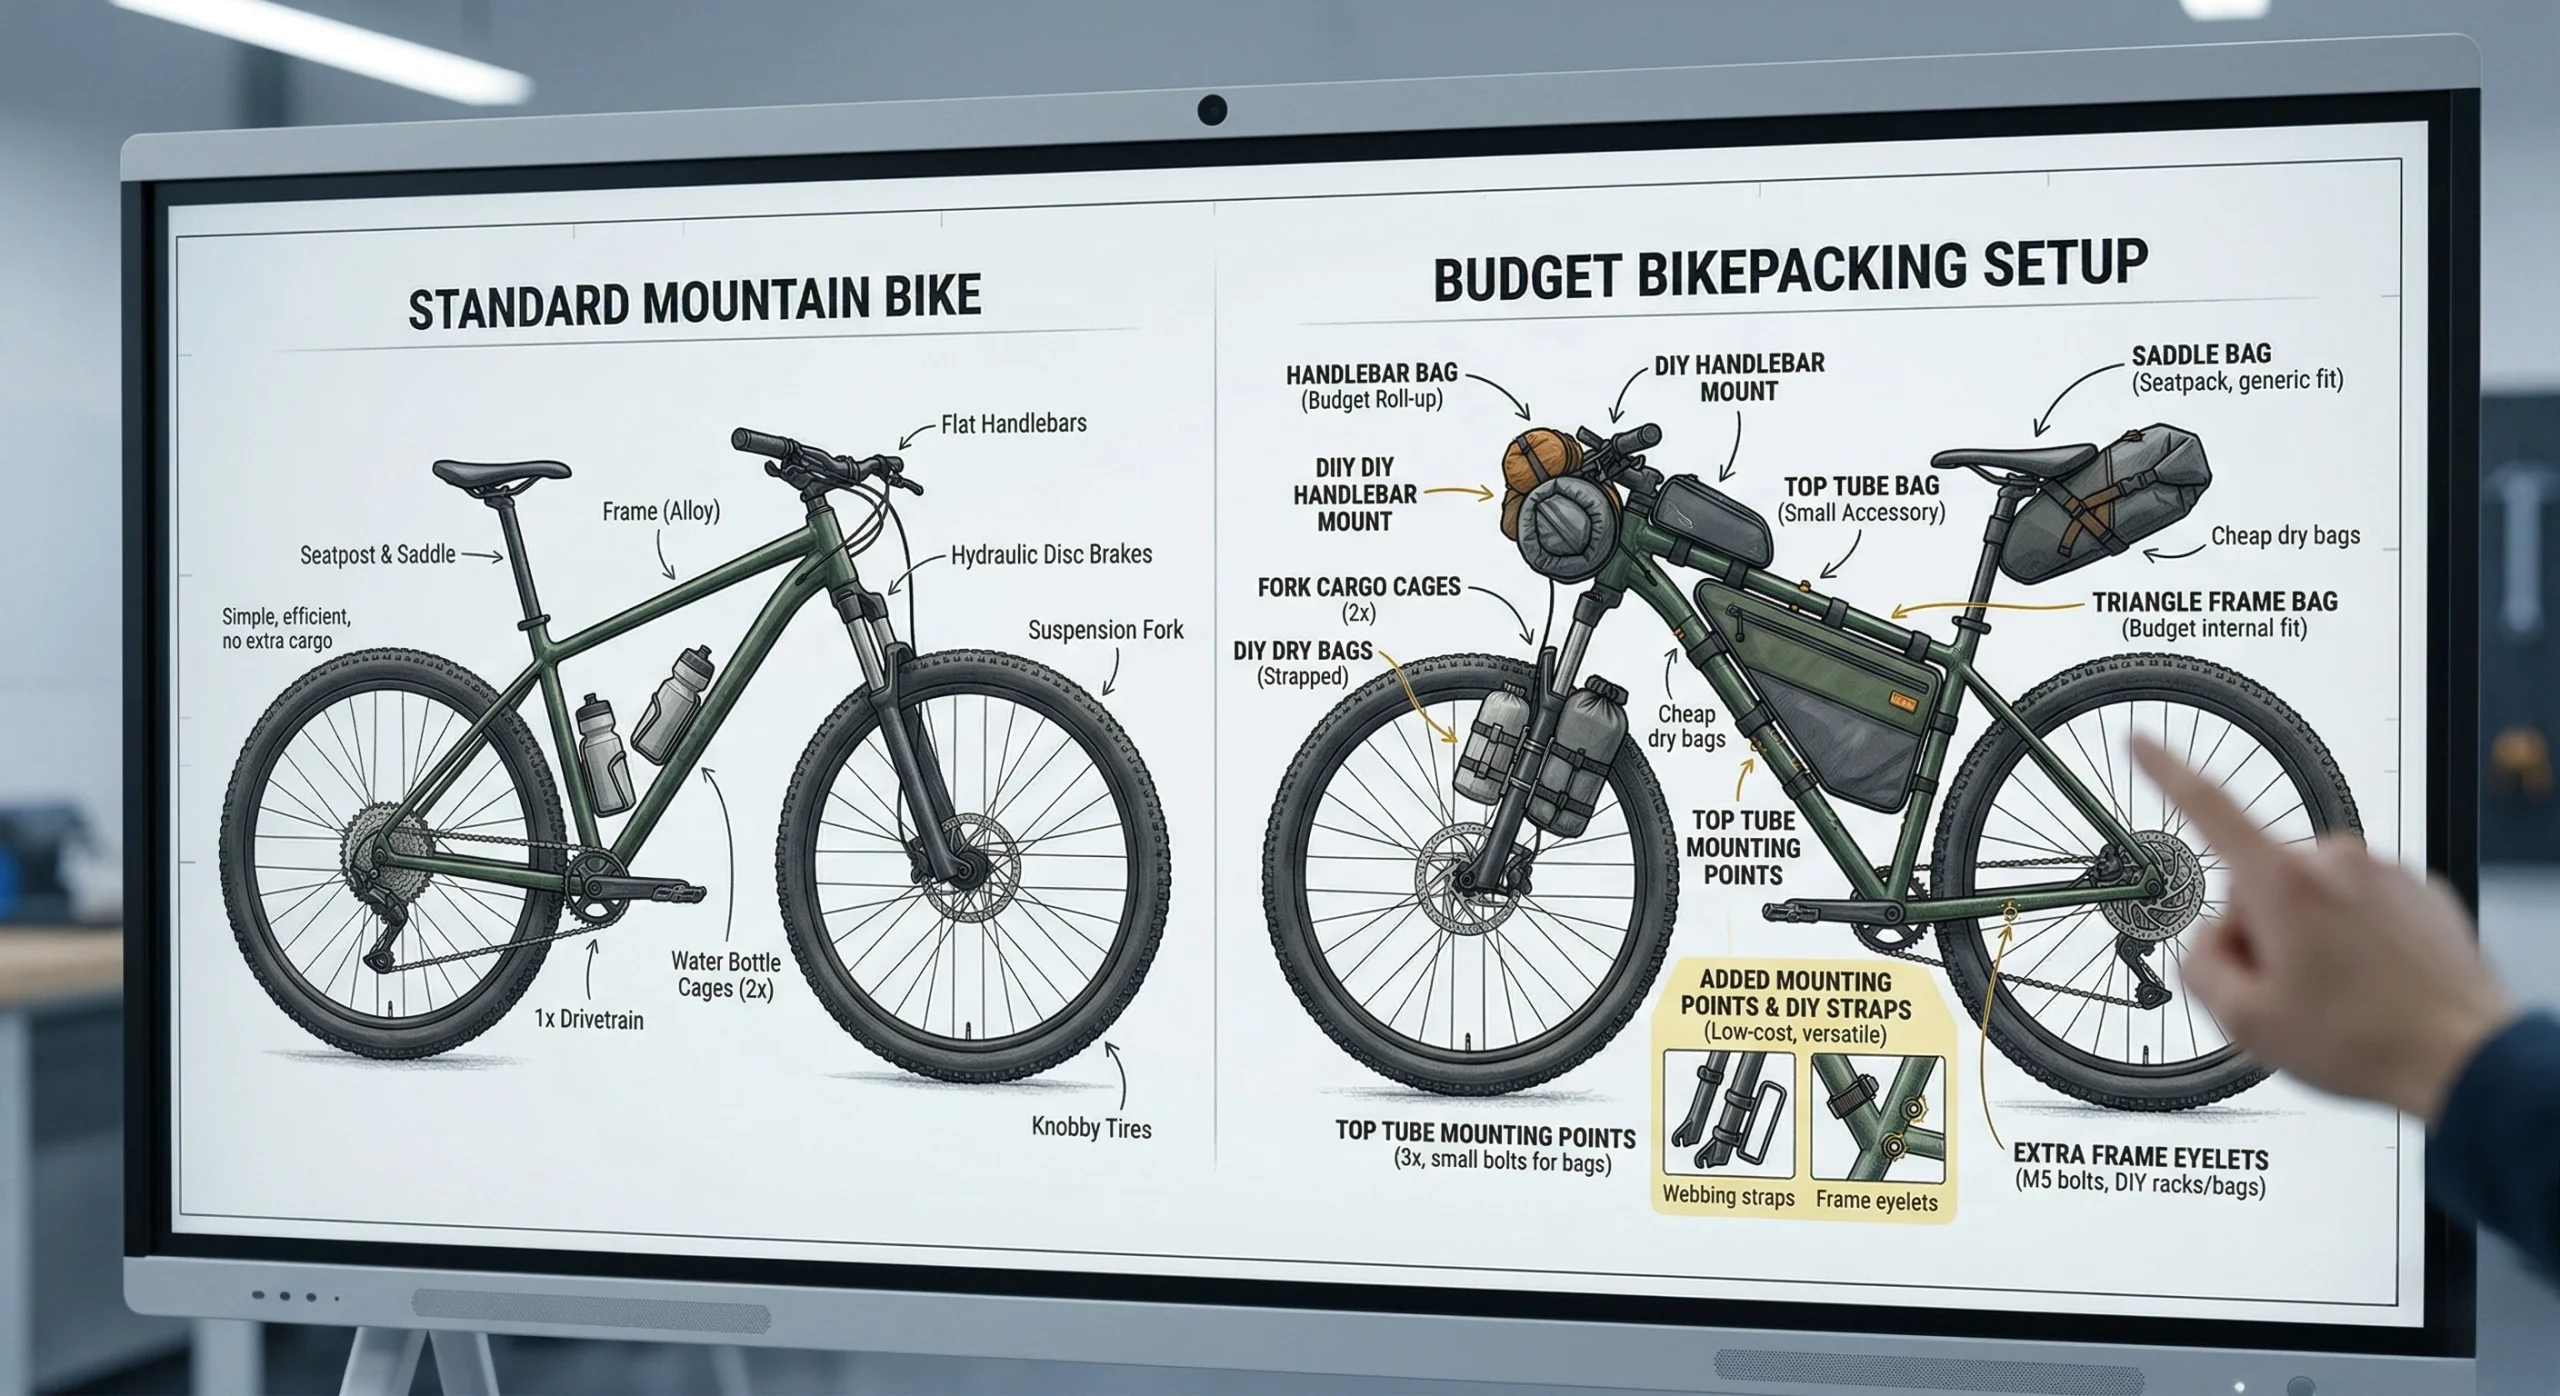
2. Low-Cost Bag Solutions: The “Dry Bag and Strap” Method
Specialized bikepacking bags can be expensive, but the same functional result can be achieved using heavy-duty dry bags and rubberized straps. This “modular” approach is the cornerstone of a budget bikepacking setup.
- The Handlebar Roll: A standard 10L dry bag can be strapped directly to the handlebars. Place a foam block between the bag and the frame to prevent cable pinching.
- The Seat Pack: A 5L to 8L dry bag can be secured under the saddle rails. Use a secondary strap to cinched it tight against the seat post to minimize sway.
- Technical Straps: Utilizing high-quality Voile Straps is mandatory for securing gear. These straps are indestructible and far more reliable than standard bungee cords on rough terrain.
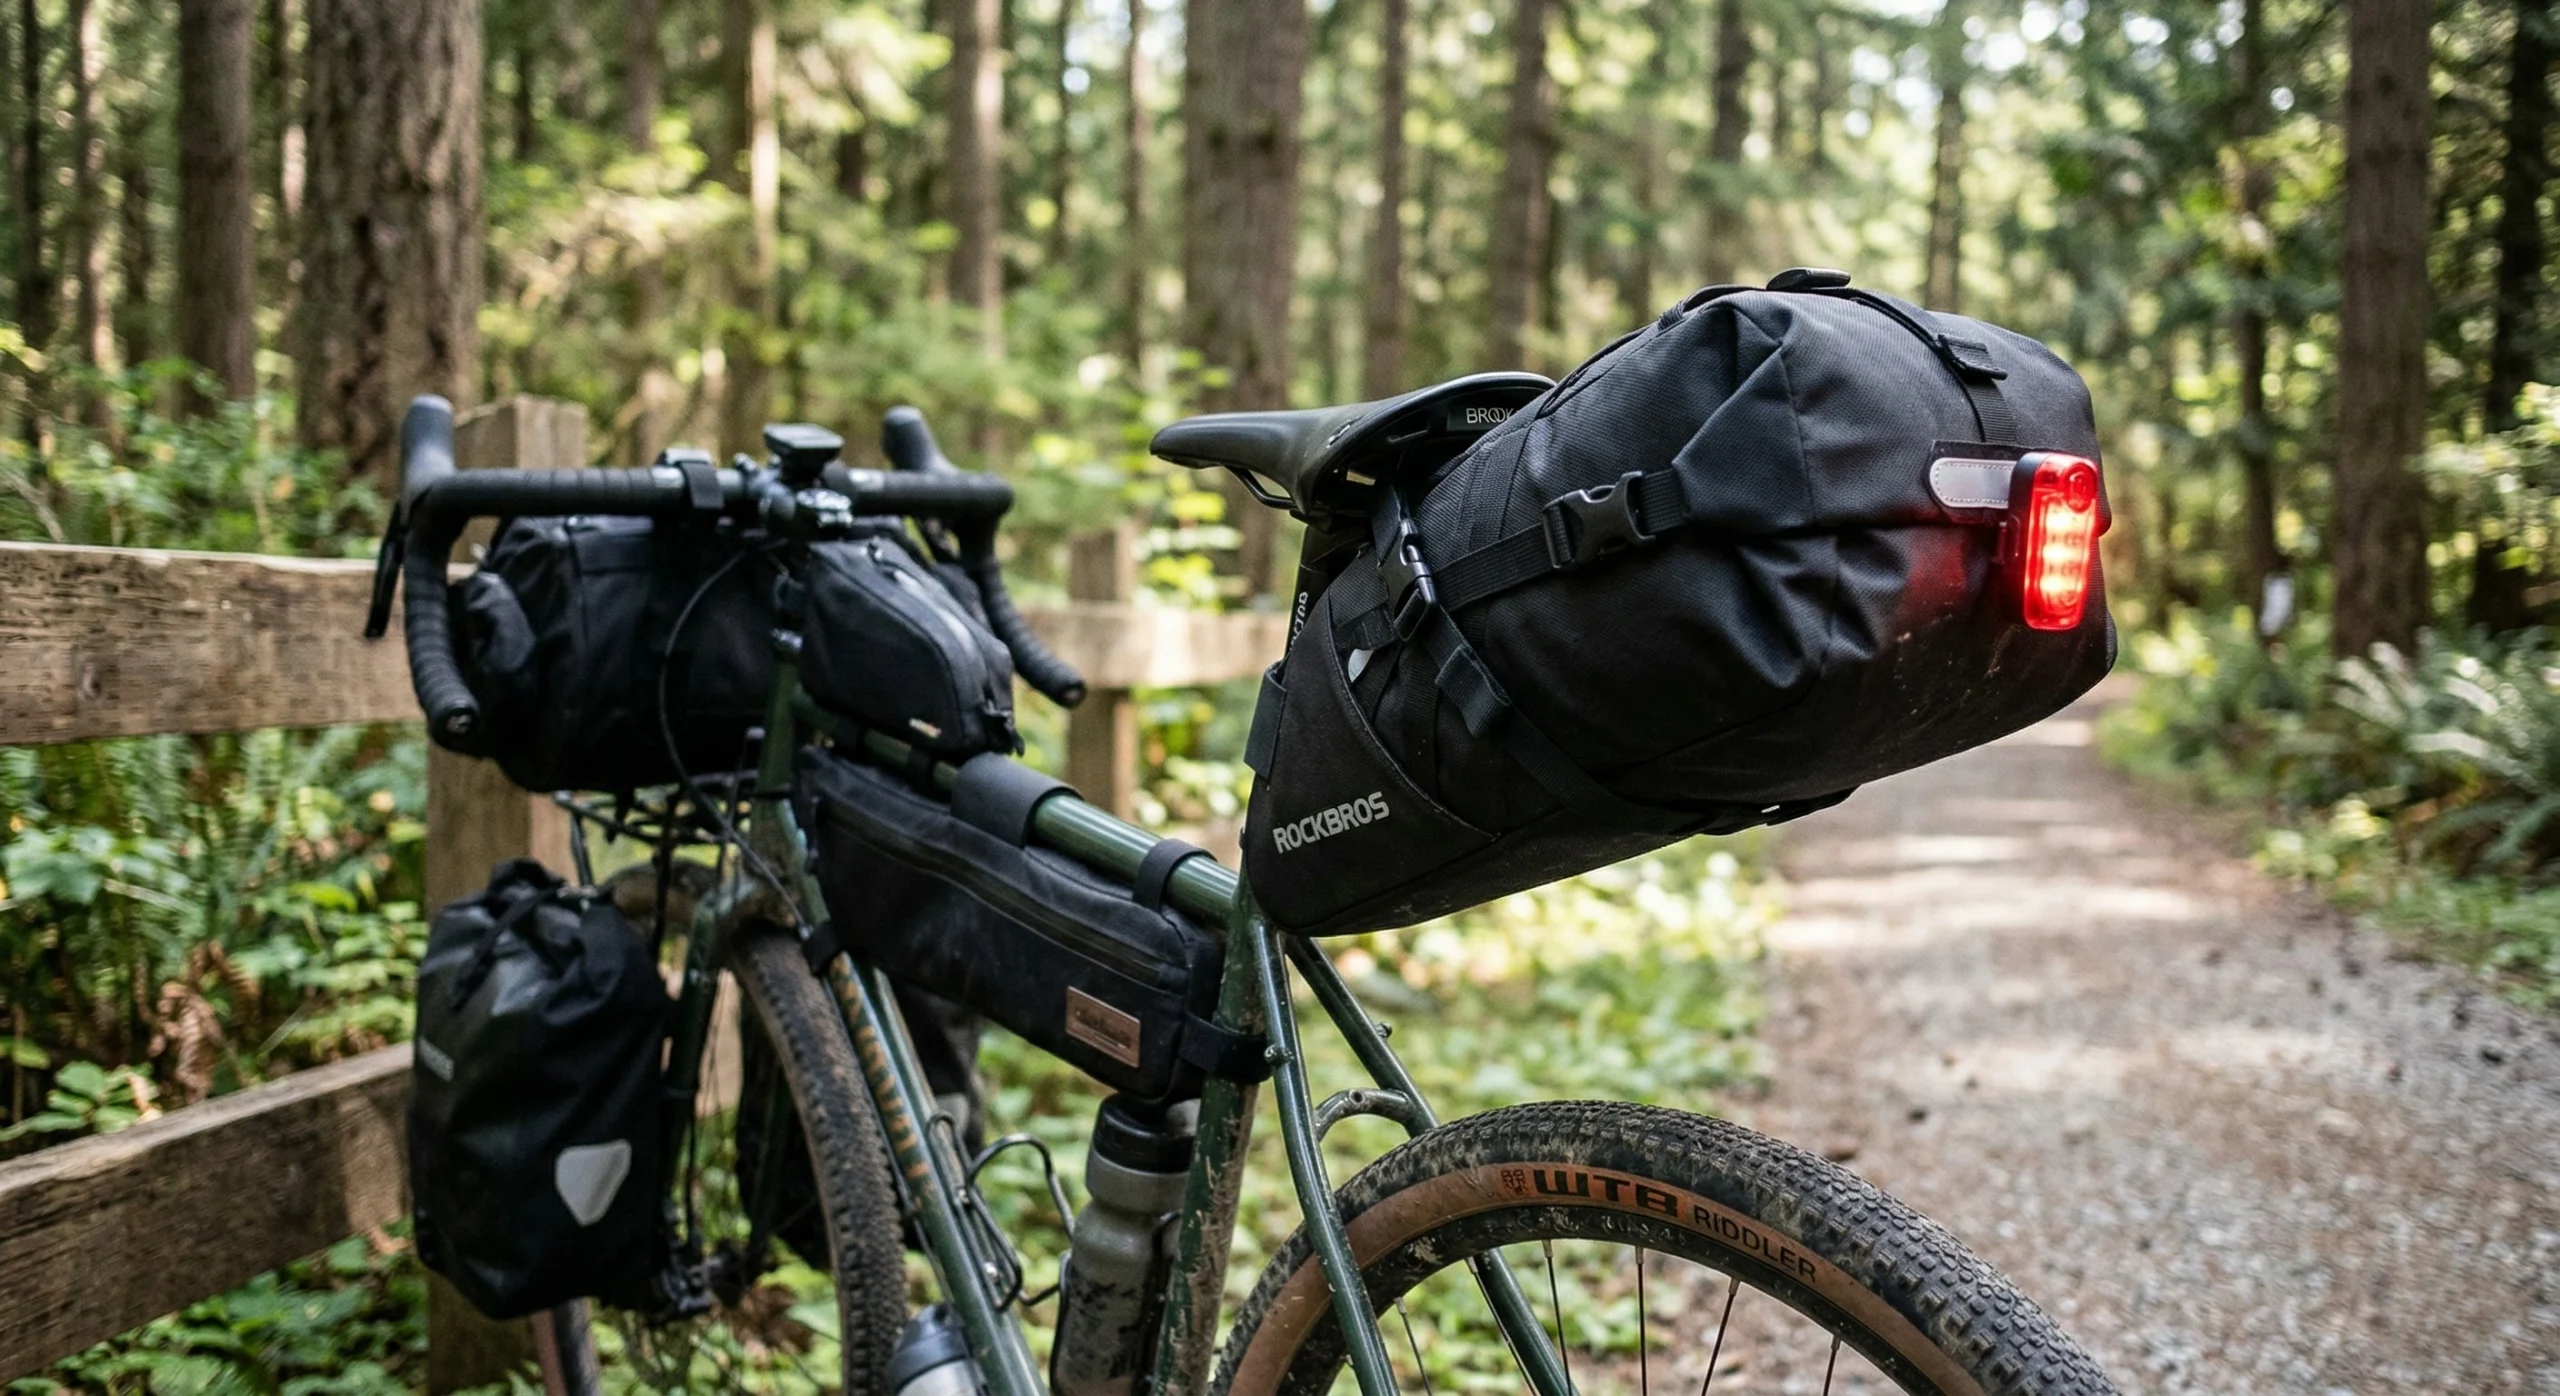
3. Recommendation: RockBros Bikepacking Seat Pack
For those who prefer a dedicated bag without the high price of boutique brands, the RockBros system is a top-tier choice for a budget bikepacking setup.
Key Features
- Capacity: 5L to 14L adjustable volume.
- Material: 600D Polyester with a TPU waterproof layer.
- Design: Roll-top closure with a rigid internal structure to reduce wag.
Pros
- Exceptional value-to-performance ratio.
- Truly waterproof fabric that resists mud and heavy rain.
- Features a rear light mount for improved safety.
Cons
- The strap system requires frequent tightening on technical trails.
- Narrower profile than premium bags, which makes packing bulky items difficult.
Check Price on Amazon: RockBros Waterproof Seat Bag
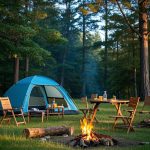
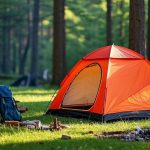
4. Repurposing Existing Backcountry Gear
One of the fastest ways to stay under a $200 limit is to reuse camping gear already in your possession. However, the Bikepacking Packing Guide (Internal Link) differs from backpacking in how volume is managed.
- Shelter Volume: If you own a large backpacking tent, consider carrying only the poles and fly as a “fast-pitch” shelter to save space.
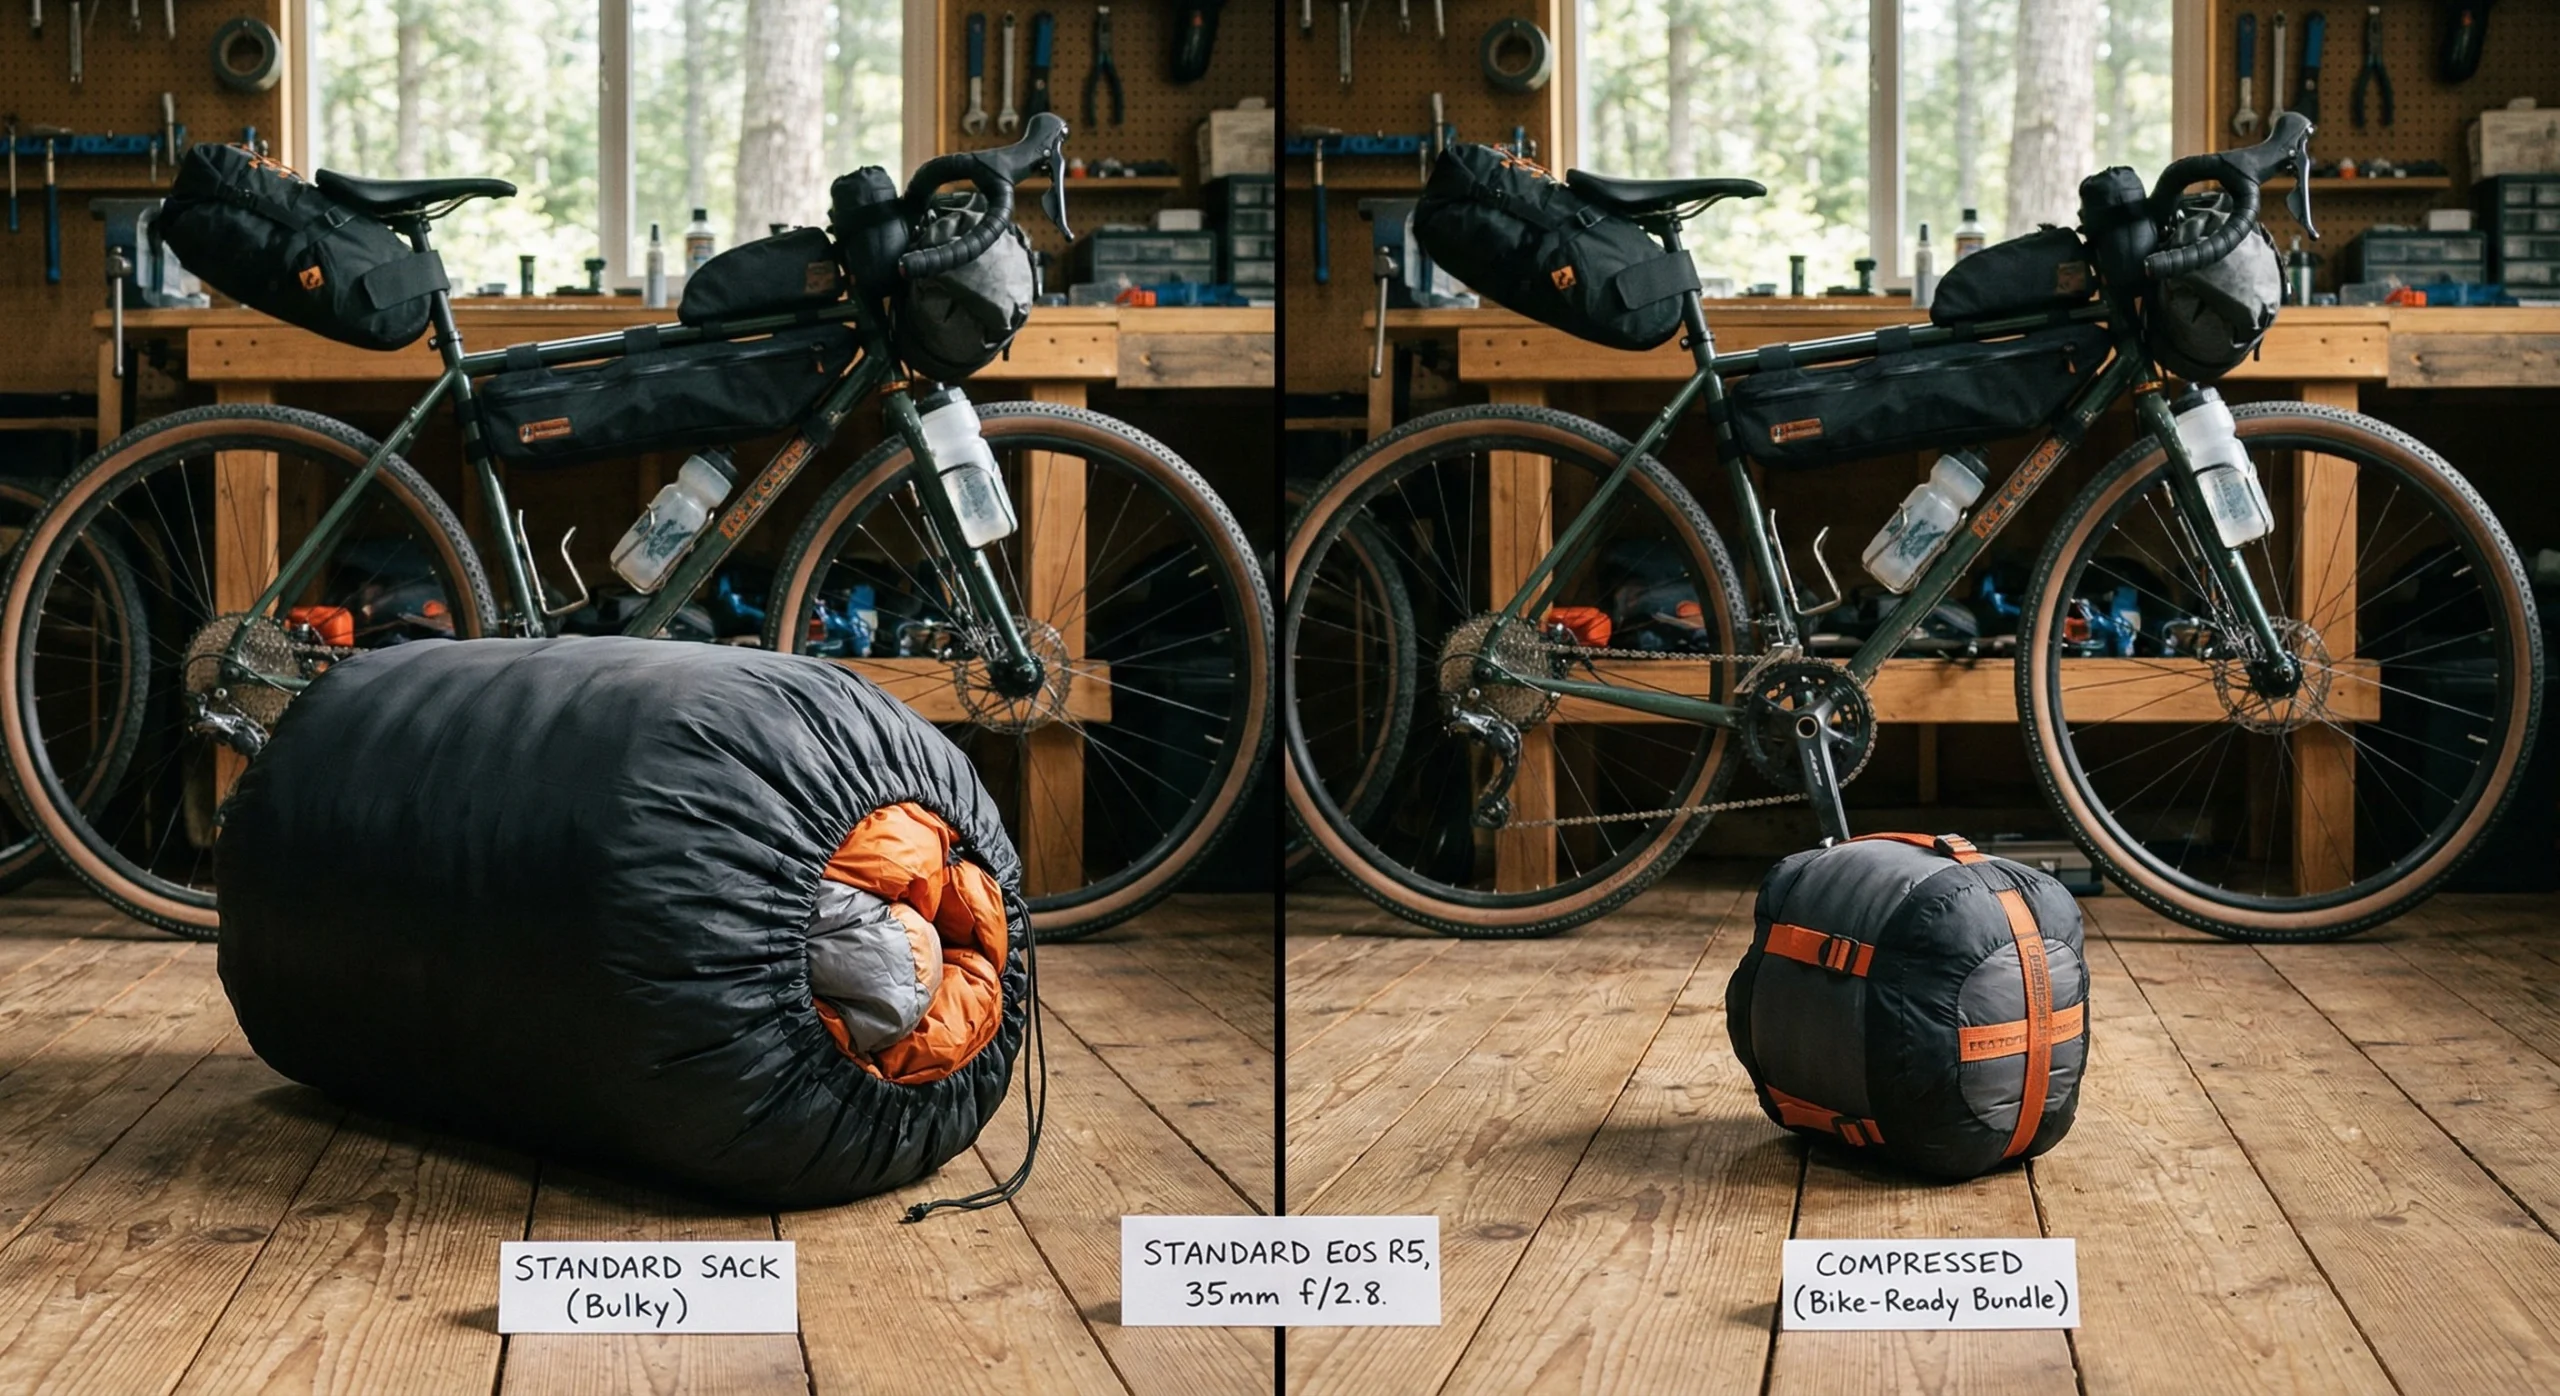
- The Sleep System: A lightweight down quilt is superior for bikepacking because it compresses more efficiently than a standard sleeping bag. For specific recommendations, see our Ultimate Gear List.
- Compression Sacks: Use high-quality compression bags to reduce the “Big Three” (Tent, Bag, Pad) to a volume that fits within your handlebar roll.
5. Recommendation: Widesea Ultralight Camping Stove
Fuel management is a critical component of trail nutrition. This budget-friendly stove allows for high-calorie meal preparation without a significant weight penalty.
Key Features
- Weight: 2.6 oz (Stove only).
- Fuel Type: Isobutane-propane canisters.
- Design: Foldable support arms and adjustable flame control.
Pros
- Extremely compact; fits inside a titanium mug.
- Reliable ignition even in windy conditions.
- Low fuel consumption rate, ideal for a 3-Day Adventure.
Cons
- Less stable than more expensive “pot-integrated” systems like Jetboil.
- Support arms can be stiff when new.
Check Price on Amazon: Widesea Ultralight Backpacking Stove
6. Budget Hydration and Tool Storage
Water and tools are the heaviest items in a budget bikepacking setup. Storing them correctly prevents the mechanical instability discussed in our Bike Handling Guide.
- Stem Bags: A $15 “feed bag” is the most convenient place for a standard water bottle or high-calorie snacks.
- Tool Rolls: Wrap your multi-tool, tire plugs, and chain link in a piece of old denim or a shop rag. Secure it to the underside of your saddle or inside the frame triangle.
- DIY Frame Storage: Use a half-frame bag to store a Water Filtration System. This keeps the weight low and the center of gravity stable.
7. Safety Readiness on a Limited Budget
Compromising on safety is never a technical requirement. Even on a budget, specific items are non-negotiable for wilderness survival. According to IMBA Safety Standards, being prepared for emergencies is the primary pillar of off-road cycling.
- First Aid Kit: You do not need a pre-packaged kit. Build your own using medical tape, gauze, and antiseptic wipes in a Ziploc bag. Refer to our Solo Safety Tips for essential contents.
- Communication: Always carry a fully charged smartphone with offline maps. For remote areas, consider renting a satellite messenger if a purchase is not in the budget.
- Redundant Lighting: Use your primary bike light for riding and a cheap LED headlamp for camp tasks and Bikepacking Food Prep.
Conclusion: The Path to Masterful Minimalism
Mastering a budget bikepacking setup is a transformative experience that emphasizes skill and resourcefulness over expensive consumerism. By preparing your existing mountain bike (Section 1), utilizing modular dry-bag systems (Section 2), and prioritizing essential safety gear (Section 7), any rider can embark on a multi-day adventure for under $200. The success of an expedition is defined by the miles covered and the landscapes witnessed, not the branding on your luggage.
Remember that gear is an iterative process. Use your first 3-Day Adventure to identify where a future investment would yield the most benefit. Keep your Mechanical Skills sharp and your Leave No Trace ethics high. As you progress from local fire roads to remote wilderness loops, your understanding of your machine’s capabilities will become your most valuable asset.
The trail is waiting, and with a functional, low-cost setup, you are ready to conquer it. Treat the environment with respect, pack with intention, and embrace the unique liberation of life on two wheels. The transition from a recreational rider to a self-contained explorer is a path paved with preparation. Step out with a plan, respect your machine’s limits, and enjoy the unparalleled freedom of the unpaved world.