

This post may contain affiliate links. If you buy through them, we may earn a small commission at no extra cost to you.
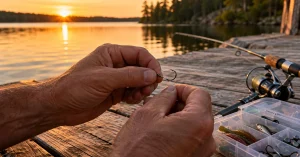
Learning how to tie fishing knots properly is the cheapest upgrade in all of fishing. A good knot costs nothing, takes thirty seconds, and is the difference between landing the fish of the season and watching a curly pigtail of line come back empty. Almost every lost fish blamed on bad luck is really a knot that slipped, a knot that burned itself weak while it was cinched dry, or a knot that was simply wrong for the line on the reel.
You do not need dozens of knots. Seven cover nearly everything a freshwater angler does, from tying on a hook to joining two lines to putting new line on a spool. This guide walks through each one step by step, explains which knot suits monofilament, fluorocarbon and braid, and covers the small habits that keep knots strong. If you are brand new to the sport, our fall fishing tips and our guide to reading a river are good companions.
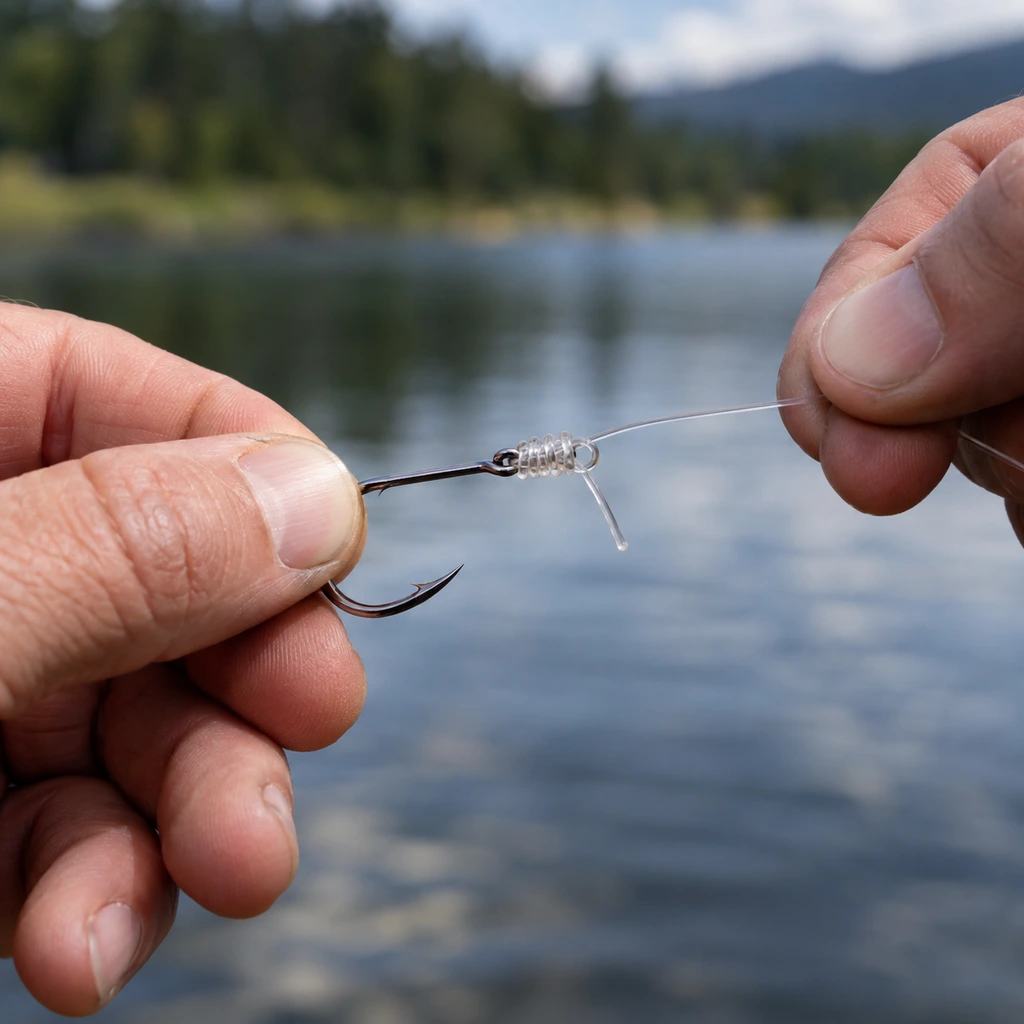
Table of Contents
Why Your Knot Is the Weakest Link
Every Knot Weakens the Line
Line is strongest as a straight strand. The moment you bend it around itself, you create pressure points where it can cut or crush itself under load. A well tied knot keeps most of the rated strength of the line; a sloppy one can lose a third or more. That is why two anglers with the same rod, reel and line can have completely different results on the same fish.
Line Type Changes Everything
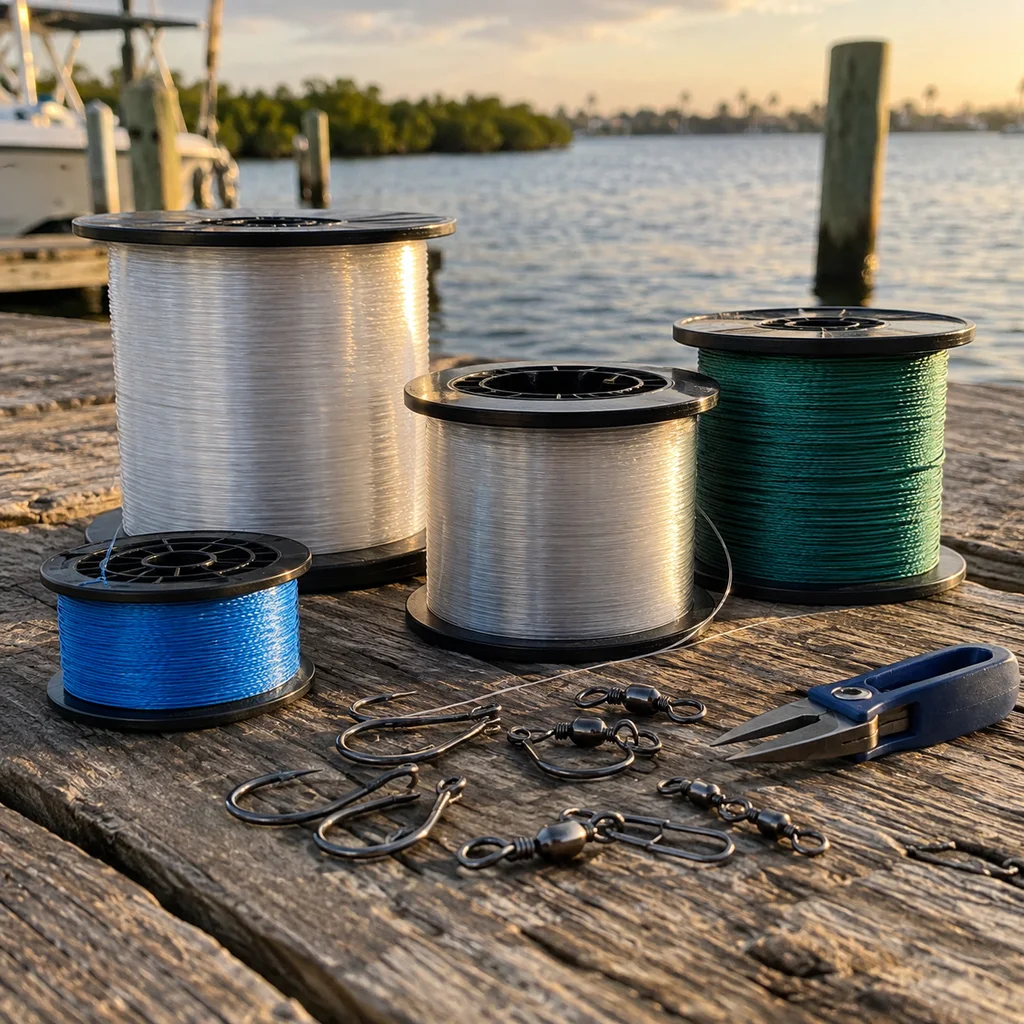
Monofilament is soft and grips itself well, so most knots hold in it. Fluorocarbon is stiffer and slicker, so knots need more care when seating. Braided line is thin, strong and very slippery, which means some knots that are perfect in mono will simply slide apart in braid. Matching the knot to the line is half the job.
Four Habits Before You Tie Any Knot
These habits matter more than which knot you pick. Anyone learning how to tie fishing knots should build them in from day one, because even a basic knot holds far better when it is wet, seated and tested.
Wet Every Knot Before You Cinch It
Friction creates heat, and heat weakens nylon and fluorocarbon. Before pulling a knot tight, wet it with water or saliva. It lets the wraps slide into place smoothly instead of burning against each other.
Seat It Slowly and Firmly
Pull the knot tight with a steady, even pressure, not a sudden jerk. Hold the tag end and the standing line and draw the wraps down until they sit neatly together. A knot that looks loose or has crossed wraps should be cut off and retied.
Trim Close, but Not Flush
Leave about an eighth of an inch of tag end after trimming. Trimming flush can let the knot creep and unravel under load, while a long tag catches weeds. A small pair of nippers or line clippers makes this quick and clean.
Test Before You Cast
Give every new knot a firm pull, hand to hand or against the hook held in pliers. If it slips or breaks, you just saved yourself a fish. It takes two seconds and is the habit experienced anglers never skip.
How to Tie Fishing Knots: The 7 You Need
Practice each of these at home a few times before you need it on the water. Start with the improved clinch and the Palomar, which between them cover most hook and lure connections.
1. Improved Clinch Knot
The improved clinch knot is the classic way to tie a hook, lure or swivel to monofilament or fluorocarbon. It is quick, compact and strong in light to medium line.
- Pass the line through the eye of the hook and pull out about six inches.
- Wrap the tag end around the standing line five to seven times. Use fewer wraps in heavy line, more in light line.
- Pass the tag end back through the small loop just above the eye.
- Now tuck the tag end through the large loop you just created.
- Wet the knot, then pull the standing line slowly while holding the hook so the wraps coil down neatly.
- Trim the tag end, leaving about an eighth of an inch.
2. Palomar Knot
The Palomar knot is one of the strongest and simplest hook knots, and it is the go to knot for braid because it holds where others slip.
- Double about six inches of line to form a loop and pass the loop through the hook eye.
- Tie a loose overhand knot with the doubled line, leaving the hook hanging in the loop.
- Pass the loop over the entire hook or lure.
- Wet the knot and pull both the standing line and the tag end to tighten.
- Trim the tag end.
The only drawback is that the loop must pass over the whole lure, which can be awkward with big crankbaits that carry several treble hooks.
3. Uni Knot
The uni knot is the most versatile knot you can learn. It ties line to hooks and lures, and two uni knots tied back to back join lines together.
- Pass the line through the hook eye and double it back alongside the standing line.
- Form a loop by laying the tag end back toward the hook over the doubled line.
- Wrap the tag end around both lines inside the loop five or six times.
- Wet the knot and pull the tag end to snug up the wraps.
- Slide the knot down to the eye by pulling the standing line, then trim.
4. Double Uni Knot
Use this to join two lines, such as a braided main line to a fluorocarbon leader, or to add fresh line to an old spool. Overlap the two ends by several inches and tie a uni knot with each tag end around the other line. Use six to eight wraps in mono and eight to ten in braid, which needs the extra grip. Wet both knots, pull each one snug, then pull the two standing lines apart so the knots slide together.
5. Surgeon’s Knot and Surgeon’s Loop
The surgeon’s knot is the fastest way to join two lines of similar diameter, and fly anglers use it constantly to add tippet. Lay the two lines side by side, tie a simple overhand knot with both, then pass both ends through a second time. Wet it and pull all four ends evenly. The surgeon’s loop uses the same method on a doubled line to make a strong fixed loop at the end of a leader.
6. Blood Knot
The blood knot also joins two lines and produces a slimmer, neater knot than the surgeon knot, which is why fly anglers like it for building tapered leaders. Overlap the lines, wrap one tag end around the other line five times, wrap the second tag end the other way five times, then pass both tags through the center gap in opposite directions. Wet it and pull the standing lines apart. It takes practice, so learn it at home before trying it streamside.
7. Arbor Knot
The arbor knot attaches line to the reel spool. Pass the line around the spool, tie an overhand knot around the standing line, tie a second overhand knot in the tag end, then pull the standing line so the knot slides down and locks against the spool. For braid, put a few wraps of mono backing on first or use a piece of tape, because braid will spin freely on a bare spool.
Fly anglers need one more connection, line to leader, which is usually a nail knot. Many modern fly lines and outfits come with welded loops instead, so a loop to loop connection does the same job without any tying at all. Starter kits such as the Wild Water fly fishing combo arrive pre rigged, which is one less knot to worry about on your first trip. Our fly fishing for beginners guide explains the rest of the fly setup.
Which Fishing Knot for Which Line
Use this as a quick reference. Every knot here works in monofilament; the differences show up in fluorocarbon and braid.
| Job | Monofilament | Fluorocarbon | Braid |
|---|---|---|---|
| Hook or lure | Improved clinch or Palomar | Palomar or uni | Palomar |
| Line to line | Double uni or blood knot | Double uni or surgeon’s | Double uni, extra wraps |
| Loop at end of line | Surgeon’s loop | Surgeon’s loop | Surgeon’s loop |
| Line to spool | Arbor knot | Arbor knot | Arbor knot over mono backing |
| Fly line to leader | Nail knot or loop to loop | Nail knot or loop to loop | Not used |
Monofilament
Mono forgives a lot. The improved clinch is the standard, and nearly any properly tied knot will hold. Because mono stretches, it also absorbs shock, which takes some strain off the knot on a hard hookset.
Fluorocarbon
Fluorocarbon is stiff and less stretchy, so knots need careful wetting and slow seating. The Palomar and uni both perform well. Use one or two fewer wraps than you would in mono with the improved clinch, since stiff line does not coil down as easily.
Braid
Braid is slick and has almost no stretch. The Palomar is the most reliable hook knot, and a double uni with extra wraps joins it to a mono or fluoro leader. Avoid the plain clinch knot in braid; it slips. A spinning outfit like the KastKing Centron Lite combo pairs well with a braid main line and a short fluorocarbon leader for most freshwater fishing.
Practicing Until It Is Automatic
Start With Thick Cord
The fastest way to learn how to tie fishing knots is repetition away from the water, where a fumbled knot costs nothing.
Learn each knot first with a shoelace or paracord and a large ring or carabiner. Thick material makes every wrap easy to see. Once the pattern is in your hands, switch to fishing line and a real hook.
Practice in Bad Conditions
On the water you will be tying knots with cold fingers, in wind, in fading light or from a rocking boat. Practice with your eyes closed and with gloves on. Fall mornings are cold, and our guide to cold water kayaking is a reminder of how quickly hands go numb on the water. A good headlamp from our list of the best headlamps for camping helps for dawn and dusk tying.
Retie Often
Retie after every fish of any size, after a snag, and whenever you notice nicks or rough spots in the last few feet of line. Line near the hook takes the most abuse from rocks, teeth and weeds. A fresh knot costs seconds; a frayed one costs fish.
Common Fishing Knot Mistakes
- Cinching a knot dry, which burns and weakens the line.
- Too few wraps in light line or too many in heavy line.
- Using a clinch knot in braid, where it slips.
- Trimming the tag end flush so the knot can creep loose.
- Crossed or overlapping wraps that were not retied.
- Fishing a knot that was never tested with a hard pull.
- Forgetting to retie after a snag or a big fish.
Most of these come from rushing. Slow down for thirty seconds and the knot will repay it. If you are fishing from a kayak, wear the right flotation from our guide to the best life jackets for kayaking and keep a spare pre tied leader handy so you are not tying in a swell. Our look at the best inflatable kayaks covers stable fishing platforms, and a cooler from our list of the best coolers for camping keeps the catch fresh for the drive home. Wading anglers will appreciate a pair from our list of the best fishing waders on colder mornings, and our fall camping essentials cover overnight trips to the water.
Frequently Asked Questions
What is the strongest fishing knot?
The Palomar knot is widely regarded as one of the strongest hook knots and holds well in mono, fluorocarbon and braid. The uni knot is close behind and more versatile.
What knot should a beginner learn first?
Start with the improved clinch knot for monofilament, then learn the Palomar. Between them you can tie on almost any hook, lure or swivel.
Why do my knots keep breaking?
Usually because they were tightened dry, had the wrong number of wraps, or were tied in line that was already nicked. Wet every knot, seat it slowly, check the last few feet of line and retie often.
Do I need different knots for braid?
Yes. Braid is slippery, so use the Palomar for hooks and a double uni with extra wraps for joining it to a leader. Put mono backing or tape on the spool before an arbor knot.
How do I join two fishing lines together?
Use a double uni knot for lines of different types or diameters, or a