Learn how to set up a campsite with this 7-step guide—master tent placement, food storage, safety, and more for the perfect basecamp in 2 hours!
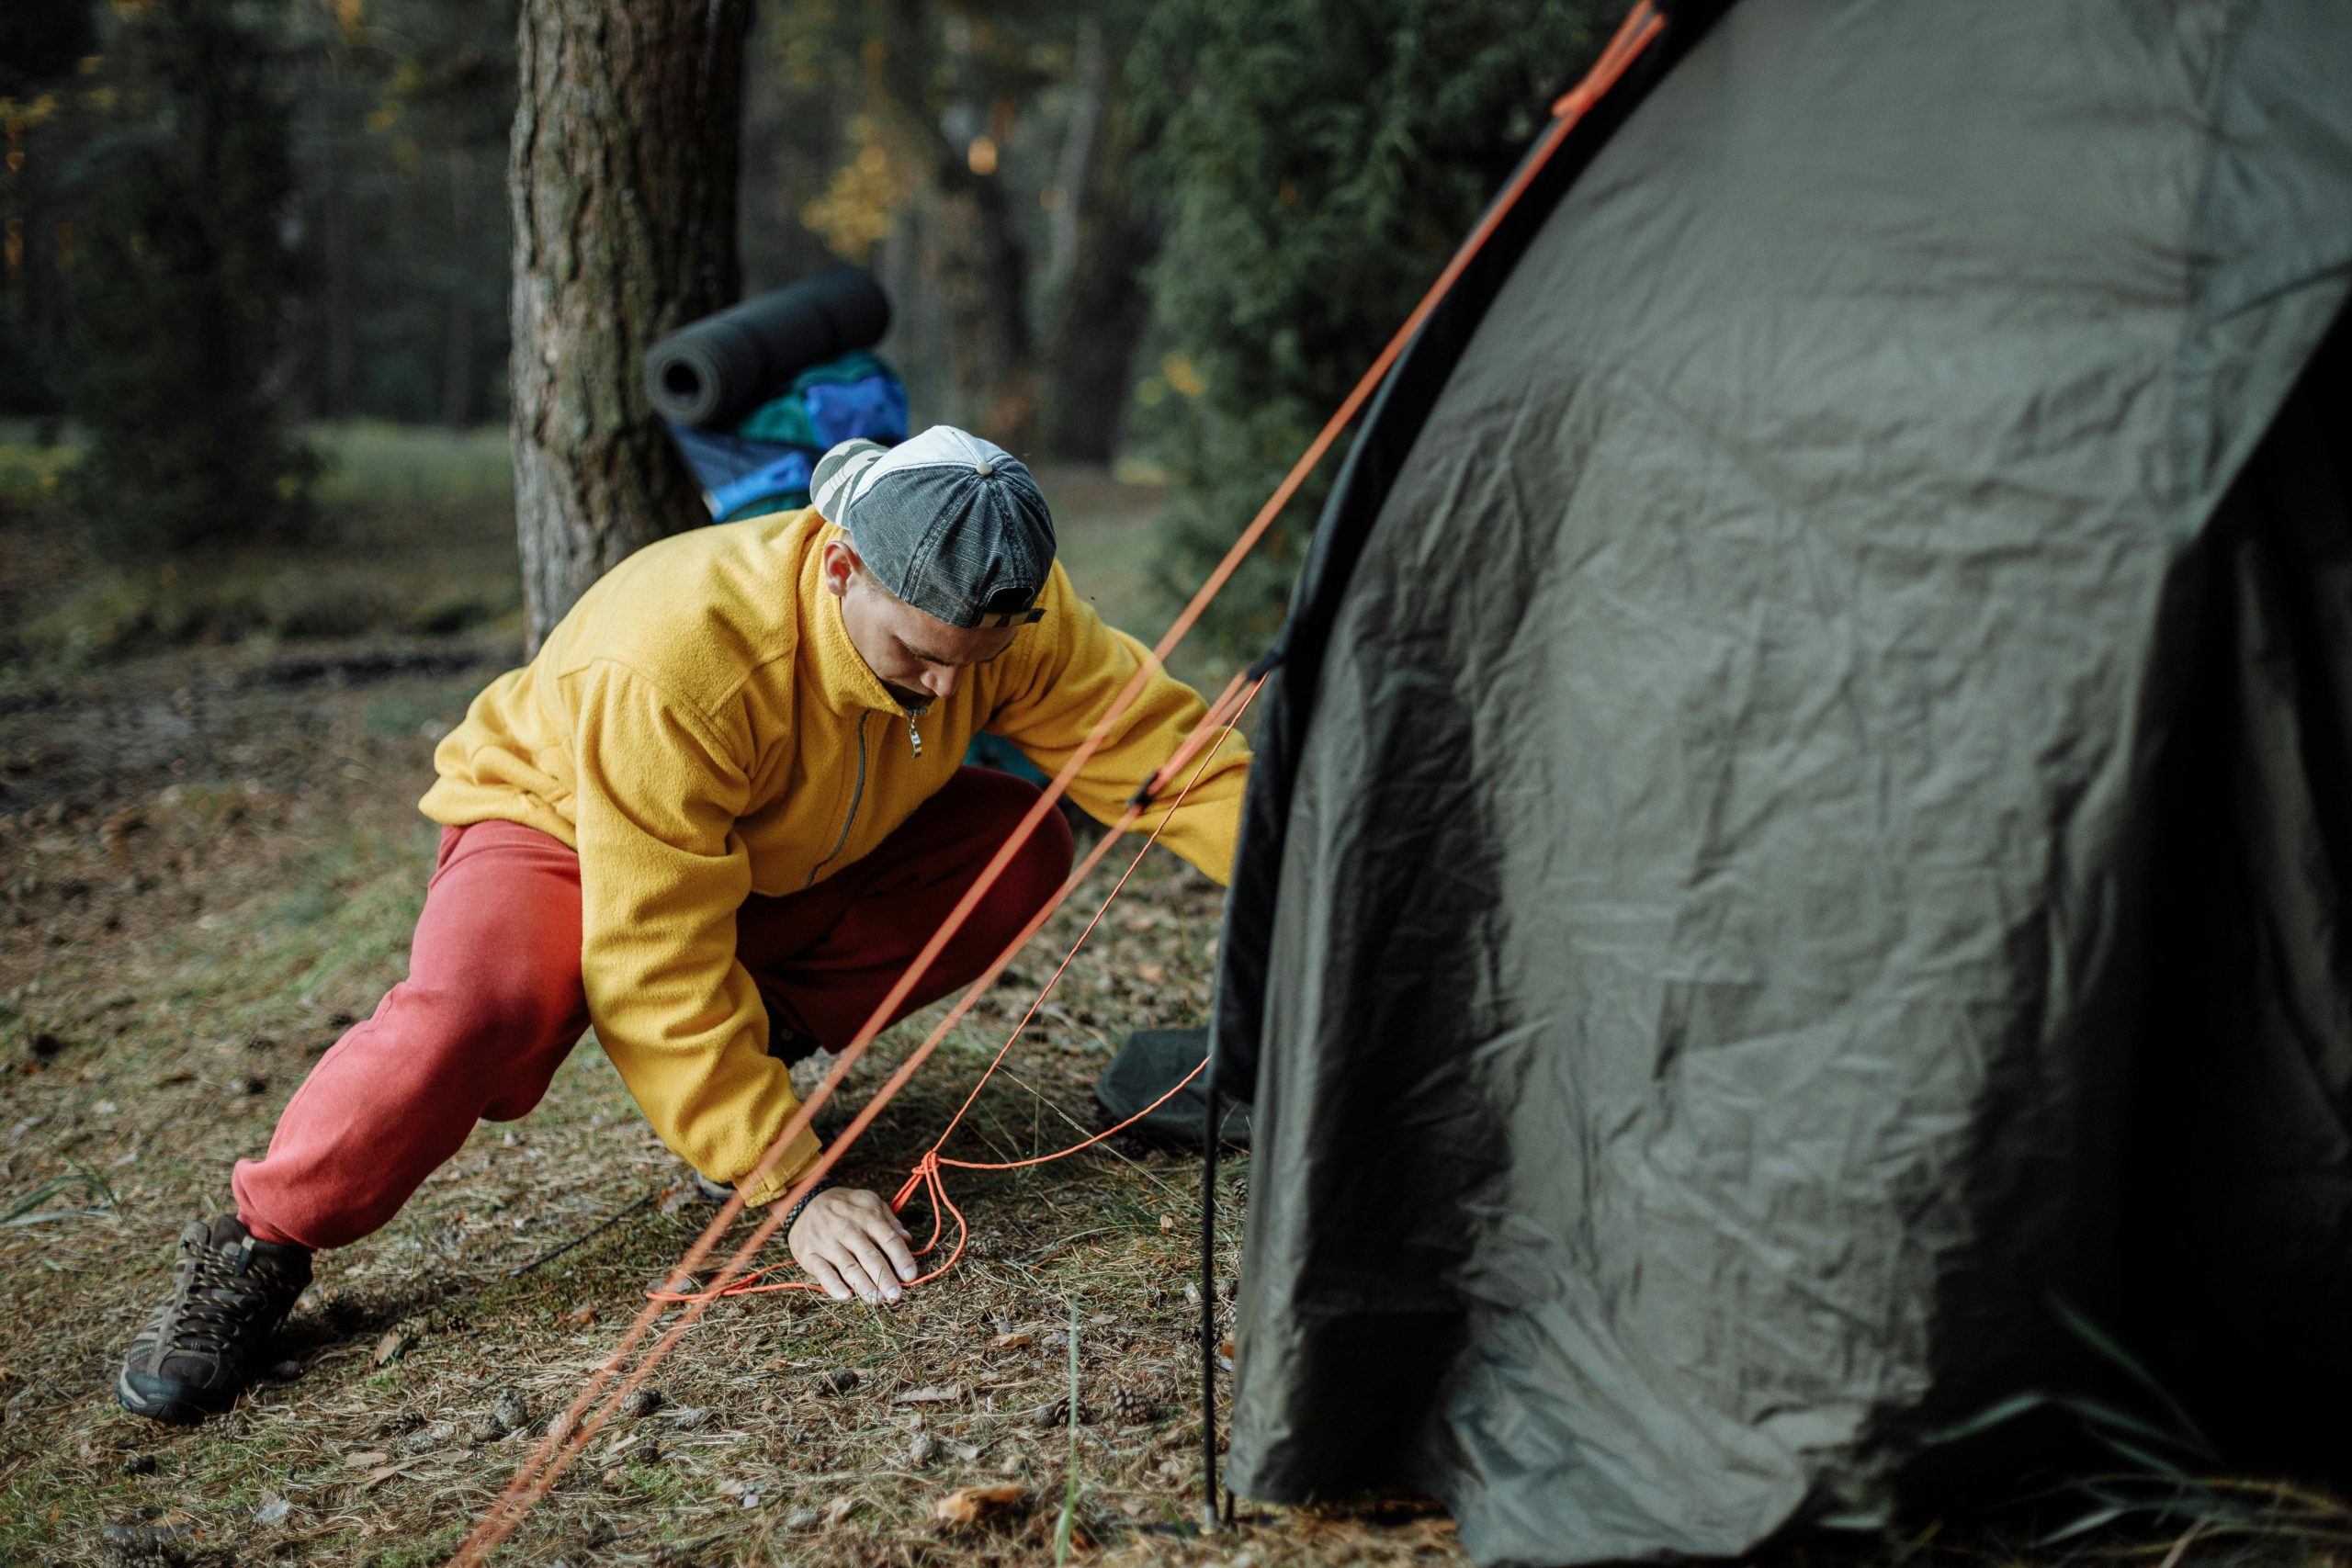
Table of Contents
Introduction
Setting up a campsite properly can make the difference between a memorable outdoor adventure and a frustrating experience filled with sleepless nights, soggy gear, and safety concerns. Professional outdoor guides and experienced campers know that learning how to set up a campsite the right way is essential. The key to successful camping lies not just in having the right equipment, but in setting up that equipment systematically and strategically.
This guide will teach you the 7 essential steps that professionals use to create safe, comfortable, and efficient campsites. Whether you’re car camping at a developed campground or backpacking into the wilderness, these techniques will show you how to set up a campsite that functions like an outdoor home and can handle whatever nature throws your way. By following this systematic approach, you’ll be able to set up a professional-quality campsite in 1.5–2 hours, leaving you more time to enjoy the great outdoors.
If you’re new to camping, be sure to check out our Camping for Beginners article. It’s a helpful guide that covers the basics and includes an Essential Camping Checklist to make your trip easier. It’s a great companion to this campsite setup guide, especially if you’re just getting started.
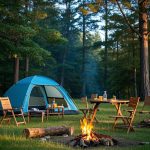
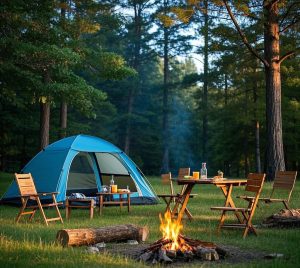
Step 1: Site Selection and Layout Planning (10-15 minutes)
Choosing the right campsite and planning your layout is key to learning how to set up a campsite safely and comfortably. A well-selected site protects you from the elements and helps keep your gear organized and your camp efficient.
Choose Your Perfect Spot
- Look for level ground with good drainage (avoid depressions where water might pool)
- Find natural windbreaks like trees or rocks, but avoid camping directly under large branches
- Check for proximity to water sources while maintaining at least 200 feet distance from lakes/streams
- Clear away rocks, sticks, and debris from your tent area
Create Functional Zones
- Sleeping area: Flat, protected spot for your tent
- Cooking zone: Downwind from the sleeping area, away from the tent
- Food storage: At least 100 feet from sleeping area (bear country requirements)
- Bathroom area: 200+ feet from water sources and camp
- Walk through your planned layout to ensure traffic flow makes sense
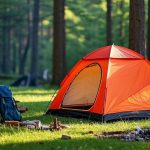
Step 2: Set Up Your Shelter (15-20 minutes)
Setting up your shelter properly is a key part of how to set up a campsite. Good tent placement keeps you dry, safe, and comfortable throughout your trip.
Tent Placement and Setup
- Position the tent door away from prevailing winds
- Orient the tent so morning sun hits the side, not directly on the door
- Lay out the footprint or groundsheet first
- Assemble the tent body, insert the poles, and raise the structure
- Stake out corners starting with the windward side, then attach the rainfly
- Stake out guy lines for stability using the “piano tuning” method
Pro Shelter Tips
- Ensure the rainfly doesn’t touch the tent body anywhere
- Create small trenches around the tent perimeter if rain is expected
- Set up dining/cooking tarp for weather protection
- Use reflective guy-line cord for nighttime visibility
Step 3: Establish Kitchen and Cooking Area (10-15 minutes)
A safe and organized cooking area is an important part of how to set up a campsite. Proper kitchen setup helps prevent fires, food contamination, and unwanted wildlife visits, making your camping experience safer and more enjoyable.
Safe Cooking Setup
- Find or create a level surface for your stove on bare dirt or rock
- Position the stove to be stable and protected from the wind
- Set up a camp table or use a flat surface for food prep
- Organize cooking utensils and ingredients within easy reach
- Keep fuel canisters away from heat sources
Kitchen Safety and Organization
- Keep the first aid kit accessible in the cooking area
- Have a fire extinguisher method ready (water, dirt, or sand)
- Ensure good ventilation and never cook inside your tent
- Designate a clean area for food preparation
Step 4: Water Management and Sanitation (10 minutes)
Managing waste and maintaining good sanitation are essential for a safe and enjoyable camping experience. These practices protect the environment, prevent wildlife issues, and keep your campsite clean—an important part of how to set up a campsite.
Water Systems
- Set up a water filtration/purification station
- Designate containers for clean vs. dirty water
- Create a handwashing station with biodegradable soap
- Store water containers in a shaded area
Waste Management
- Set up designated areas for different types of waste
- Pack out all trash – bring extra bags
- Establish a greywater disposal area (strain food particles, scatter water)
- Dig catholes at least 6-8 inches deep and 200 feet from water/camp
Step 5: Food Storage and Bear Safety (15 minutes)
Proper food storage is crucial for both your safety and the safety of wildlife. Improperly stored food can attract bears and other animals to your campsite, leading to dangerous encounters. Always follow local guidelines and use bear-proof containers or hang food when necessary. Knowing how to store food safely is an important part of how to set up a campsite. For more detailed information on bear safety and food storage practices, check out trusted resources like the National Park Service (NPS) website.
Secure Food Storage Options
- Bear canisters: Follow the manufacturer’s instructions for proper closure
- Rope hanging: Use the PCT method or the counterbalance technique
- Bear lockers: Available at many established campgrounds
- Vehicle storage: In hard-sided vehicles only, never soft-tops
Complete Scent Management
- Store all scented items (toothpaste, soap, deodorant) with food
- Keep the camp kitchen clean and free of food residue
- Never store food in your tent
- Cook and eat away from the sleeping area
Step 6: Comfort and Organization Setup (15 minutes)
Comfort and organization play a big role in a smooth camping experience. Keeping your gear accessible and your space cozy helps you relax and enjoy your trip. It’s a simple but important part of how to set up a campsite.
Comfort Improvements
- Set up camp chairs in protected areas
- Create defined pathways between zones
- Hang lanterns or lights for evening use
- Organize gear storage to keep items dry and accessible
Tool and Equipment Organization
- Keep a multi-tool and basic repair items handy
- Store sharp objects safely and securely
- Have rope and cordage available for repairs
- Keep fire-starting materials dry and accessible
For specific gear upgrades—like compact lanterns or camp cots—that elevate comfort, see our Best Camping Gear 2025 guide.
Step 7: Final Safety Check and Adjustments (10 minutes)
Security and Safety Inspection
- Test all tent stakes and guy lines for stability
- Ensure food storage is properly secured
- Keep flashlights, headlamps, and an emergency whistle accessible
- Store the first aid kit in a central, known location
- Know evacuation routes and emergency procedures
Final Efficiency Review
- Walk through your daily routine mentally
- Adjust furniture and storage for optimal flow
- Ensure nighttime essentials are accessible
- Make final adjustments based on wind and weather changes
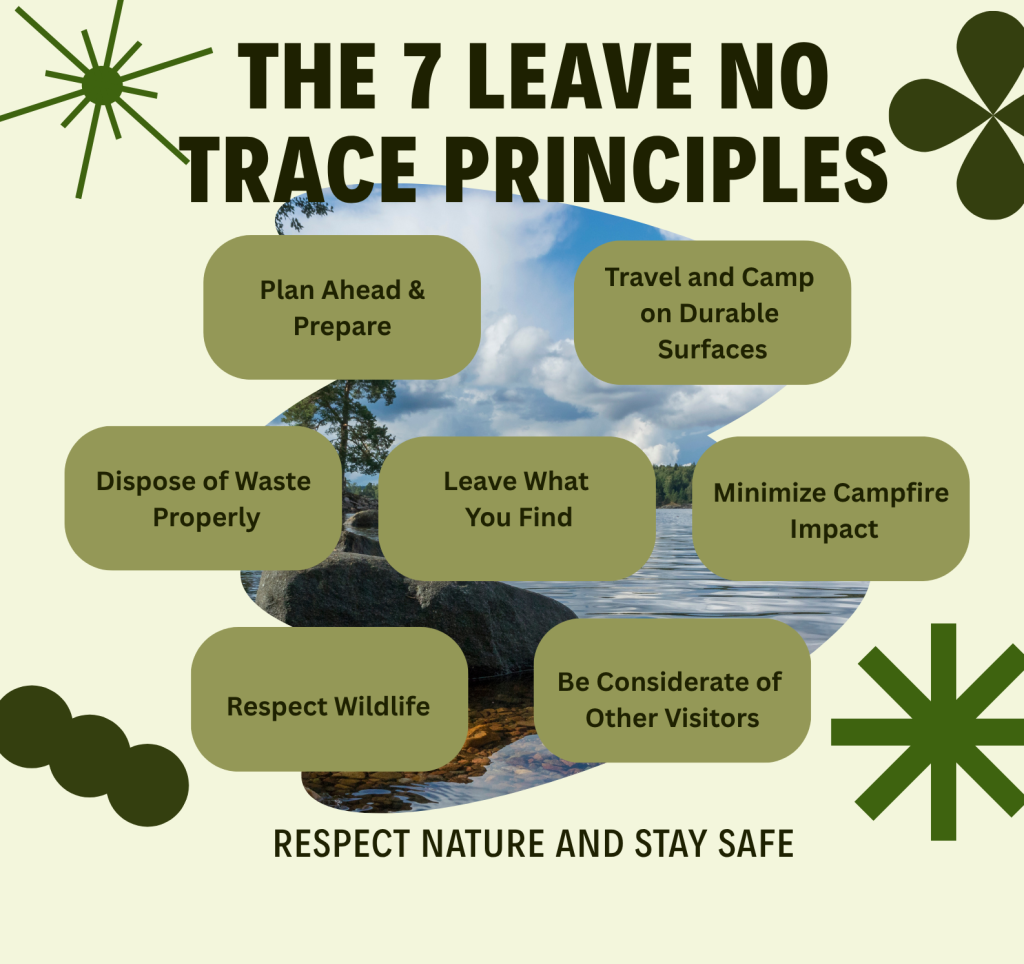
- Check that the setup follows Leave No Trace principles
Professional Tips for Success
Weather Adaptability
- Always be prepared to adjust the setup for changing conditions
- Keep tarps and extra rope readily available
- Monitor weather forecasts and modify shelter as needed
Efficiency and Maintenance
- Practice setting up your gear at home before trips
- Check and adjust tent stakes daily during your stay
- Keep the cooking area clean after each meal
- Use organizational systems and label storage containers
Time Management Summary
- Step 1 – Site selection: 15 minutes
- Step 2 – Shelter setup: 20 minutes
- Step 3 – Kitchen area: 15 minutes
- Step 4 – Water/sanitation: 10 minutes
- Step 5 – Food storage: 15 minutes
- Step 6 – Comfort/organization: 15 minutes
- Step 7 – Final safety check: 10 minutes
Total professional setup time: 1.5-2 hours
The key to professional campsite setup is systematic organization, prioritizing safety, and respecting the environment. Taking time to do each step properly will create a comfortable, secure base camp for your outdoor adventure.
Conclusion

Mastering the art of professional campsite setup transforms camping from a potentially stressful experience into the relaxing outdoor escape it should be. By learning how to set up a campsite using these 7 systematic steps, you’ll create a safe, organized, and comfortable basecamp that allows you to fully enjoy nature without worrying about necessities.
Remember that becoming proficient at how to set up a campsite takes practice. Start by practicing these techniques in your backyard or at local campgrounds before heading into more remote areas. Each camping trip will help you refine your approach and discover what works best for your specific gear and camping style.
The investment of time and attention during setup pays dividends throughout your entire camping experience. Learning how to set up a campsite properly means easier meal preparation, better sleep, enhanced safety, and more time to focus on the activities that brought you outdoors in the first place. Whether you’re watching a sunrise from your perfectly positioned tent or cooking dinner in your efficiently organized camp kitchen, you’ll appreciate the difference that professional setup techniques make.
Most importantly, always remember to follow Leave No Trace principles and respect the natural environment that makes camping such a rewarding experience. A true professional leaves their campsite better than they found it, ensuring these outdoor spaces remain beautiful for future generations of campers to enjoy.
Discover more from Maive Verse
Subscribe to get the latest posts sent to your email.
 – Catskills Cabins, Adirondack Yurts & Hudson Valley Escapes")
")