This post contains affiliate links. If you buy through them, we may earn a small commission at no extra cost to you. Thank you for supporting Maive Verse.
Building an outdoor pickleball court at home is one of the most rewarding projects a fan of the sport can take on. Whether you have a spare driveway, a slab of backyard concrete, or an empty patch of yard, you can create a regulation playing surface that turns ordinary afternoons into competitive matches. This guide walks you through everything you need, from dimensions and surface choices to net setup, line marking, gear, and cost, at a level that works for beginners and seasoned players alike.
The good news is that an outdoor pickleball court is far more approachable than a tennis court or a full basketball setup. The playing area is compact, the equipment is affordable, and much of the work can be done over a weekend or two. Below, we break down exactly what to plan, what to buy, and how to build it step by step.
Table of Contents
Why Build Your Own Court?
A home court means you can play whenever you want, without booking a slot or driving to a club. Over time, that convenience can save you far more than the cost of the build, especially if the whole family plays. It is also the fastest way to improve, because you can run outdoor pickleball drills any time you have a spare fifteen minutes.
Beyond practice, a court in your own yard becomes a natural gathering spot. Friends and neighbors will want to join, and casual games are a great way to stay active. If you are new to the sport, our guide on how to play pickleball is a helpful place to start before you pour any concrete.
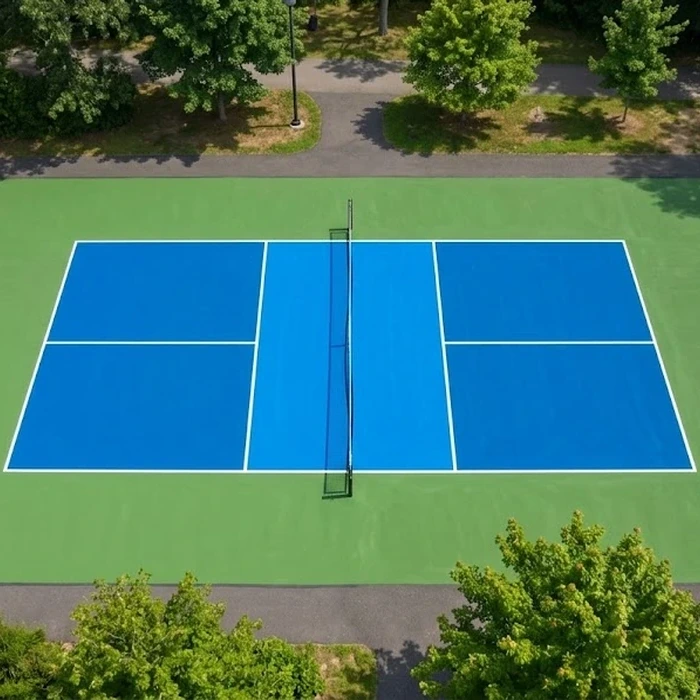
Outdoor Pickleball Court Dimensions and Layout
Getting the measurements right is the foundation of a good build. Every outdoor pickleball court shares the same official dimensions, so planning your space carefully now prevents expensive mistakes later.
Standard Court Size
A regulation court measures 20 feet wide by 44 feet long, and those dimensions are the same for both singles and doubles play. That footprint is identical to a doubles badminton court. You can confirm the current specifications through the official USA Pickleball rules before you commit to a layout.
Total Space and Buffer Zones
The lines are only part of the story. You want run-off room around the playing area so players can chase down balls safely. A total space of roughly 30 feet by 60 feet gives comfortable buffer zones on all sides. If space is tight, aim for at least a few feet of clearance behind each baseline and along the sidelines.
Court Orientation
Where possible, orient the court so play runs north to south. This keeps the low morning and evening sun out of players eyes during serves and returns, which matters a lot on an outdoor court that gets used at all hours.
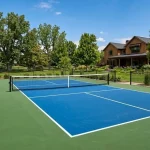
Choosing the Right Surface
The surface determines how the ball bounces, how the court feels underfoot, and how much maintenance you will face down the road. There are three main routes, and the right one depends on your budget and how permanent you want the court to be.
Concrete and Asphalt Bases
A poured concrete slab is the gold standard for a dedicated court because it is flat, durable, and gives a true bounce. Asphalt is a lower-cost alternative but can soften in extreme heat and may need resurfacing sooner. Either base should be graded with a slight slope of about one inch per ten feet so rainwater drains off cleanly.
Acrylic Surface Coatings
Once your base has cured, an acrylic sport coating adds grip, color, and weather resistance. These coatings come in the familiar blue and green court tones and protect the surface underneath. You can apply them yourself with a squeegee and roller using acrylic sport court paint, or hire a pro for a factory-smooth finish.
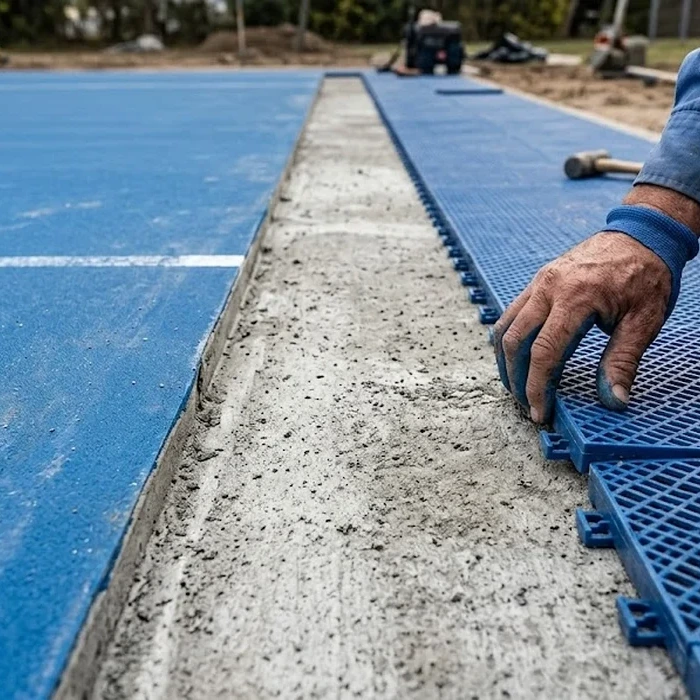
Modular Court Tiles for a DIY Build
If you are not ready to pour concrete, snap-together modular court tiles are the easiest do-it-yourself option. They lay directly over an existing flat slab or driveway, provide good traction, and can be taken up and moved later. This is a popular choice for renters or anyone who wants a reversible setup.
Setting Up the Net
The net divides the court and, like the dimensions, follows a fixed standard. Getting the height right is essential for fair, realistic play.
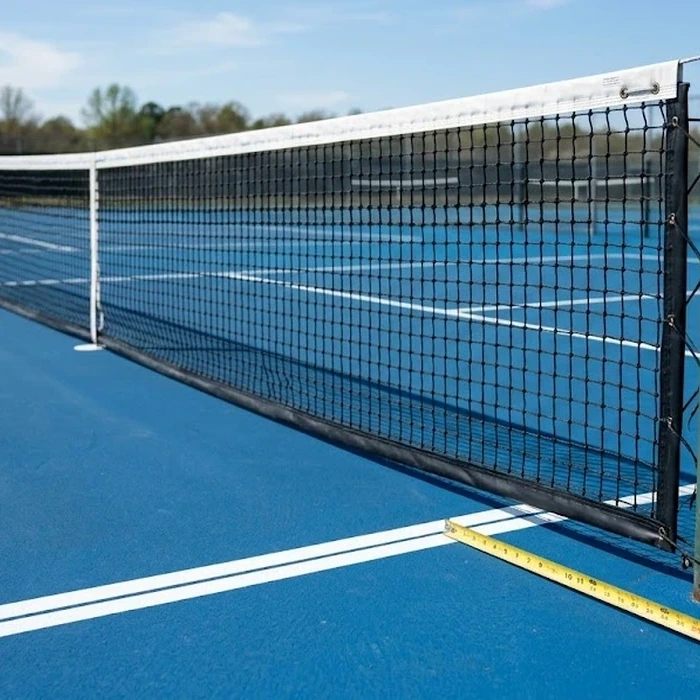
Regulation Net Height
A pickleball net stands 36 inches high at the sidelines and dips to 34 inches at the center. That gentle sag is by design, so always measure at the middle after tensioning. The USA Pickleball equipment standards spell out the exact tolerances if you want to be precise.
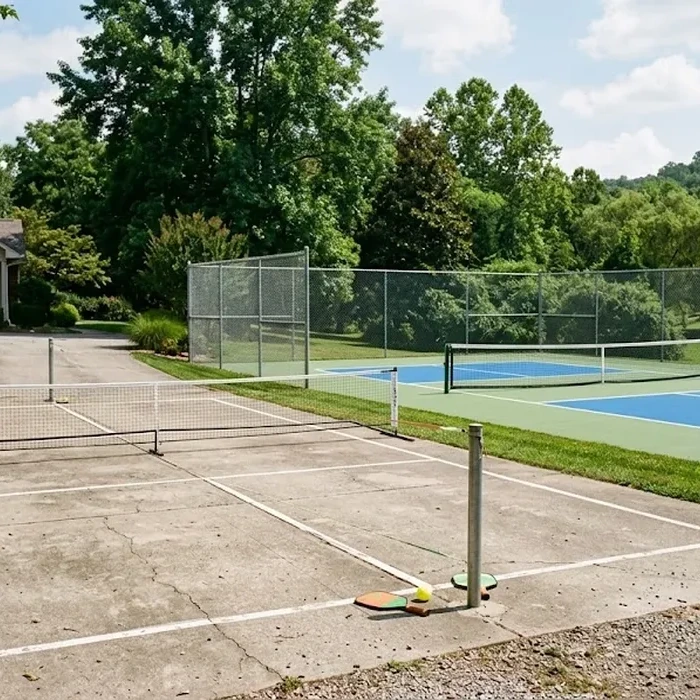
Portable vs Permanent Nets
For a driveway or multi-use space, a portable net system sets up in minutes and stores away easily. For a dedicated court, permanent posts sunk into the ground give the sturdiest, best-looking result. Many players start portable and upgrade to fixed posts once they know the court gets regular use.
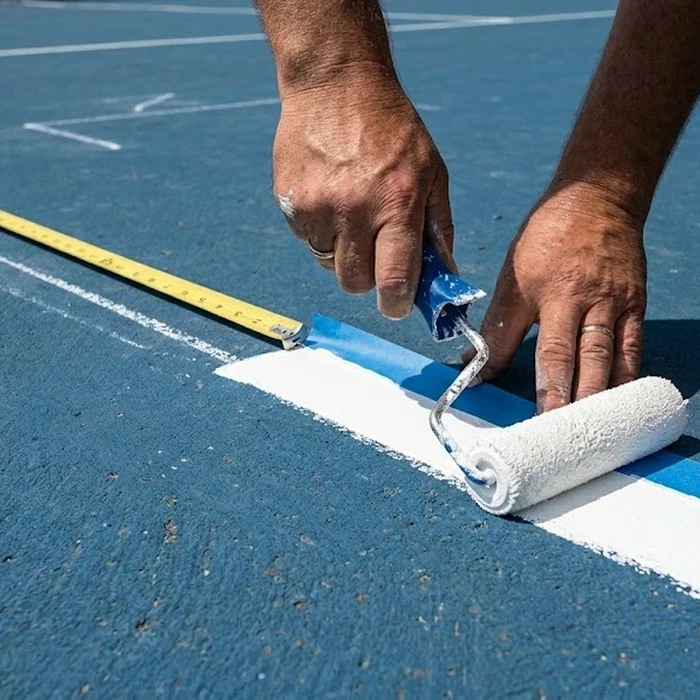
Marking the Court Lines
Crisp, accurate lines are what make a home surface feel like a real court. This is the most detail-oriented part of the build, but it is very doable with the right tools and a little patience.
Tools You Will Need
- A long measuring tape and a chalk line for laying out straight edges
- Quality painters tape to mask clean borders
- A court line marking kit with textured white court paint
- A carpenters square to keep every corner at a true 90 degrees
Step-by-Step Line Marking
- Measure and chalk the full 20 by 44 foot outer boundary, checking that the diagonals are equal so the rectangle is square.
- Mark the sidelines and baselines, then find the centerline that splits each half into two service courts.
- Measure 7 feet back from the net on both sides to mark the non-volley zone, known as the kitchen.
- Mask each line with tape, apply two thin coats of court paint, and remove the tape before it fully dries for sharp edges.
Essential Gear and Accessories
With the court built, a few key pieces of gear round out the setup. Start with paddles that suit your level, and our roundup of outdoor pickleball paddles for beginners is a good reference if you are still choosing. You will also want a supply of outdoor pickleballs, which are harder and have smaller holes than indoor versions to handle wind and rougher surfaces.
A court squeegee or roller is worth keeping on hand to clear standing water after rain so you can play sooner. Rounding things out with some shaded seating, a ball hopper, and a simple scoreboard turns the space into a proper backyard venue. Once the gear is sorted, brush up on your game plan with our outdoor pickleball strategy guide.

Cost Considerations for Every Budget
One of the best things about this project is that it scales to whatever you can spend. Here is how the same court can be approached at three very different levels.
The Budget DIY Approach
If you already have a flat driveway or slab, you can be playing for very little. Lay out the lines with tape or removable court chalk, set up a portable net, and grab a set of paddles and balls. Nothing is permanent, which makes this ideal for testing the waters.
The Mid-Range Build
Ready to commit? Resurface an existing slab with an acrylic coating or install modular tiles, add painted regulation lines, and invest in a sturdier net. This middle path delivers a court that looks and plays great without the expense of new groundwork.
The Premium Dedicated Court
For the full experience, pour a purpose-built concrete slab, apply a professional acrylic system, sink permanent net posts, and add perimeter fencing and lighting for night play. This is the most involved option, but it creates a court that will serve your family for decades.
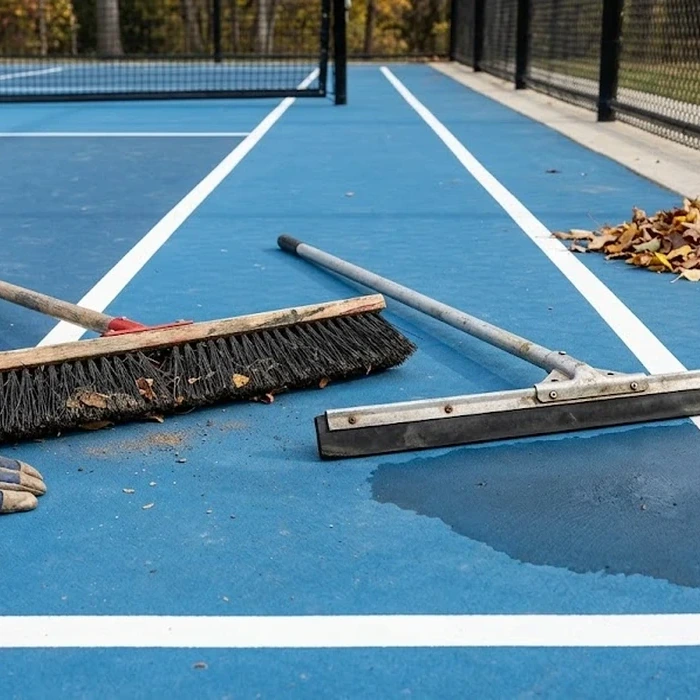
Maintaining Your Outdoor Court
A little upkeep keeps your surface safe and true. Sweep away leaves and debris regularly, since grit underfoot is both a slip hazard and hard on the coating. Rinse the surface every few weeks, and clear standing water promptly so the paint does not lift.
Inspect the net and posts each season for sagging or rust, and touch up faded lines once a year so they stay crisp. With basic care, an acrylic-coated court can look sharp for many years before it needs a full resurface.
Fencing, Lighting, and Finishing Touches
Once the playing surface is ready, a few finishing touches transform a bare slab into a court you will want to use every day. These extras are optional, but they make a real difference in how the space plays and how long it lasts.
Perimeter Fencing
Fencing keeps stray balls contained and defines the court as its own space. A ten-foot chain-link fence is the traditional choice for a dedicated build, while lightweight portable barriers or netting work well for temporary setups. Even fencing along just the two baselines cuts down on time spent chasing balls into the yard.
Lighting for Night Play
If you want to play after sunset, court lighting is the single best upgrade you can add. Two adjustable LED flood fixtures mounted on poles at the net line, angled inward, light the surface evenly without blinding players. Aim for bright, glare-free coverage so the ball stays visible during fast exchanges at the kitchen line.
Small comforts matter too. A shaded bench, a weatherproof storage box for paddles and balls, and a wall-mounted scoreboard round out the experience and keep everything you need close at hand.
Frequently Asked Questions
How much space do I need for an outdoor pickleball court?
The court itself is 20 by 44 feet, but you should plan for a total area of about 30 by 60 feet to allow safe run-off room around the lines. If space is limited, aim for at least a few feet of clearance behind each baseline.
Can I build a court on my existing driveway?
Yes. A flat, well-drained driveway is a perfect starting point. You can tape or paint temporary lines and use a portable net, then upgrade to a coated surface or modular tiles later if you want a more permanent setup.
What is the best surface for an outdoor pickleball court?
A poured concrete slab finished with an acrylic sport coating gives the best combination of durability and true bounce. For a lower-effort build, snap-together modular tiles over a flat base are the easiest reliable option.
How long does it take to build a court?
A basic tape-and-portable-net setup takes just an afternoon. A coated or tiled court is usually a weekend project, while a full concrete pour with professional finishing can take a couple of weeks once curing time is factored in.
Ready to Build Your Court?
Building an outdoor pickleball court is one of the most satisfying ways to bring the game home, and it fits almost any yard and any budget. Start by measuring your space, pick the surface that matches your goals, and work through the net and line steps at your own pace. Before long you will have a regulation court right outside your door.
Once your court is ready, keep leveling up your game with our guides on how to play pickleball, outdoor pickleball drills, and smart outdoor pickleball strategy. Grab your paddle, gather your friends, and enjoy every rally.
Discover more from Maive Verse
Subscribe to get the latest posts sent to your email.