
This post may contain affiliate links. If you buy through them, we may earn a small commission at no extra cost to you.
Learning how to wax skis is the cheapest upgrade in the sport. A base that has dried out over summer is visibly grey and chalky, it drags on flat traverses, and it makes turn initiation feel sticky in a way most people blame on their technique. Thirty minutes in a garage fixes all of it, and ski wax costs less than one lift ticket.
This is the full pre season job: clean, wax, scrape, brush, then edges. Do it in September and the first day of the season feels like new skis. If you are still choosing kit, our equipment guide covers the rest.
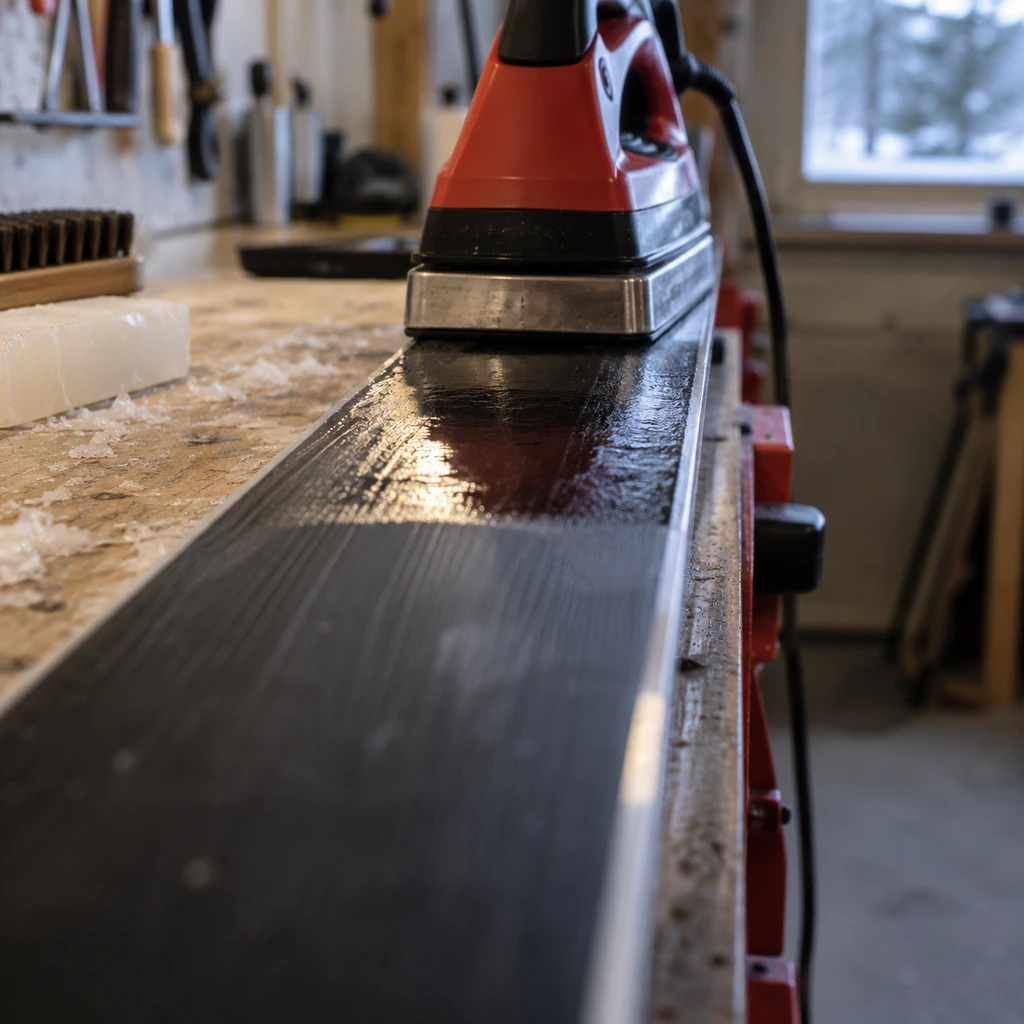
Table of Contents
Why Waxing Matters More Than People Think
The Base Is Porous
A ski base is sintered ultra high molecular weight polyethylene, which is microscopically porous rather than solid. Wax soaks into those pores. When it dries out the base oxidises, goes white at the edges and tips, and stops holding the thin water film that skis actually glide on.
Glide Is a Water Film, Not Ice
Skis do not slide on snow, they slide on a microscopic layer of meltwater created by pressure and friction. Wax controls how that film behaves: too much suction and you drag, too little contact and you skid. That is why wax hardness is matched to snow temperature.
It Protects the Base
Beyond speed, wax is what stops the base drying and the edges rusting through a long summer. Skis stored unwaxed come out of the garage worse than they went in, which is the single most common reason a pair feels tired after three seasons.
How to Wax Skis: The Full Process
1. Set Up and Clean
Work in a garage or a room you do not mind getting wax shavings in, skis flat and secured brake up. Wipe the bases with a clean cloth, and if they are genuinely dirty use a base cleaner rather than solvent. Let them dry completely before wax goes anywhere near them.
2. Pick the Right Wax
All temperature or universal wax covers almost everyone. Hard wax is for cold dry snow, soft for warm wet snow, and the difference is real but small next to the difference between waxed and unwaxed. Paraffin based universal wax such as a complete tune kit with iron, wax and brush is the sensible default for a home setup.
3. Drip and Iron
Set the iron to the temperature on the wax packet, usually around 120 to 130C, and never higher. Hold the bar against the iron and drip a line of wax down each side of the base, then iron it in with the iron moving constantly. If the iron stops you will scorch the base, which is permanent.
You want the base warm to the touch on the topsheet side, not hot. One slow pass, then let it cool for at least half an hour. Cooling is when the wax actually enters the pores, so rushing this is the most common mistake.
4. Scrape
Scrape with a plastic scraper held at a low angle, tip to tail, in long strokes until no more wax comes off. It will look like you have removed all of it. You have not: the wax that matters is inside the base, and what you scrape off is surplus that would otherwise drag.
Scrape the edges clean too, and run the scraper corner down the groove in the middle of the base if your skis have one.
5. Brush
Brush tip to tail with a nylon brush until the base looks even and slightly polished. This opens the base structure back up so the microscopic channels can move water. Skipping the brush is why some home waxed skis feel slower than unwaxed ones.
6. Tune the Edges
Run a bevel guide with a file along the side edge to restore the angle, then deburr the base edge with a diamond stone. A tool like an side bevel file guide sets the angle for you, which is the part that is hard to do by eye.
Detune the first and last few centimetres by dulling them slightly with the stone. Sharp tips and tails grab and make the ski feel hooky, which is not what you want while you are still working on carving.
7. Final Buff and Check
A final pass with a horsehair or soft nylon brush, then check the bases in good light. Any remaining white patches mean the wax did not take there and that section wants another cycle. Check bindings are clean and the binding DIN setting has not drifted, though leave adjustments to a shop.
Wax Hardness by Snow Temperature
Wax is graded by the snow temperature it is designed for, not the air temperature. If you only buy one, buy universal.
| Snow Temp | Wax | Typical Conditions |
|---|---|---|
| Below minus 10C | Hard, cold specific | Deep midwinter, dry squeaky snow |
| Minus 10C to minus 4C | Cold to universal | Most midwinter resort days |
| Minus 4C to 0C | Universal | The majority of the season |
| Around 0C | Soft, warm specific | Spring slush and wet snow |
| Any | All temperature universal | One wax for a home setup |
Fluorinated waxes were once the fast option and are now restricted in competition and withdrawn by most brands on environmental grounds, so fluorocarbon products are not worth chasing for recreational skiing.
The Kit You Actually Need
The Essentials
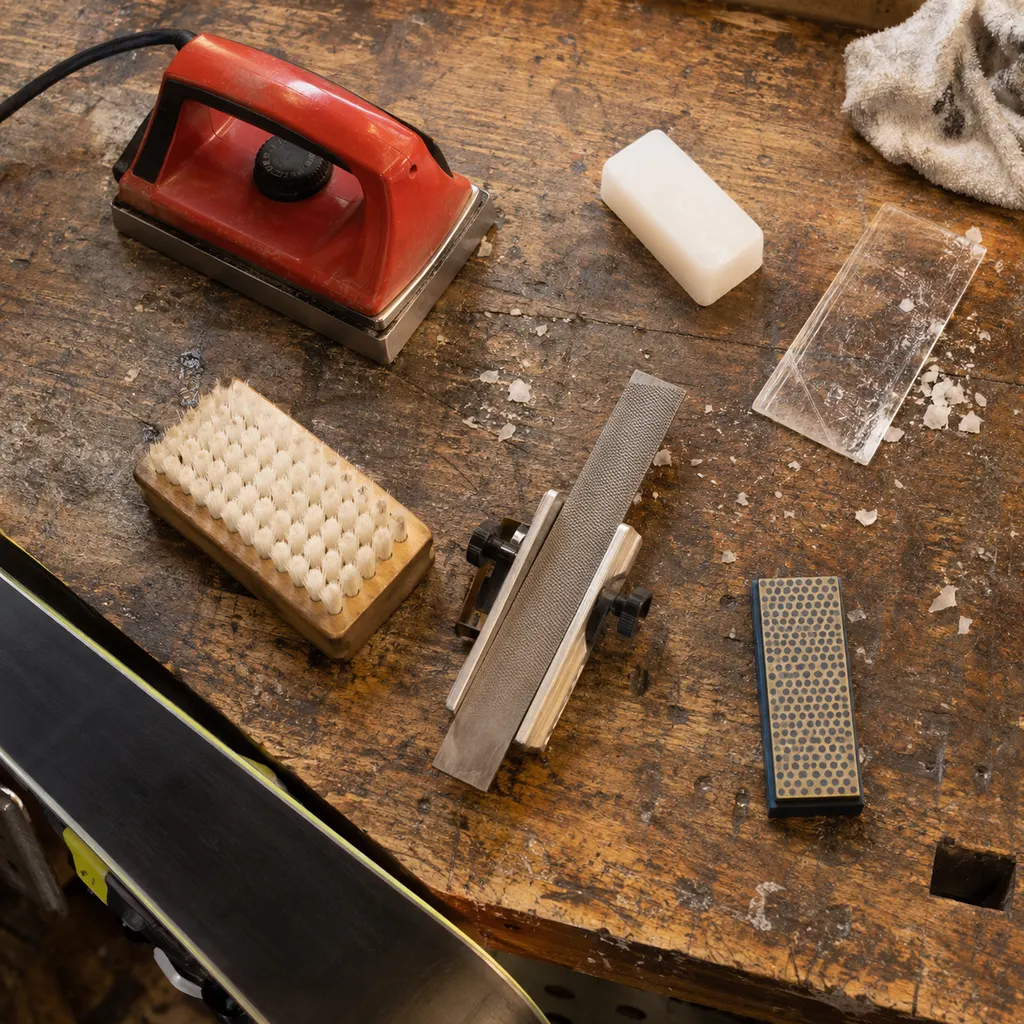
A waxing iron, a bar of universal wax, a plastic scraper and a nylon brush. That is the whole list for glide waxing, and a combined kit is cheaper than buying the pieces separately. Add a dedicated wax brush kit if your kit only came with one brush.
For Edges
A bevel guide with a file, plus a diamond stone for deburring. You can ski all season on tuned edges done once in autumn unless you hit a rock, which is the other thing a stone fixes.
What Not to Buy
A household iron. They have steam holes, thermostats that overshoot and no temperature accuracy, and scorching a base is not repairable at home. This is the one place where the dedicated tool matters.
Common Mistakes
- Using a household iron, which overshoots and scorches the base permanently.
- Letting the iron sit still on the ski for even a second or two.
- Scraping before the wax has fully cooled, which pulls it back out of the base.
- Skipping the brush, which leaves the base structure closed and slow.
- Sharpening the tip and tail instead of detuning them, which makes the ski grab.
- Storing skis unwaxed over summer, which dries and oxidises the base.
- Chasing temperature specific waxes before owning a universal one.
How Often to Do It
Every four to six days on snow for most recreational skiers, and always before summer storage. You can tell by eye: grey or chalky patches, especially near the edges and tips, mean it is due. If the skis feel sticky on a flat cat track, that is the same message.
A pre season wax and edge tune plus one mid season repeat covers most people who ski a couple of weeks a year. Racers wax daily, but they are optimising the last one percent, and resort skiing is not that.
Frequently Asked Questions
How often should I wax my skis?
Every four to six days of skiing, and always before storing them for the summer. Grey chalky patches near the edges are the visible sign that it is overdue.
Can I use a normal clothes iron to wax skis?
No. Household irons have steam holes and thermostats that overshoot, and an overheated base is permanently damaged. A basic waxing iron is inexpensive and is the one tool worth buying properly.
What temperature should the wax iron be?
Whatever the wax packet says, usually 120 to 130C for universal wax. Higher is not faster, it just scorches the base. Keep the iron moving at all times.
Do I need to scrape all the wax off?
Yes, all the surface wax. The wax that makes a difference has soaked into the pores of the base, and anything sitting on top adds drag rather than speed.
Do I need to tune edges every time I wax?
No. Edges want a proper tune once before the season and again if you hit a rock. Waxing is the part that wants repeating through the winter, and skis with good edges still need it. See our guide to when kit is done.
How to wax skis comes down to a clean base, a moving iron, a full cool down, a hard scrape and a proper brush. Do that in September and the first day out feels like a different pair. Then read our ski helmet round up for the piece of kit that matters more than speed, the pre season fitness plan for the rest of the preparation, and the equipment guide if anything else is due for replacement.
Discover more from Maive Verse
Subscribe to get the latest posts sent to your email.