Master how to start a campfire with 11 proven step-by-step techniques. Complete guide for building perfect campfires every time.
Table of Contents
Introduction
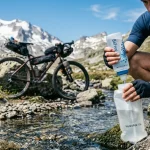
Learning how to start a campfire is an essential outdoor skill that transforms any camping experience from ordinary to extraordinary. Whether you’re a beginner camper or looking to improve your fire-building techniques, understanding how to start a campfire properly ensures you’ll have reliable warmth, cooking capability, and that perfect camping ambiance every time you venture outdoors. For comprehensive preparation before your trip, check out our detailed camping checklist to ensure you have all necessary fire-starting materials and safety equipment.
Many campers struggle with fire starting because they skip fundamental steps or use improper techniques. Knowing how to start a campfire involves more than just throwing wood together and lighting a match – it requires understanding materials, structure, and proven methods that work consistently in various conditions.
11 Steps to Start A Campfire
These 11 step-by-step techniques will guide you through every aspect of how to start a campfire, from initial preparation through achieving a strong, sustainable flame. Each method addresses specific challenges you might encounter, ensuring you’ll know how to start a campfire successfully regardless of weather conditions or available materials.
Step 1: Choose Your Fire Location
The first step in learning how to start a campfire is selecting the perfect location. This foundational decision affects every subsequent step in the fire-building process.
Look for established fire rings or designated fire areas first. These locations have been specifically prepared for fire building and using them demonstrates responsible camping practices. When learning how to start a campfire, always inspect existing fire rings for damage, cracks, or accumulated debris that could affect your fire’s performance.
If no established ring exists, choose flat, stable ground away from overhanging branches, dry vegetation, and your camping equipment.

Understanding how to start a campfire includes recognizing that sparks can travel farther than expected, so maintain adequate clearance from all flammable materials.
Consider wind direction when positioning your fire site. Wind affects how to start a campfire by influencing airflow and flame direction. Choose locations that provide some natural wind protection while still allowing adequate ventilation for your fire. Always follow established camping safety tips when selecting and preparing your fire location to prevent accidents and environmental damage.
Step 2: Gather Your Fire Materials
Successful fire starting depends on having the right materials prepared before you begin. Learning how to start a campfire requires understanding the three essential material types: tinder, kindling, and fuel wood.
Tinder forms the foundation of how to start a campfire. Collect dry, fine materials that ignite easily from a single match or lighter. Excellent natural tinder includes birch bark strips, dry pine needles, fine grass, cedar bark, or paper-thin wood shavings.

Commercial fire starters work reliably when natural tinder is scarce or conditions are wet.
Kindling consists of small, dry wood pieces ranging from pencil thickness to thumb width. When learning how to start a campfire, gather plenty of kindling – you’ll need more than you think. Dead branches that snap cleanly when bent are perfect. Avoid green wood or pieces that bend without breaking, as these contain too much moisture.
Fuel wood includes larger pieces from thumb thickness up to forearm size. Collect various sizes so you can gradually build your fire from small flames to a robust burn. Understanding how to start a campfire means having enough material prepared before lighting your first match.
Step 3: Prepare Your Fire Layout
Before lighting anything, arrange your materials using proven fire-building structures. Knowing how to start a campfire includes mastering these fundamental layouts that maximize your success rate.
The Teepee Method works excellently for beginners learning how to start a campfire. Place your tinder bundle in the center of your fire ring, then arrange thin kindling around it in a cone or teepee shape. Leave gaps between pieces for airflow – fire needs oxygen to survive. This method creates excellent draft conditions that feed flames naturally.
The Log Cabin Method offers another effective approach to how to start a campfire. Start with tinder in the center, then place two pieces of kindling parallel to each other on opposite sides.

Add two more pieces perpendicular to the first pair, creating a square. Continue building this grid pattern with increasingly larger materials.
The Lean-To Method works well in windy conditions when starting a campfire. Place a large piece of kindling or small fuel wood as a windbreak, then lean smaller pieces against it over your tinder nest. This structure provides wind protection while maintaining airflow.
Step 4: Create Your Tinder Nest
Building an effective tinder nest is crucial for understanding how to start a campfire successfully. Your tinder nest must catch fire easily and burn long enough to ignite your kindling.
Shape your finest tinder materials into a loose bird’s nest formation. The nest should be about the size of a softball with a depression in the center for placing burning materials. When learning how to start a campfire, avoid packing tinder too tightly – air circulation is essential for combustion.
If using commercial fire starters or prepared materials, place them in the center of your natural tinder nest. This combination approach gives you the reliability of prepared materials with the extended burn time of natural tinder.

Understanding how to start a campfire means having backup tinder ready in case your first attempt doesn’t catch.
Test your tinder nest by gently blowing on it before lighting. It should move and rustle easily, indicating good air circulation. Dense, packed tinder will smother developing flames rather than feeding them.
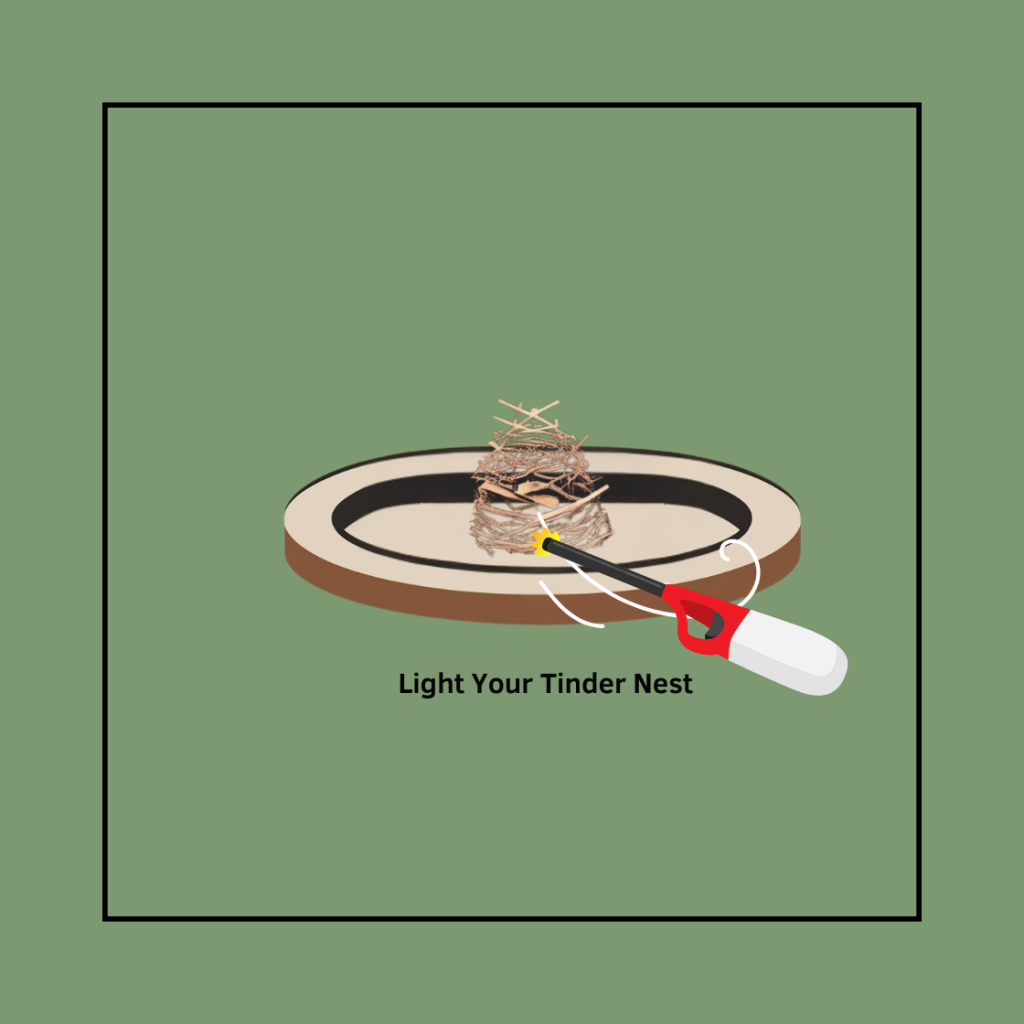
Step 5: Light Your Tinder
The ignition moment is critical when learning how to start a campfire. Proper lighting technique often determines success or failure in fire building.
Light your tinder from the bottom and windward side, allowing flames to naturally travel upward through your materials. Hold your match or lighter at the base of your tinder nest, giving flames the best chance to catch and spread. When mastering how to start a campfire, patience during this step prevents many failures.
Shield your initial flame from wind using your body or a flat object, but maintain safe distance from the ignition point. Never lean directly over tinder when lighting – flames can flare upward unexpectedly. Understanding how to start a campfire includes protecting that crucial first flame until it establishes itself.
Once tinder catches fire, gently blow at the base of the flames to increase oxygen flow. This accelerates combustion and helps flames spread through your tinder nest. Continue this gentle airflow until flames are strong enough to ignite your kindling.
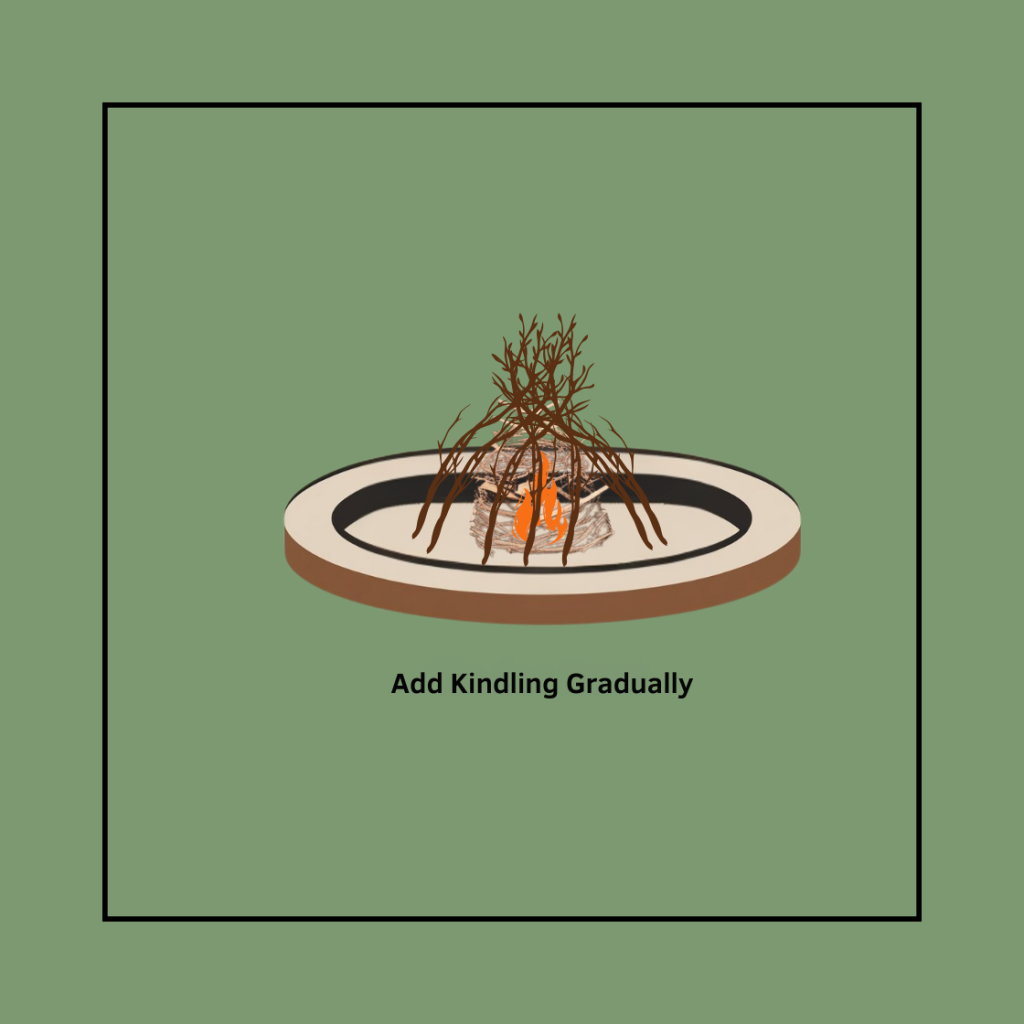
Step 6: Add Kindling Gradually
Successfully transitioning from tinder to kindling represents a critical phase in how to start a campfire. This step requires patience and careful material management.
Begin adding your thinnest kindling pieces as soon as tinder flames are well-established. Place kindling gently to avoid disturbing your fire structure or smothering developing flames. When learning how to start a campfire, resist the urge to add too much material too quickly.
Continue adding progressively larger kindling pieces as flames grow stronger. Maintain your chosen fire structure (teepee, log cabin, or lean-to) while feeding the fire. Understanding how to start a campfire means recognizing when flames are ready for larger materials.
Watch for the distinctive crackling sound that indicates kindling is burning well. This sound tells you the fire is hot enough and stable enough to accept larger fuel pieces. If kindling isn’t catching properly, return to smaller materials and rebuild gradually.
Step 7: Transition to Fuel Wood
Moving from kindling to fuel wood marks the final phase of how to start a campfire. This transition secures your fire and ensures long-term burning capability.
Add your smallest fuel wood pieces once kindling is burning consistently and producing good heat. Start with thumb-thick pieces before progressing to larger materials. Knowing how to start a campfire includes understanding that each size increase should happen gradually.
Maintain your fire structure while adding fuel wood. If using the teepee method, continue the cone shape with larger pieces. For log cabin fires, maintain the grid pattern with increasingly substantial materials. Understanding how to start a campfire means preserving the airflow patterns that make your fire successful.
Position fuel wood to create a stable, long-burning fire. Pieces should support each other while maintaining gaps for air circulation. As you master how to start a campfire, you’ll develop an intuitive feel for proper fuel placement and spacing.
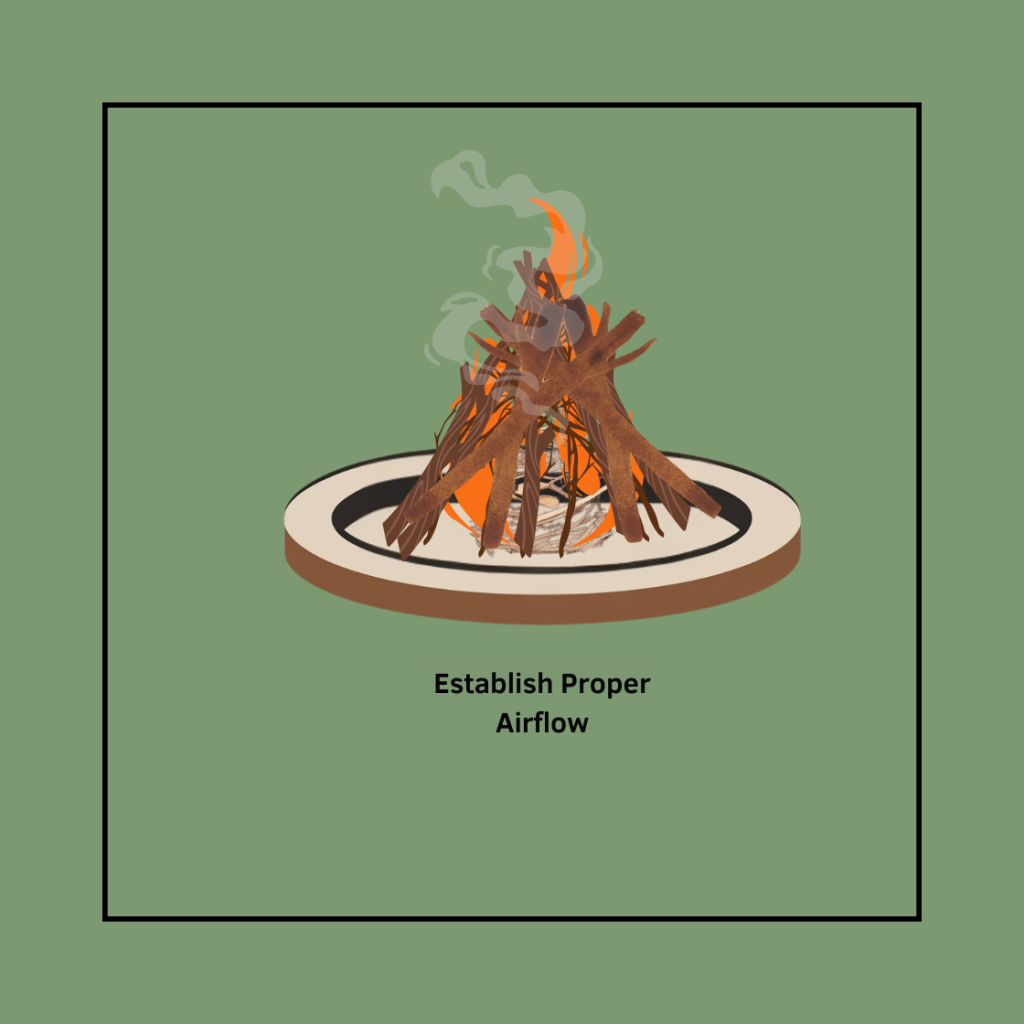
Step 8: Establish Proper Airflow
Controlling airflow is essential for maintaining fires once you’ve learned how to start a campfire. Proper air management keeps fires burning efficiently and prevents common problems.
Monitor your fire’s air supply by observing flame behavior and smoke patterns. Good airflow produces steady flames that burn upward with minimal smoke. When understanding how to start a campfire, learn to read these visual cues that indicate optimal burning conditions.
Adjust material placement to improve airflow if flames seem weak or smoke production increases. Sometimes simply repositioning a single piece can dramatically improve fire performance. Mastering how to start a campfire includes developing these fine-tuning skills.
Never restrict airflow by packing materials too tightly or closing off air gaps. Fire needs continuous oxygen supply to maintain combustion. Understanding how to start a campfire means respecting this fundamental requirement throughout the burning process.
Step 9: Build for Different Purposes
Learning how to start a campfire includes understanding how to build fires for specific purposes. Different fire types serve different camping needs effectively.
Cooking fires should burn down to steady coals rather than producing large flames. Start your fire using standard techniques, then allow it to burn down to create the even heat needed for food preparation. Understanding how to start a campfire for cooking means planning for this coal development phase.
Warmth fires can maintain moderate flames and should be built for extended burning. Use larger fuel wood and build substantial structure that will burn for hours. When learning how to start a campfire for warmth, focus on sustained heat output rather than dramatic flames.

For additional cold weather preparation, learn more about how to stay warm while camping in cold weather to complement your fire-building skills.
Light fires for evening activities should produce steady, moderate flames without excessive smoke. Balance fuel size and spacing to create consistent illumination. Mastering how to start a campfire for different purposes makes you a more versatile outdoor enthusiast.
Step 10: Troubleshoot Common Problems
Even experienced campers encounter challenges when learning how to start a campfire. Understanding common problems and solutions improves your success rate significantly.
Wet conditions make fire starting more difficult but not impossible. Gather tinder from protected areas under logs or rocks where materials stay dry. Understanding how to start a campfire in wet conditions includes knowing where to find dry materials and how to protect developing flames from moisture.
Windy conditions can scatter sparks and make fire control difficult. Use the lean-to method or create windbreaks with rocks or logs. When learning how to start a campfire in wind, patience and persistence often overcome challenging conditions.
Poor materials cause many fire-starting failures. If your fire won’t catch or burns poorly, evaluate your materials. Green wood, damp tinder, or insufficient kindling all prevent successful fire building. Understanding how to start a campfire includes recognizing and correcting material problems.
Step 11: Master Advanced Techniques
Once you’ve learned basic methods of how to start a campfire, advanced techniques expand your capabilities and improve reliability in challenging conditions.
Fire in rain requires protected preparation and dry material sources. Create overhead shelter for your fire area and gather materials from the driest available sources. Mastering how to start a campfire in adverse conditions makes you a more confident outdoor enthusiast.
Fire without matches using flint and steel, bow drills, or other primitive methods provides backup skills when modern ignition fails. Understanding how to start a campfire with alternative ignition methods ensures you’re never completely without fire-making capability.
Quick fires for emergency situations require streamlined techniques and prepared materials. Practice building fires quickly using minimal materials. Knowing how to start a campfire rapidly could prove essential in survival situations.
The Importance of Extinguishing and Cleaning Your Campfire
Learning how to start a campfire includes understanding the critical importance of proper extinguishing and cleanup. This final step is just as important as the initial fire-building process and demonstrates responsible outdoor ethics.
Complete Extinguishing Process Never leave a campfire unattended, and always extinguish fires completely before leaving your campsite or going to sleep. Allow the fire to burn down to ash and coals, then sprinkle water over the entire fire area. Stir the ashes thoroughly with a shovel, mixing water into any remaining coals or embers.
Continue adding water and stirring until no heat remains and no steam rises from the ashes. The definitive test is holding your hand five inches above the ashes – if you feel any warmth, the extinguishing process isn’t complete. This verification step prevents the underground smoldering that can cause forest fires hours or days after you’ve left.
Environmental Cleanup and Leave No Trace Principles Remove any unburned materials from the fire ring and scatter cold ashes over a wide area away from water sources. Replace any rocks you moved during fire building and restore the area to its natural state. Understanding how to start a campfire responsibly includes following Leave No Trace principles, which emphasize minimizing human impact on natural environments.
The Leave No Trace principle of “Leave What You Find” applies directly to fire building – use existing fire rings when available rather than creating new ones, and avoid moving rocks or altering natural features unnecessarily. Pack out any trash, including partially burned materials that won’t decompose naturally, following the “Pack It In, Pack It Out” principle.
Clean fire rings of debris and foreign materials, leaving them ready for the next responsible camper. This cleanup ethic ensures that future outdoor enthusiasts can continue enjoying these natural spaces while preserving their integrity for generations to come.
Conclusion
Mastering how to start a campfire transforms your outdoor experiences and builds essential wilderness skills. These 11 step-by-step techniques provide comprehensive guidance for building successful fires in various conditions and for different purposes.
Practice these methods regularly to build confidence and skill. Understanding how to start a campfire improves with repetition, and each fire you build teaches valuable lessons about materials, techniques, and conditions. Start with simple fires in controlled environments before attempting more challenging builds.
Remember that learning how to start a campfire is both an art and a science. While these techniques provide proven frameworks, every fire-building situation is unique. Develop your skills through practice, and soon you’ll know how to start a campfire reliably in any outdoor setting, creating warmth, cooking capability, and unforgettable camping memories.
 – Catskills Cabins, Adirondack Yurts & Hudson Valley Escapes")
")